> ## Documentation Index
> Fetch the complete documentation index at: https://hc.saas-manager.biz.nuro.jp/llms.txt
> Use this file to discover all available pages before exploring further.
# TimeCrowd
> Instructions for integrating with TimeCrowd.
## Supported Features
Account Deactivation
## Prerequisites
### How to Log In to TimeCrowd
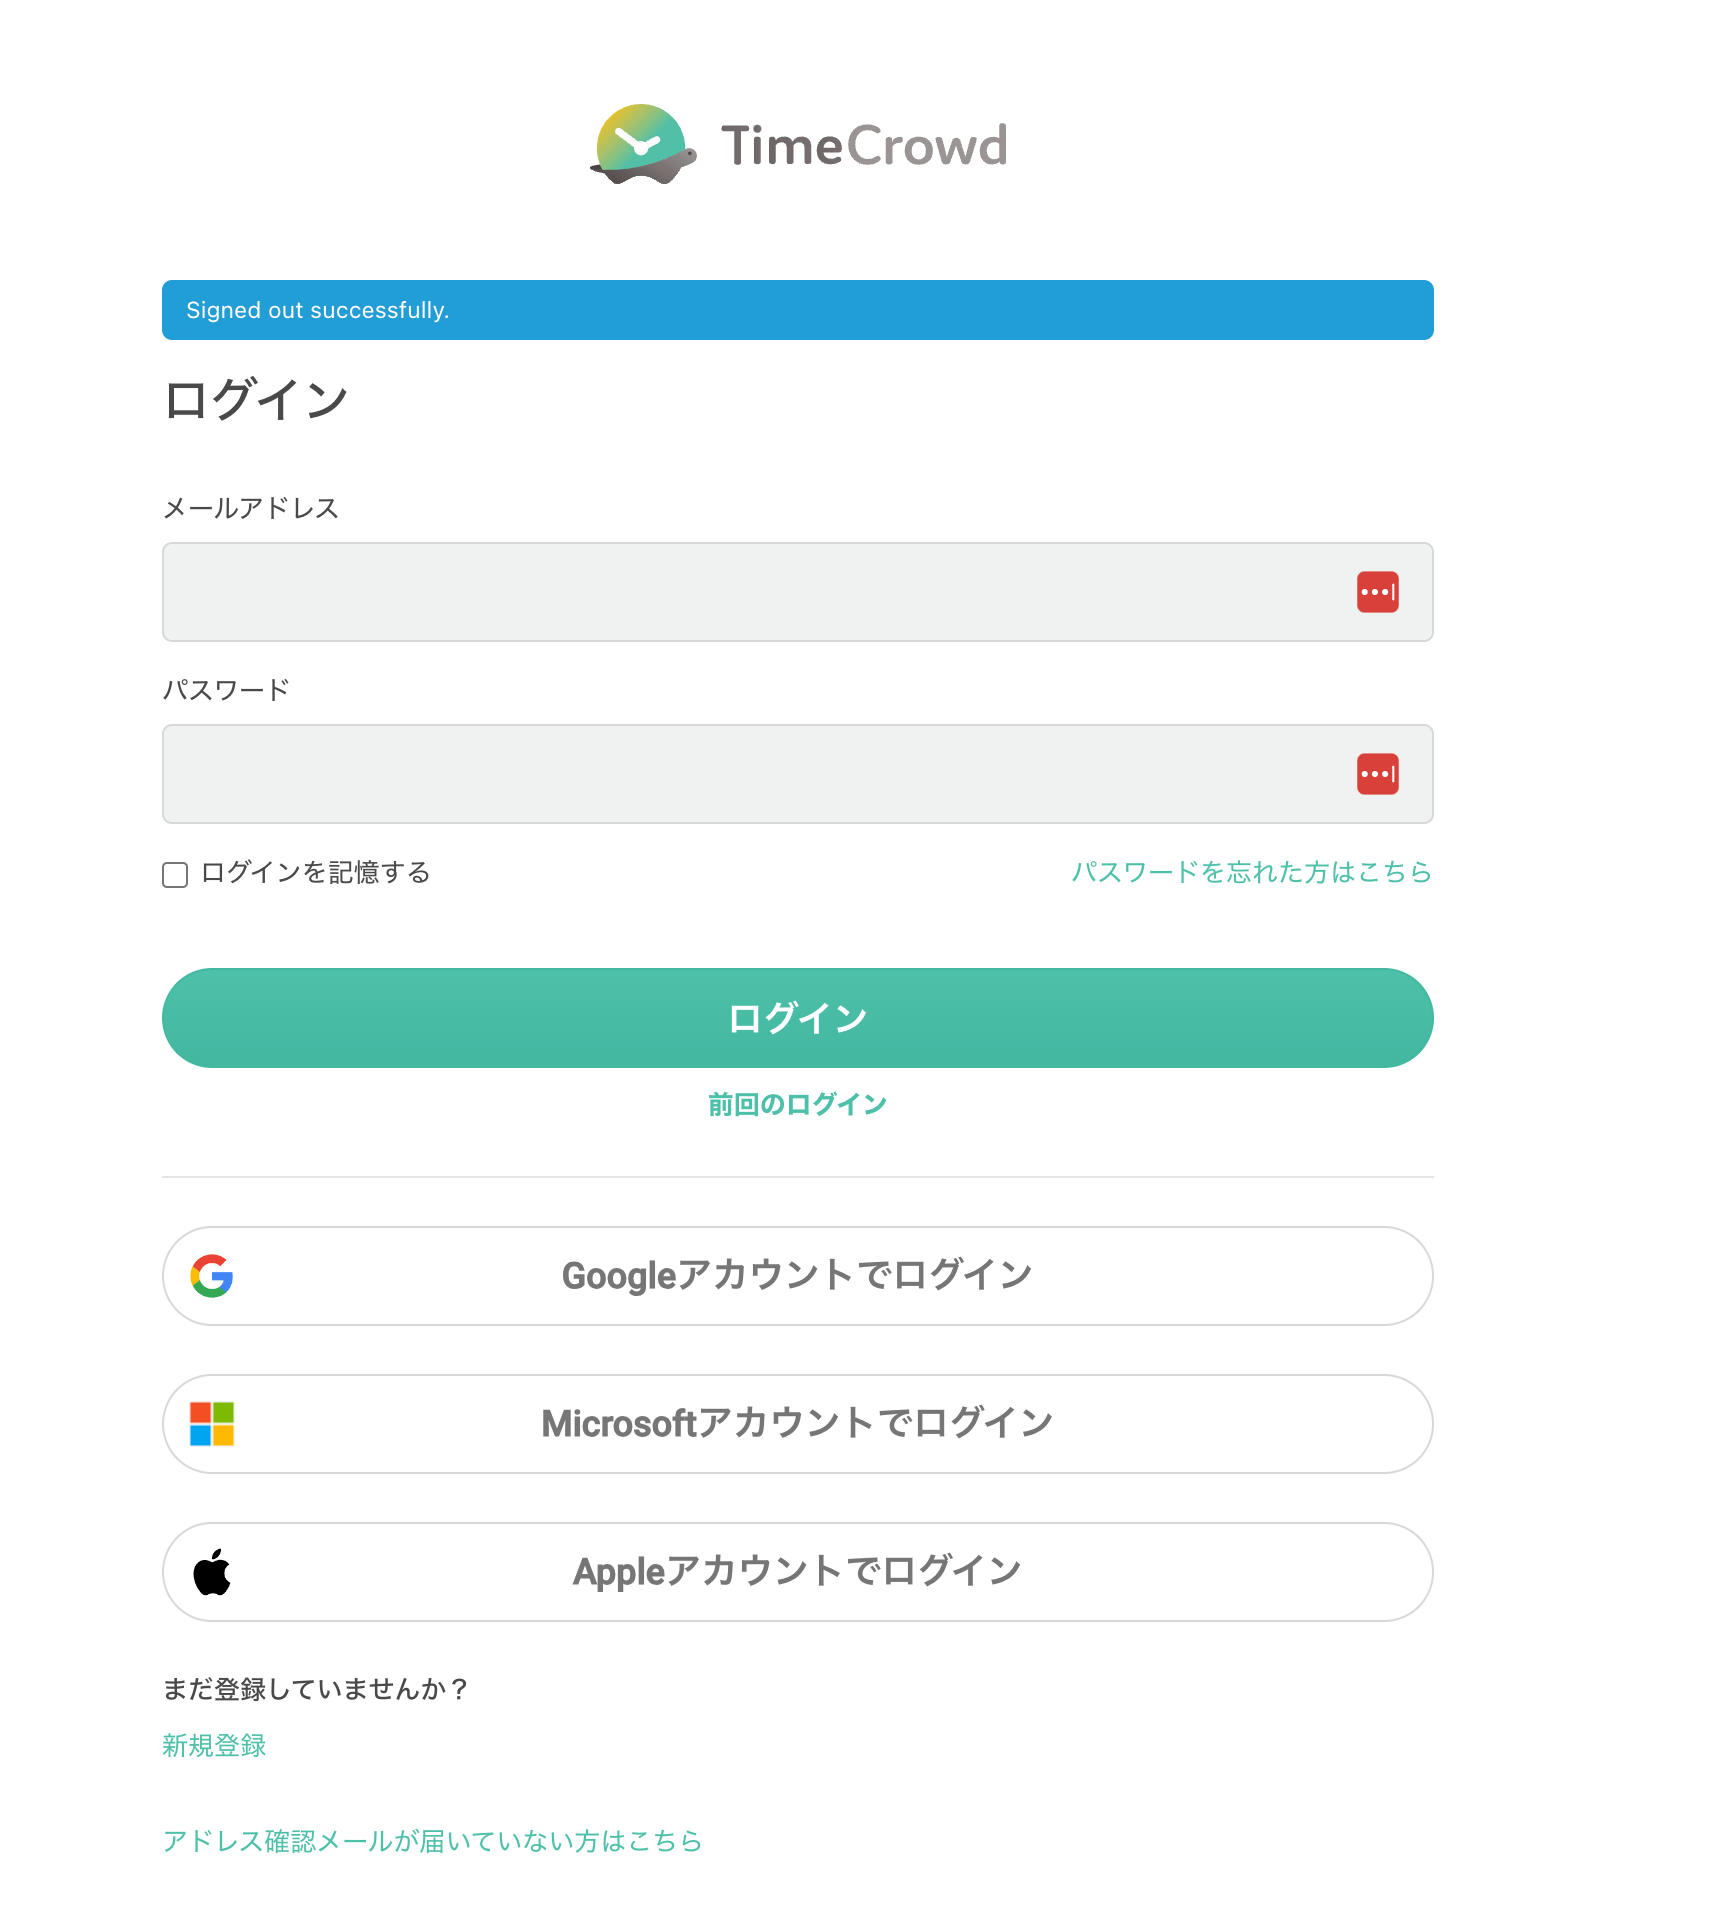
Go to the [login page](https://timecrowd.net/users/sign_in) and log in with your email address and password.
 ### Creating an Access Key
Create an OAuth App on TimeCrowd for use with the Admina integration.
1. While logged in to TimeCrowd, click the following URL.
[https://timecrowd.net/oauth/applications](https://timecrowd.net/oauth/applications)
Click **New Application**.
### Creating an Access Key
Create an OAuth App on TimeCrowd for use with the Admina integration.
1. While logged in to TimeCrowd, click the following URL.
[https://timecrowd.net/oauth/applications](https://timecrowd.net/oauth/applications)
Click **New Application**.
 2. The following screen will appear. Enter each value as described.
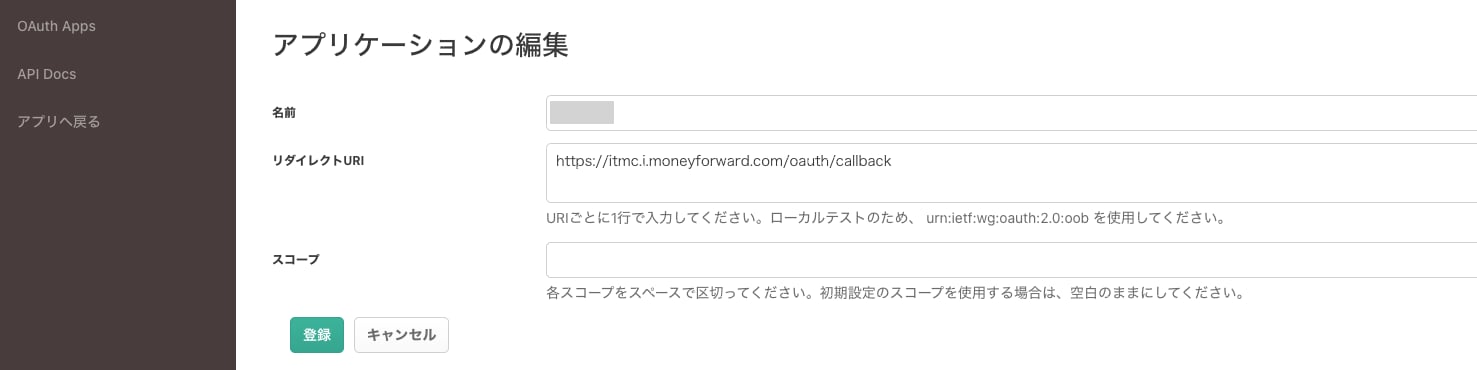 * Name: The name of the application. Enter any name you like (e.g., Admina).
* Redirect URI: **[https://itmc.i.moneyforward.com/oauth/callback](https://itmc.i.moneyforward.com/oauth/callback)**
* Scopes: Leave blank.
After entering the values, click **Submit**.
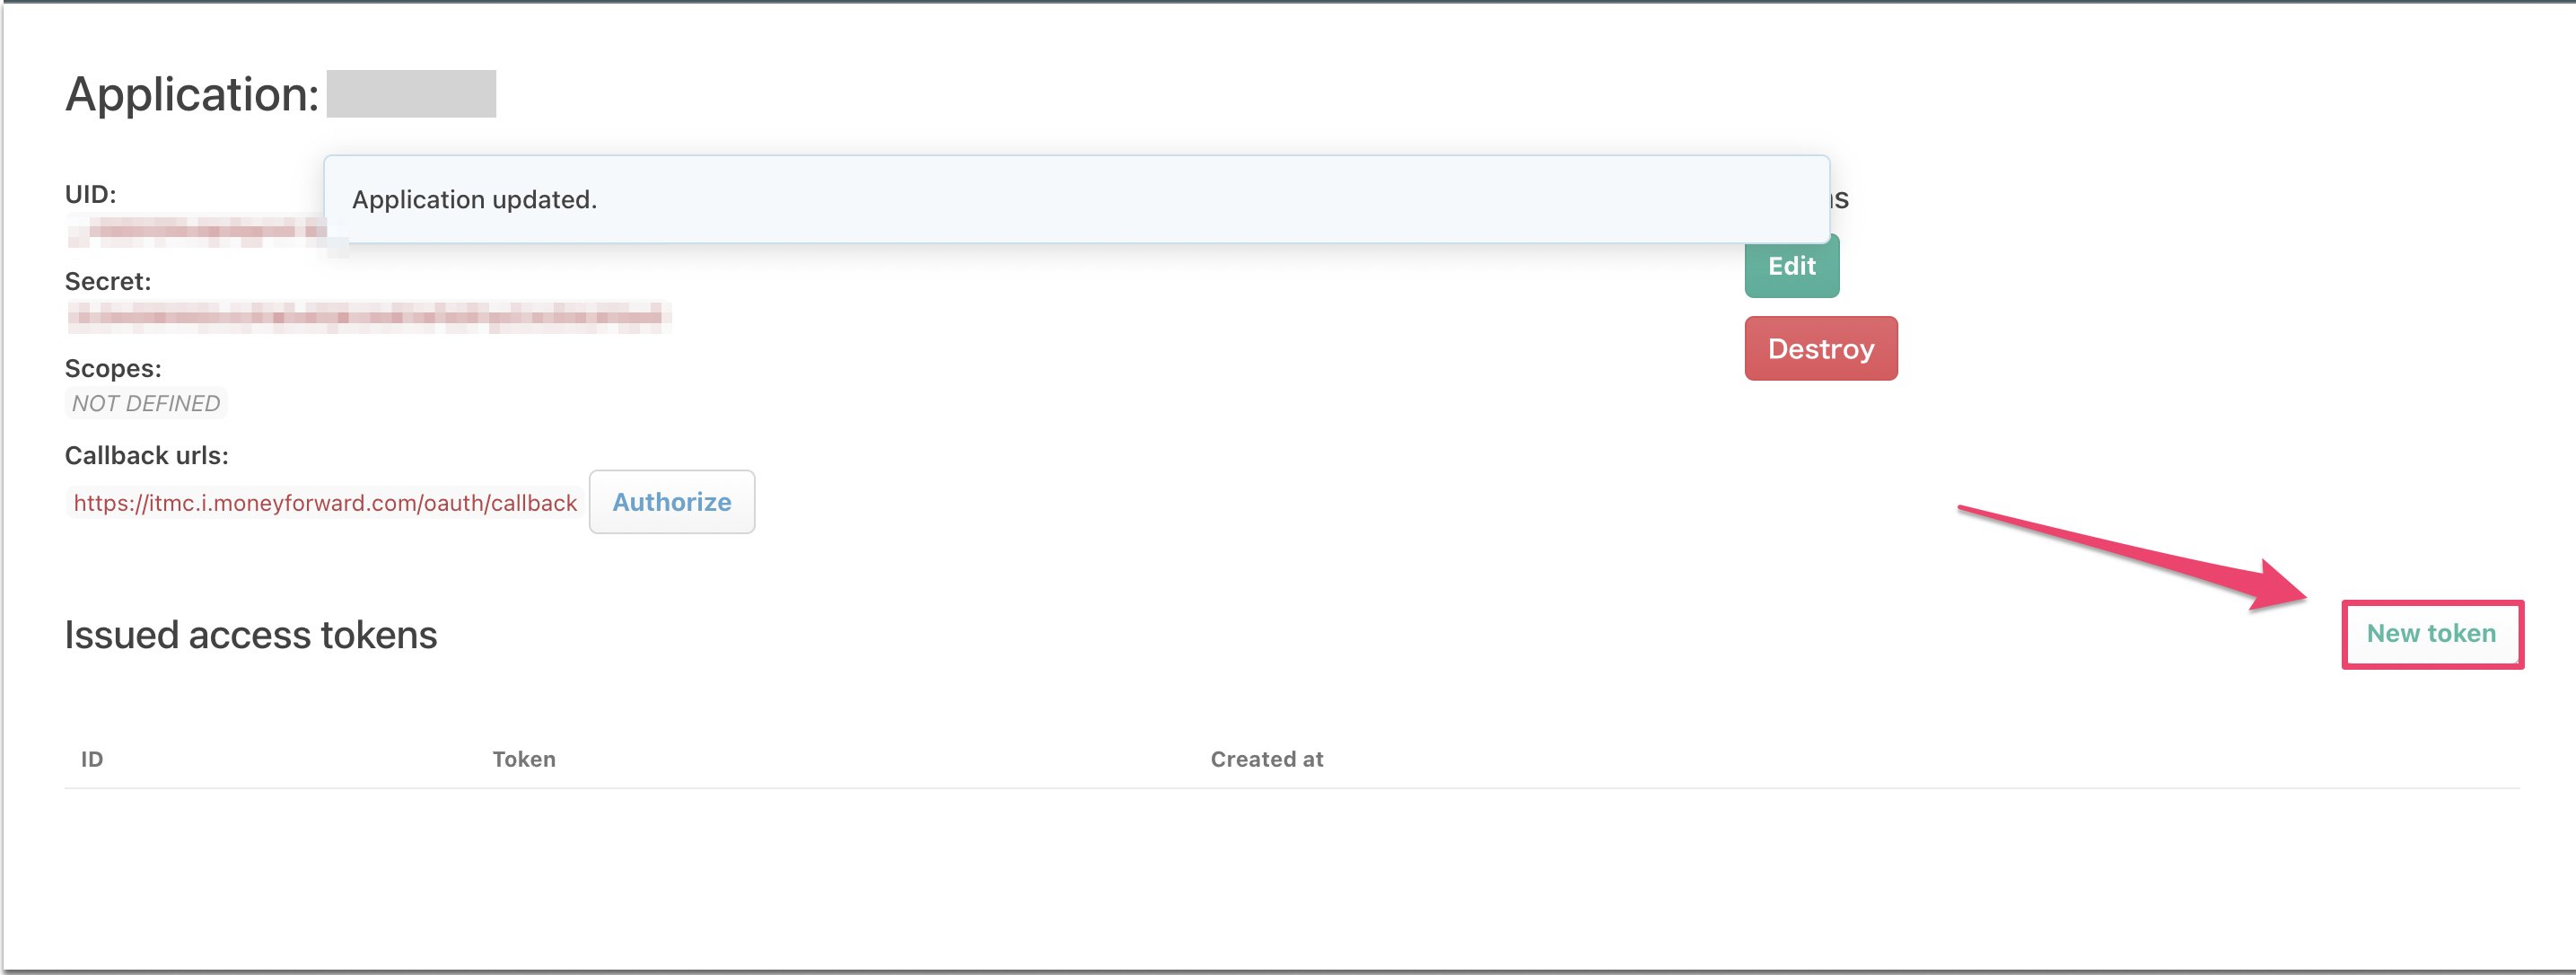
3. The following screen will appear. Click **New Token**.
* Name: The name of the application. Enter any name you like (e.g., Admina).
* Redirect URI: **[https://itmc.i.moneyforward.com/oauth/callback](https://itmc.i.moneyforward.com/oauth/callback)**
* Scopes: Leave blank.
After entering the values, click **Submit**.
3. The following screen will appear. Click **New Token**.
 Click **Issue**.
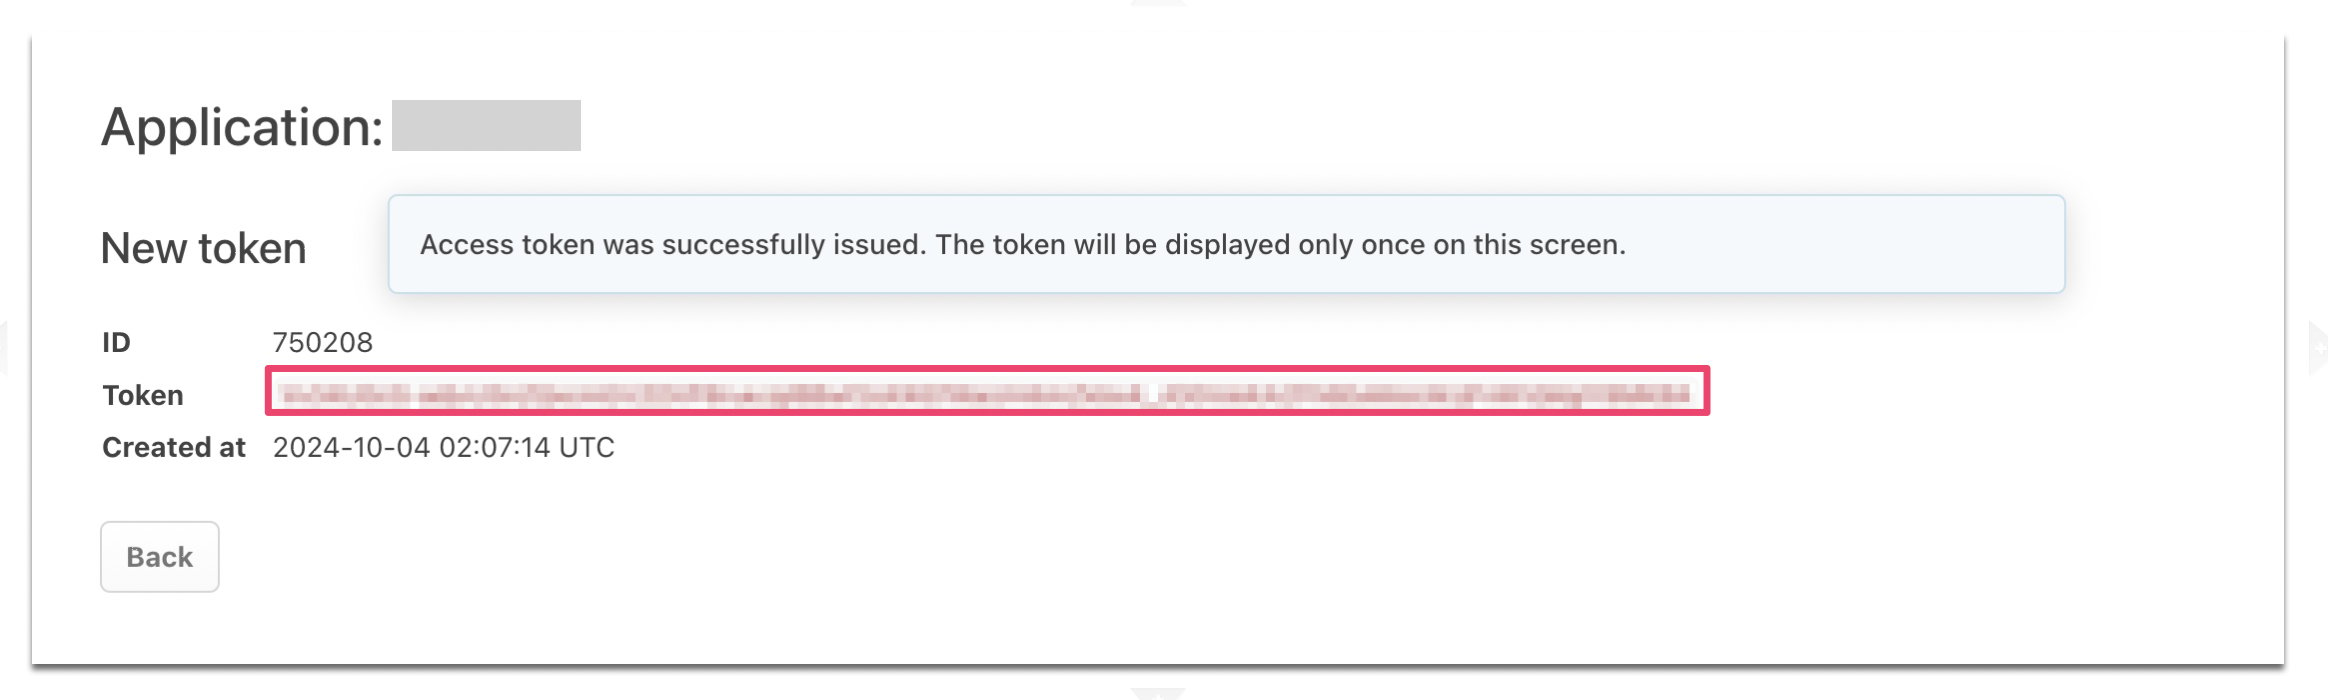
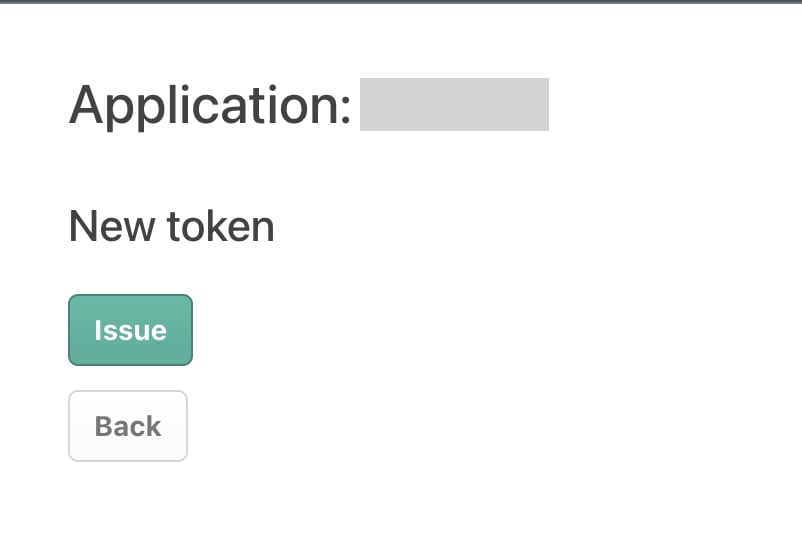 Your integration token will be displayed — copy it. This token is the access key you will enter in Admina.
 ## Integration Setup
In the MoneyForward Admina integrations screen, search for **TimeCrowd**.
## Integration Setup
In the MoneyForward Admina integrations screen, search for **TimeCrowd**.
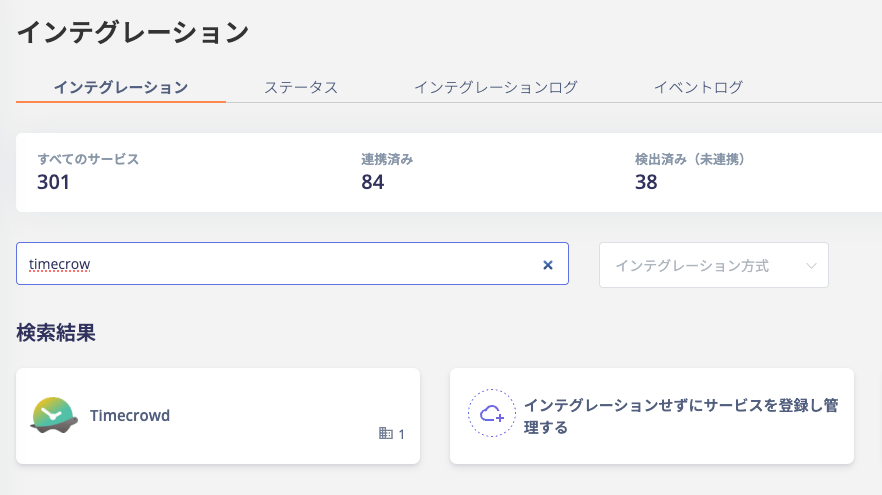 Enter the access key obtained in the previous step and click **Connect**.
 Once the integration is successful, the registered user information will appear in the account list.
If it does not complete successfully.
Click **Edit** from the Status tab on the integrations screen and try connecting again.
If the issue persists, please contact us via chat.
Once the integration is successful, the registered user information will appear in the account list.
If it does not complete successfully.
Click **Edit** from the Status tab on the integrations screen and try connecting again.
If the issue persists, please contact us via chat.