> ## Documentation Index
> Fetch the complete documentation index at: https://hc.saas-manager.biz.nuro.jp/llms.txt
> Use this file to discover all available pages before exploring further.
# OutSystems
> OutSystems との連携手順です。
## サポートする機能
アカウント削除 アカウント無効化 アカウント作成
連携には管理者権限のアカウントが必要です。
## 事前準備
### ログイン方法
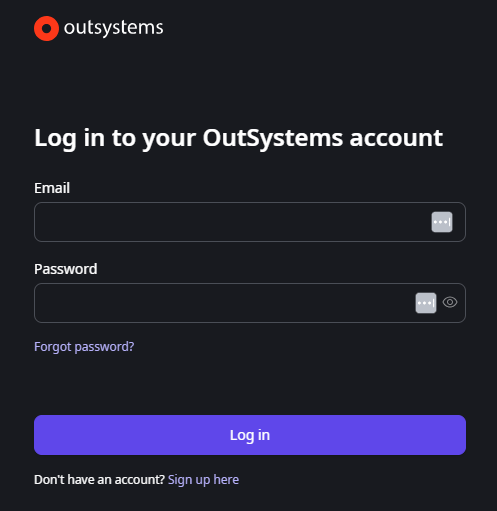
[OutSystemsログインページ](https://id.outsystems.dev/login?client_id=6232a7o9ei3engnedc8ukfc9m4\&redirect_uri=https://os-pre-unified-login.outsystems.app/Community/rest/redirect/login\&authorization_code=9c007644-47c5-4ea2-b8f1-61bfc905d135\&stay_logged_in_feature=disabled\&state=c3D8KT_-VCI3G9OwIzO8EJhStmhQd_pO0JPn4UUji-Q.wCIHed5xDQE.UMLoxiIhQPCiRNLDtAjS0Q.eyJydSI6Imh0dHBzOi8vcGVyc29uYWwtNmRmeW51bG8ub3V0c3lzdGVtcy5kZXYvYXV0aGVudGljYXRpb24vcmVkaXJlY3QiLCJydCI6ImNvZGUiLCJzdCI6IjkwYjY3ZTQxLWRmZjEtNGRjYi1hYWMwLTE3YjZiYzZiZDM2NCxodHRwczovL3BlcnNvbmFsLTZkZnludWxvLm91dHN5c3RlbXMuZGV2L2FwcHMvIn0)にて、メールアドレス・パスワードを入力し、ログインします。
 ### Base URL の確認方法
OutSystems ログイン後、URL を確認します。**URL の一部**が **Base URL** です。
例)`https://personal-6dfynulo.outsystems.dev/apps/` の場合、`https://personal-6dfynulo.outsystems.dev` が Base URL です。
### Base URL の確認方法
OutSystems ログイン後、URL を確認します。**URL の一部**が **Base URL** です。
例)`https://personal-6dfynulo.outsystems.dev/apps/` の場合、`https://personal-6dfynulo.outsystems.dev` が Base URL です。
 ### クライアントID、クライアントシークレットの取得方法
左側メニューから、**MANAGE** > **API clients** をクリックします。
### クライアントID、クライアントシークレットの取得方法
左側メニューから、**MANAGE** > **API clients** をクリックします。
 **Create API Client** をクリックします。
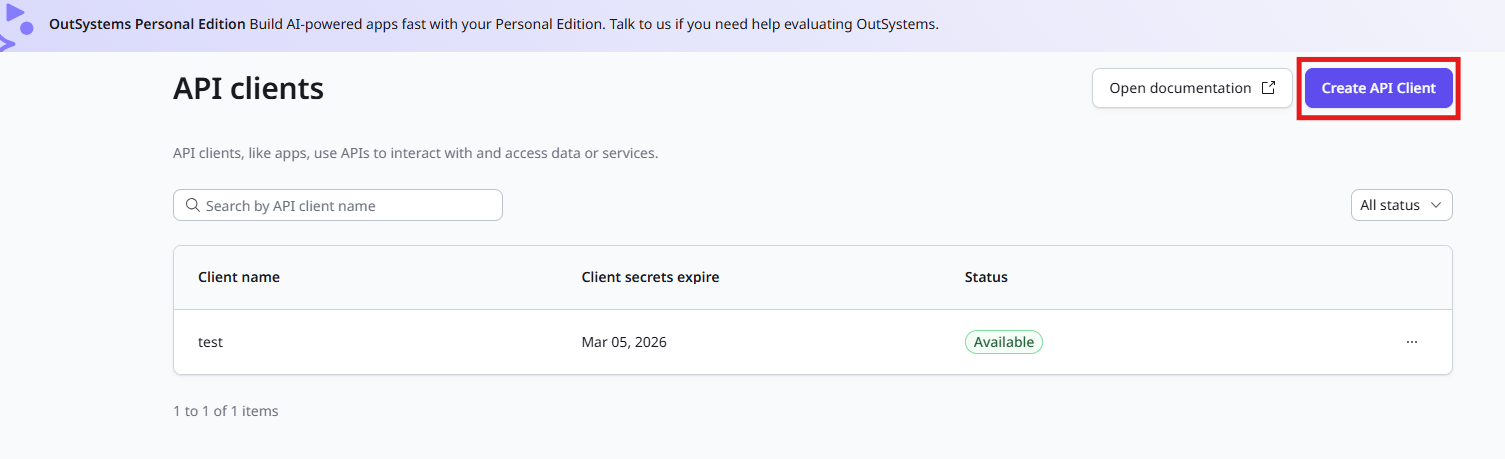 任意のクライアント名と有効期限を設定します。
 下にスクロールし、**User management** の項目の **Manage Users** にチェックを入れ、**Get started** をクリックします。
(View members と Manage member access も自動的にチェックが入ります。)
下にスクロールし、**User management** の項目の **Manage Users** にチェックを入れ、**Get started** をクリックします。
(View members と Manage member access も自動的にチェックが入ります。)
 作成された**クライアント ID、クライアントシークレット**をコピーします。
## インテグレーションのセットアップ
マネーフォワード Admina のインテグレーション画面にて、**OutSystems** で検索します。
任意の**ワークスペース名**、前の手順で取得した **Base URL**、**クライアント ID**、**クライアントシークレット**を入力し、**連携する**をクリックします。
作成された**クライアント ID、クライアントシークレット**をコピーします。
## インテグレーションのセットアップ
マネーフォワード Admina のインテグレーション画面にて、**OutSystems** で検索します。
任意の**ワークスペース名**、前の手順で取得した **Base URL**、**クライアント ID**、**クライアントシークレット**を入力し、**連携する**をクリックします。
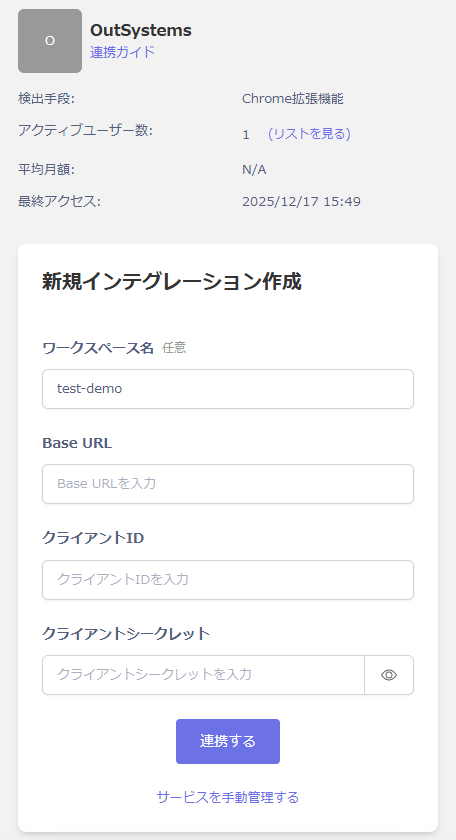 連携に成功すると、アカウント一覧に登録済みのユーザー情報が表示されます。
正常に完了しない場合は、インテグレーション画面のステータスタブから**編集**し、再度連携をお試しください。
解決しない場合はチャットにてお問い合わせください。
連携に成功すると、アカウント一覧に登録済みのユーザー情報が表示されます。
正常に完了しない場合は、インテグレーション画面のステータスタブから**編集**し、再度連携をお試しください。
解決しない場合はチャットにてお問い合わせください。