

Receiving escalation notifications
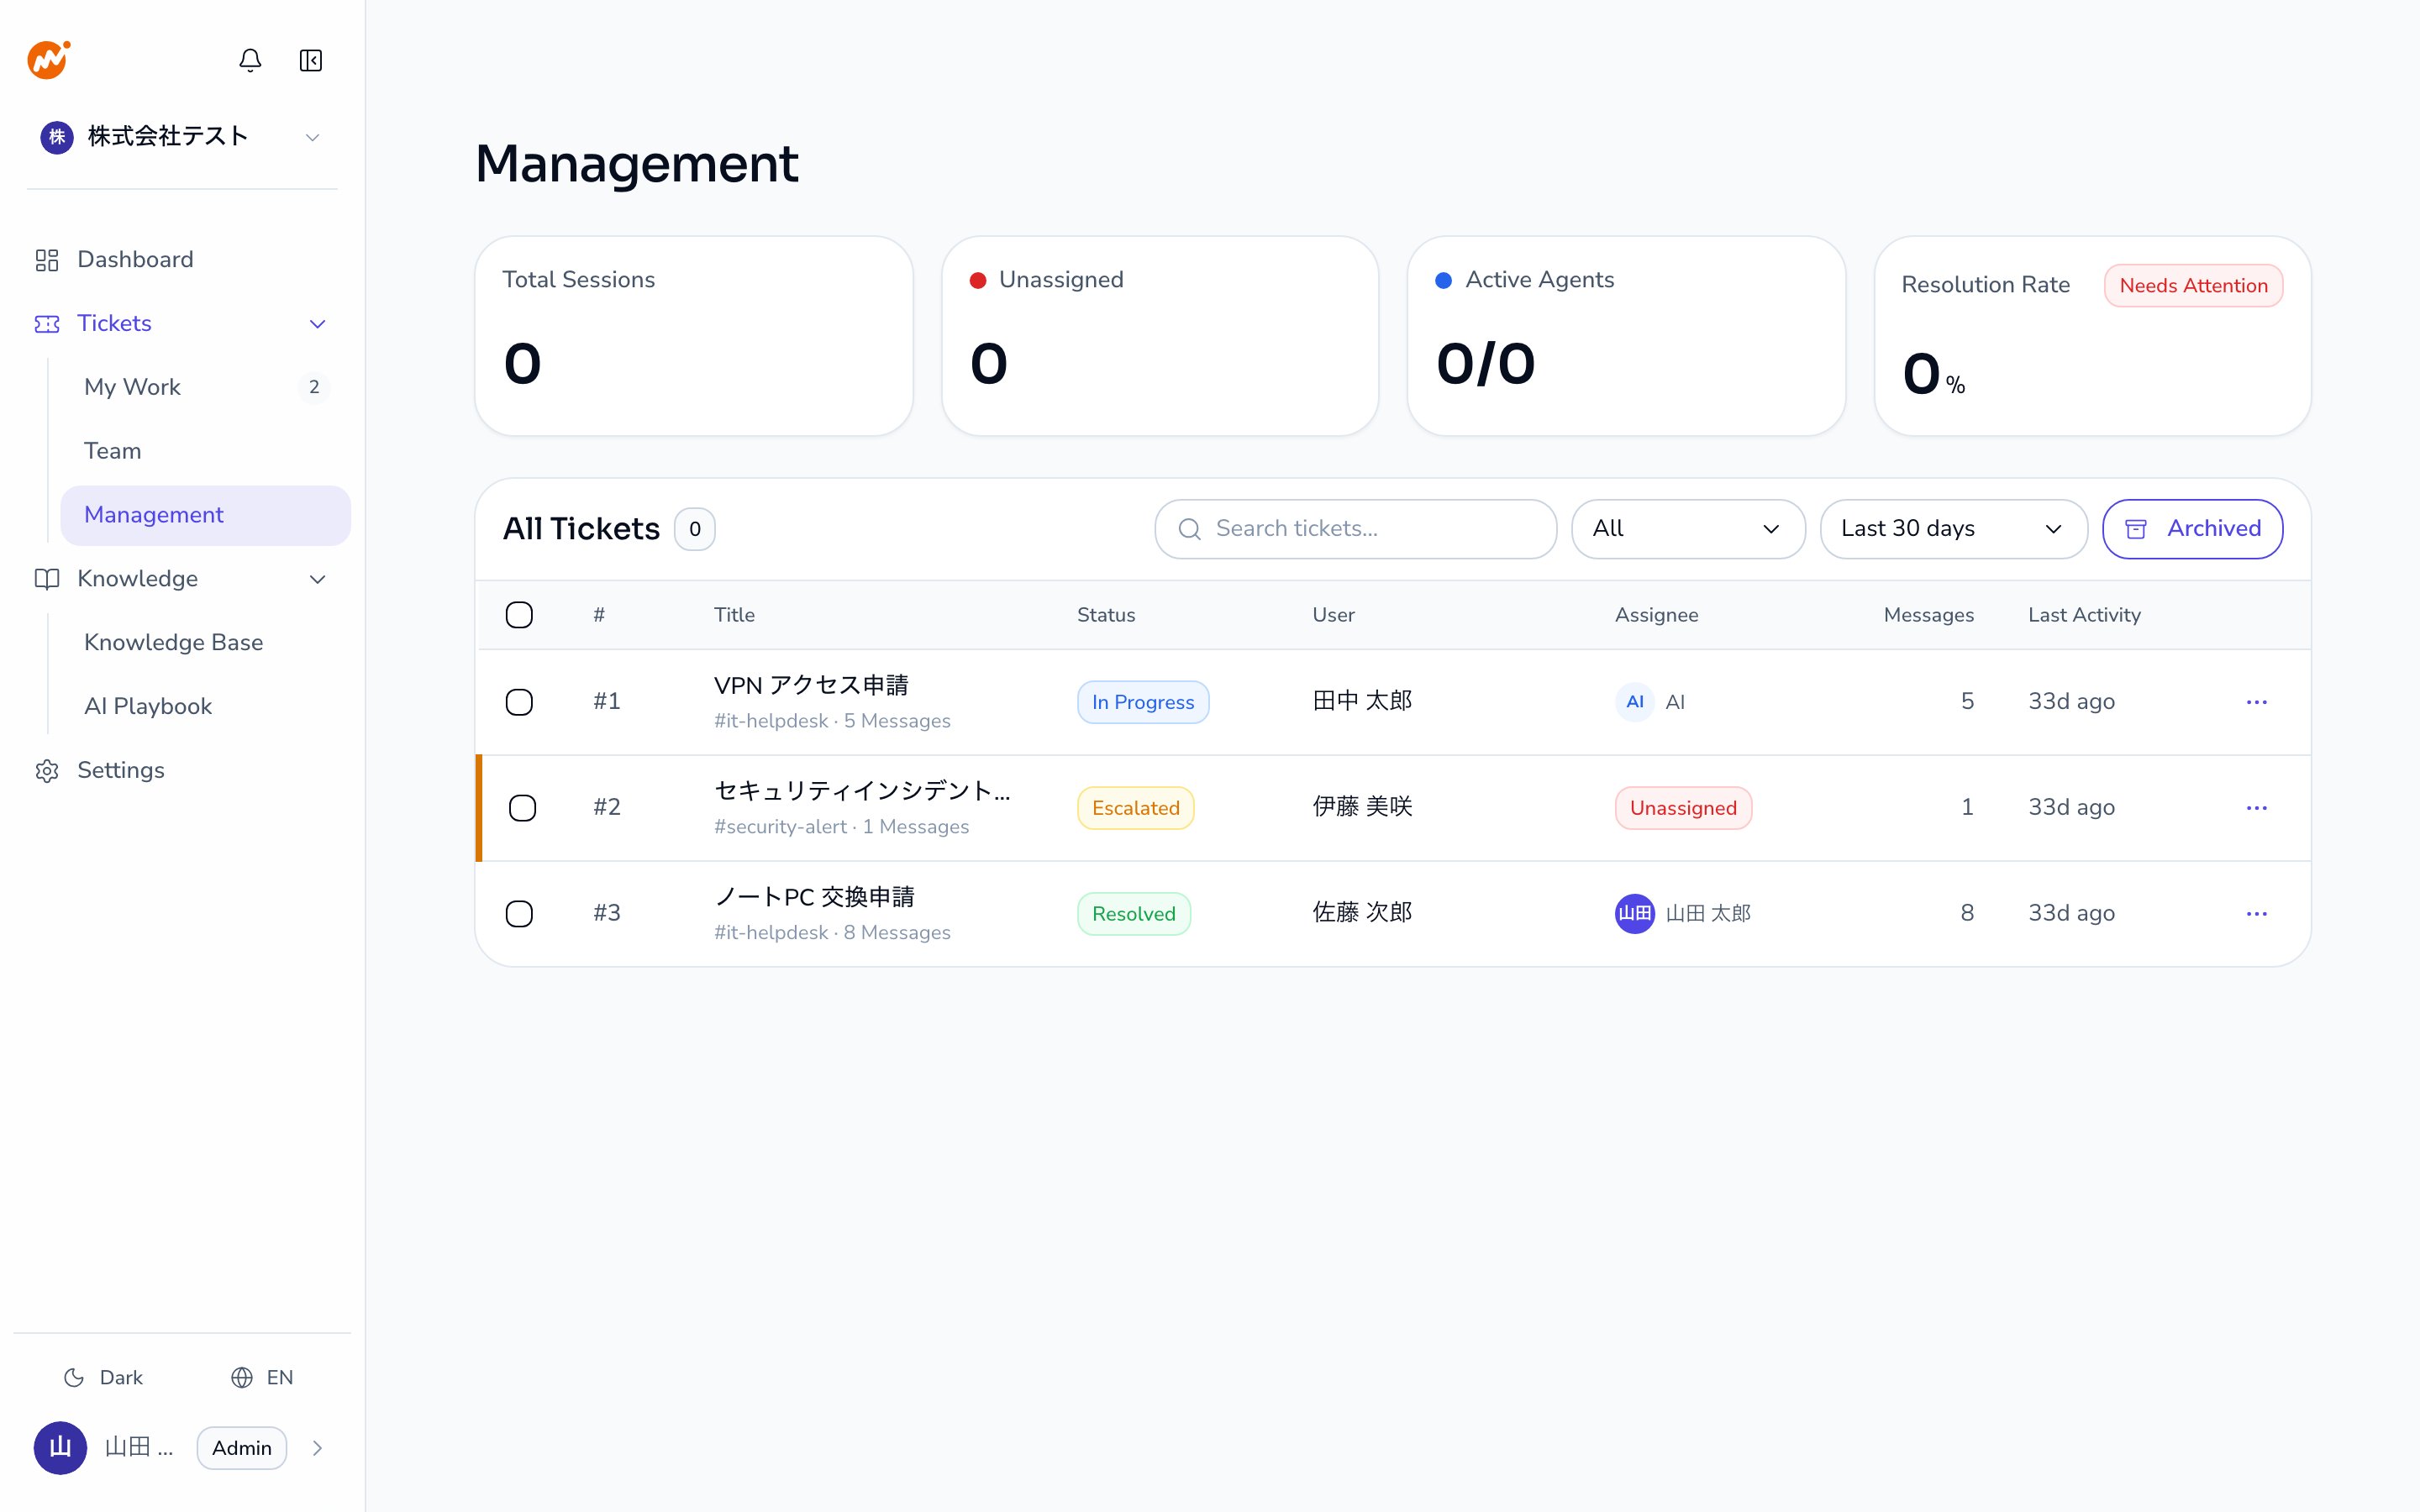
When a session is escalated to you, you are notified in the following ways:- The session appears in the To Do list on the dashboard with an “Escalated” label
- A web notification is sent, or a DM on your connected chat tool. This applies to Slack, Microsoft Teams, LINE WORKS, and Google Chat, based on your notification settings
Sessions in the unassigned queue can be found and claimed from the Team view.
Handling an escalated ticket
Open the ticket
Click Respond now in the To Do list on the dashboard, or open the ticket from Tickets > My Work.
Review the conversation history
In the ticket detail panel, read through the conversation history between the AI and the requester to understand the context of the escalation.
Reply in the channel
Reply directly in the original thread, or send a message from the web admin panel.For Slack-based sessions, use the Open in Slack button in the detail panel to open the original thread.
Claiming an unassigned ticket
Changing the assignee
Returning to the unassigned queue
To make a ticket available for anyone to claim, use the “Escalate” action to move it back to the unassigned queue.- Select Escalate from the ”…” menu in the ticket detail panel or row
- Confirm in the dialog. The session moves to the unassigned queue
Assigning directly to a specific operator
Use the Assign to submenu in the ticket detail panel to assign the session directly to any available operator or admin.- Select Assign to from the ”…” menu in the ticket detail panel
- Choose the operator or admin from the list of assignable agents
- Confirm in the dialog. Click Assign to to complete the action
You can do the same from the channel: the requester can use
!escalate @username, or an operator can use !assign @username.Returning to the AI agent
After handling a session, you can return it to the AI agent by using the Assign to AI action.- Select Assign to AI from the ”…” menu in the ticket detail panel
- Confirm in the dialog
!assign ai channel command for the same effect.
Sessions and assignee state
Every session has two independent attributes: state and assignee.| Assignee | Meaning |
|---|---|
| AI | AI is the primary responder. This is the default when a session is created |
| Specific operator | A named operator is responsible |
| Unassigned | No one is assigned yet; any operator can claim it |