


Finding your Organization ID
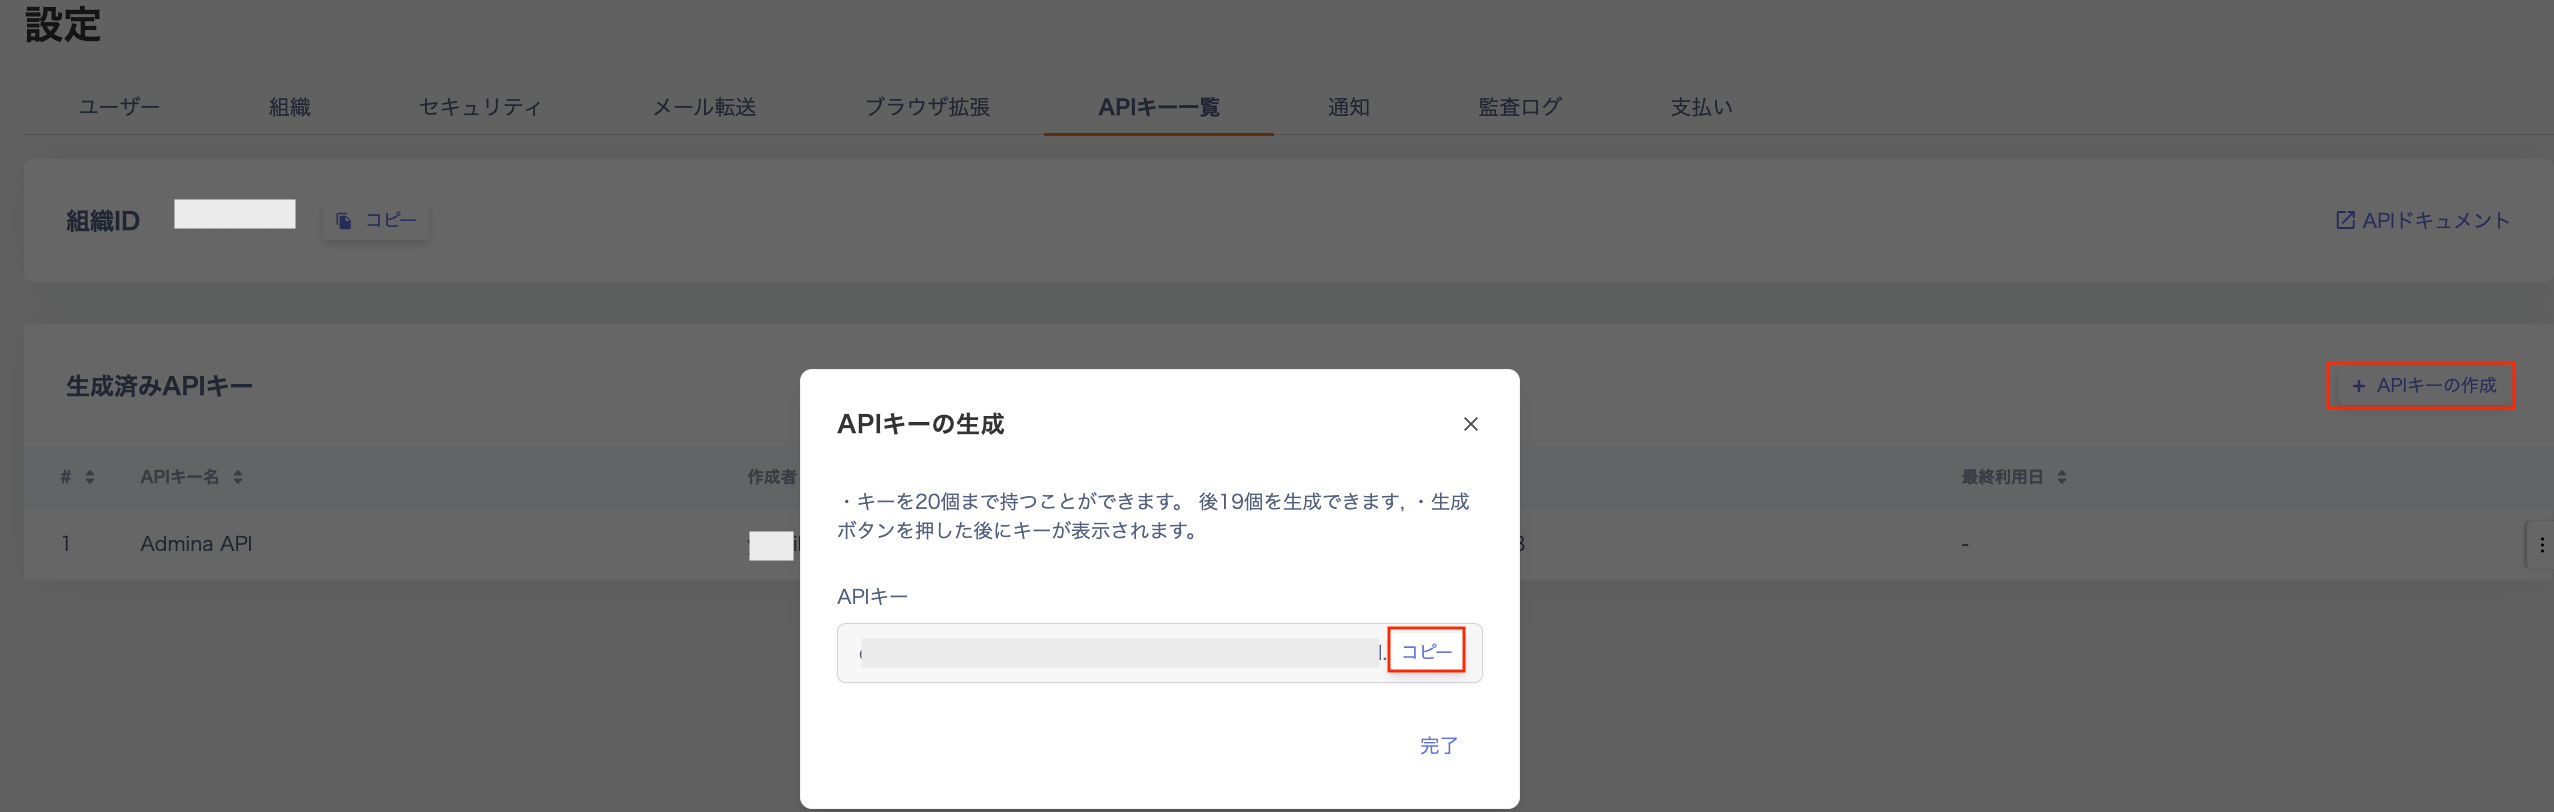
Your Organization ID is shown as Organization ID under Settings > API Key List. Copy it for use in API calls.
Setting the Organization ID in the Public API
When setting Path Params > organizationId in the Public API, enter the value you copied above.
Generating an API Key
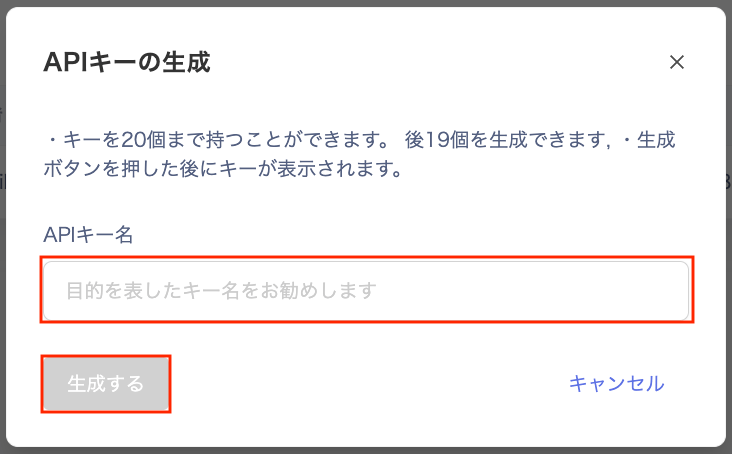
- Go to Settings > API Key List and click the Generate API Key button.
-
On the “Generate API Key” screen, enter a name for the API key and click Generate.
- An API key is issued. Copy and save it. Note: You need this key to call the Public API. It is shown only once, so keep it somewhere safe.
Setting the API Key in the Public API
When setting Credentials > Bearer in the Public API, enter the value you copied above.
Finding a Service ID
“serviceId”: Go to Services > the target SaaS (e.g. GitHub) > Service ID.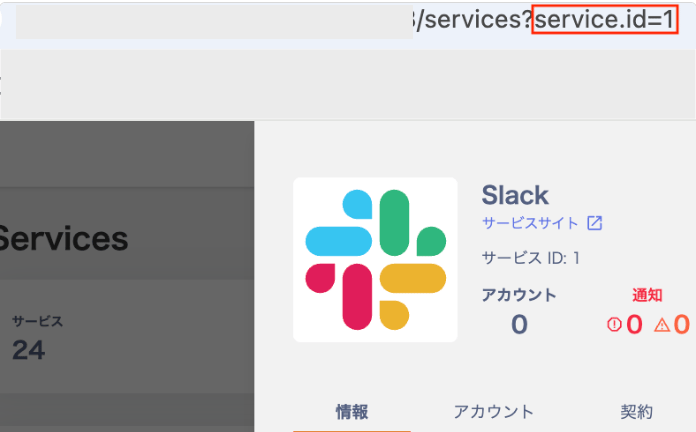
When the Public API returns an error
If you see an error while using the Public API, contact Support with the following information. For how to contact support, see Contacting Support.- The name or URL of the Public API you are using
- Details of the error
FAQ
Q. Can I switch the API to Japanese?
A. The UI does not support language switching. Use your browser’s language settings to view the page in a different language.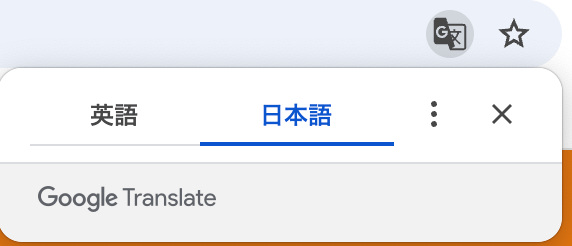
Q. Are there rules for the “Field ID Name” in API custom fields?
A. Custom field names may only uselowercase alphanumeric characters and _ (underscore).
For details on configuring custom fields, see the Device and Directory help pages.
Q. Can I specify a registration time with the API?
A. Yes. The API accepts thecreatedAt parameter, which lets you specify the date, hour, and minute.
Q. The timestamps in data retrieved via the API do not match what is shown in the admin panel. Why?
A. The Public API returns all timestamps in UTC (Coordinated Universal Time). The admin panel displays times in your local timezone (e.g. Japan Standard Time / JST). The API uses UTC to ensure reliable integration between systems.Q. How do I convert API timestamps to Japan Standard Time (JST)?
A. Convert the timestamp from UTC to your local timezone on your end. All date strings sent and received by the API are interpreted as UTC. For example, Japan Standard Time (JST) is 9 hours ahead of UTC, so00:00:00Z in the API corresponds to 09:00:00 in JST.