Connect a SaaS
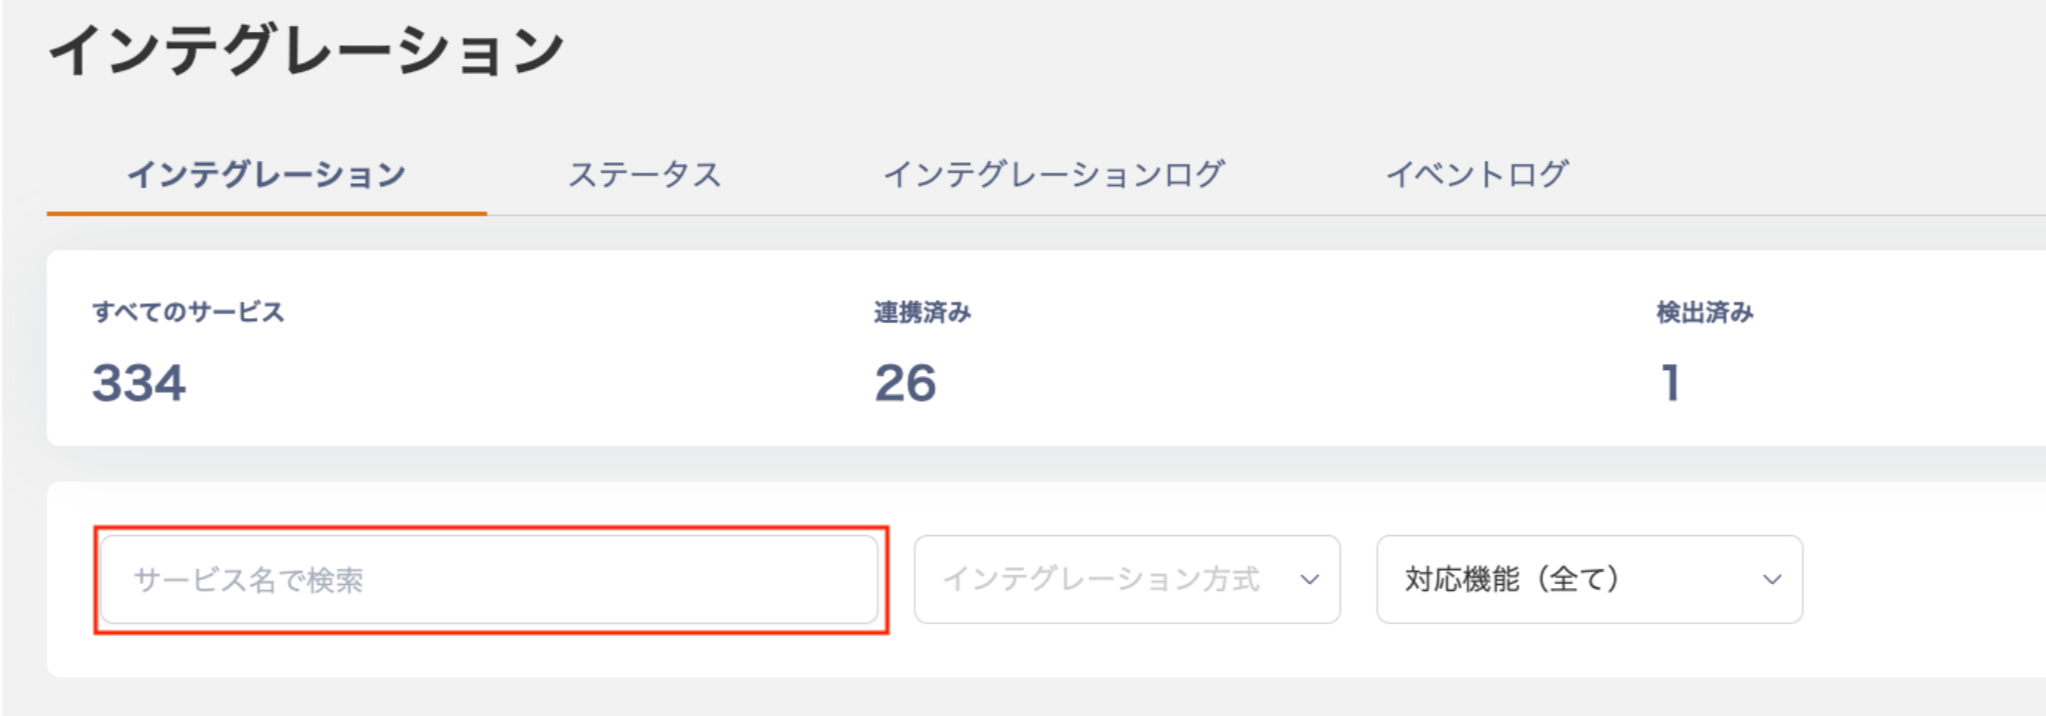
- Go to Integration > Integration.
-
Search for the SaaS name you want to connect, or click its icon.
-
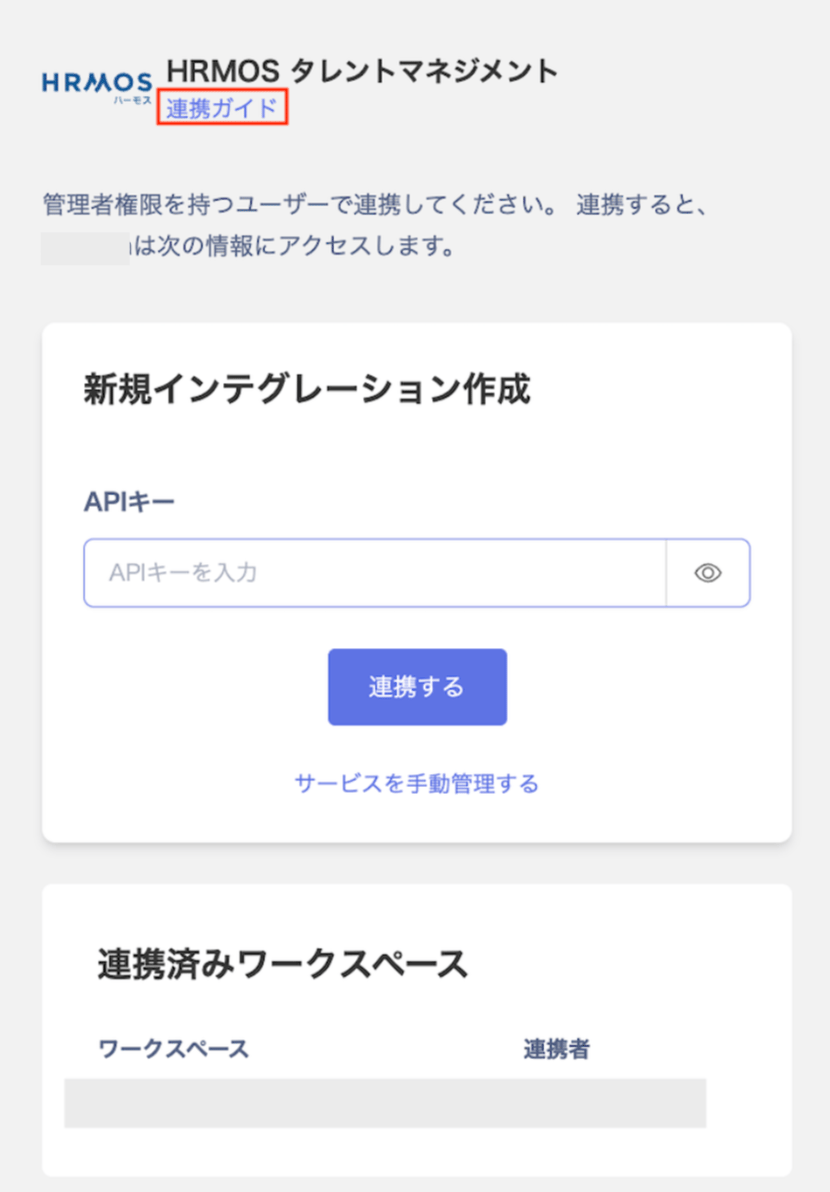
A “Create New Integration” panel appears on the right. Enter the required fields and click Connect.
Refer to the Integration Guide for details on each required field.
- The connection method varies by SaaS. For details, see the SaaS integration guides and SaaS connection patterns.
- Connection speed depends on the integration type:
API and OAuth … a few seconds
ID/Password* … 1 to 5 minutes - *ID / Password connections are not available in the following situations:
- The service forces login via a third-party provider (e.g. Google Login) or single sign-on (SSO).
- Connecting an employee account is not acceptable from a security standpoint. In these cases, create a dedicated system integration account on the SaaS side and use that to connect.
-
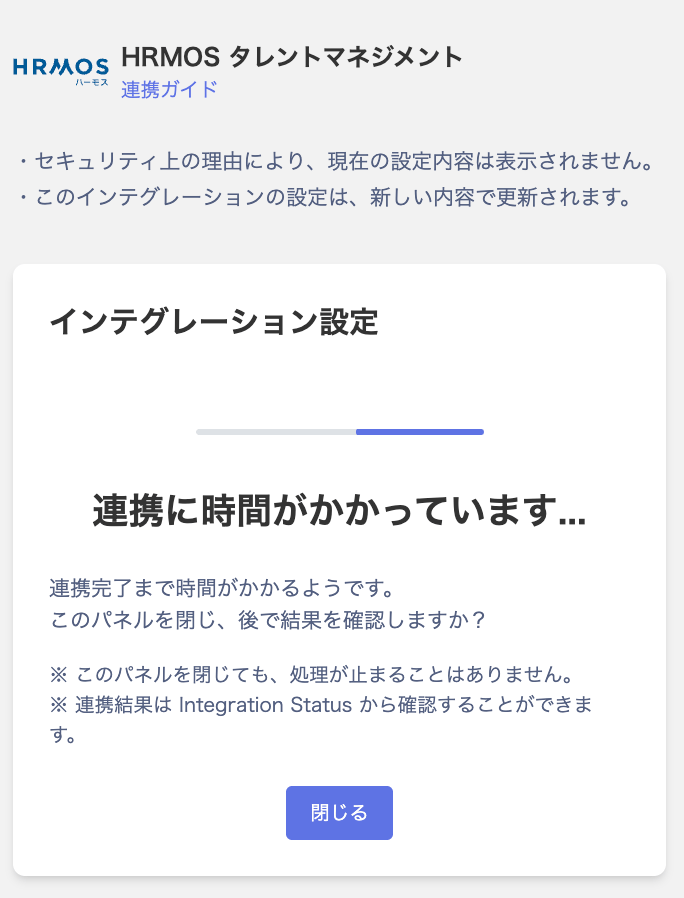
The connection starts. Wait for it to complete.
-
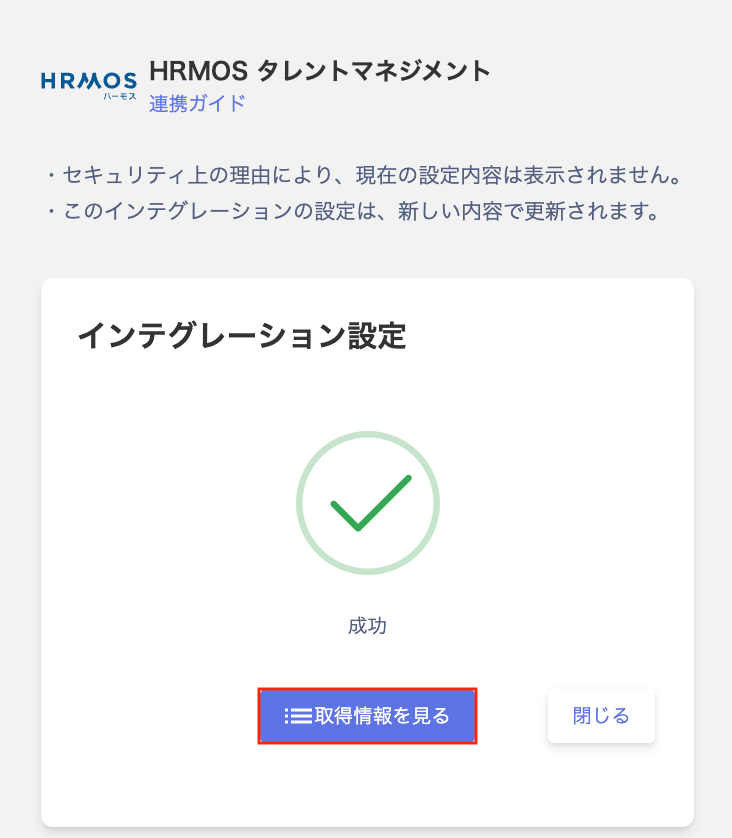
When the connection succeeds, the Integration Settings page shows a success status.
You can view the connected SaaS by clicking View retrieved data or from the service screen.
If the connection fails, see Troubleshooting SaaS connection failures.
FAQ
Q. I have already connected a SaaS listed in the supported integrations. Can I add a custom app to manage alongside the connected SaaS?
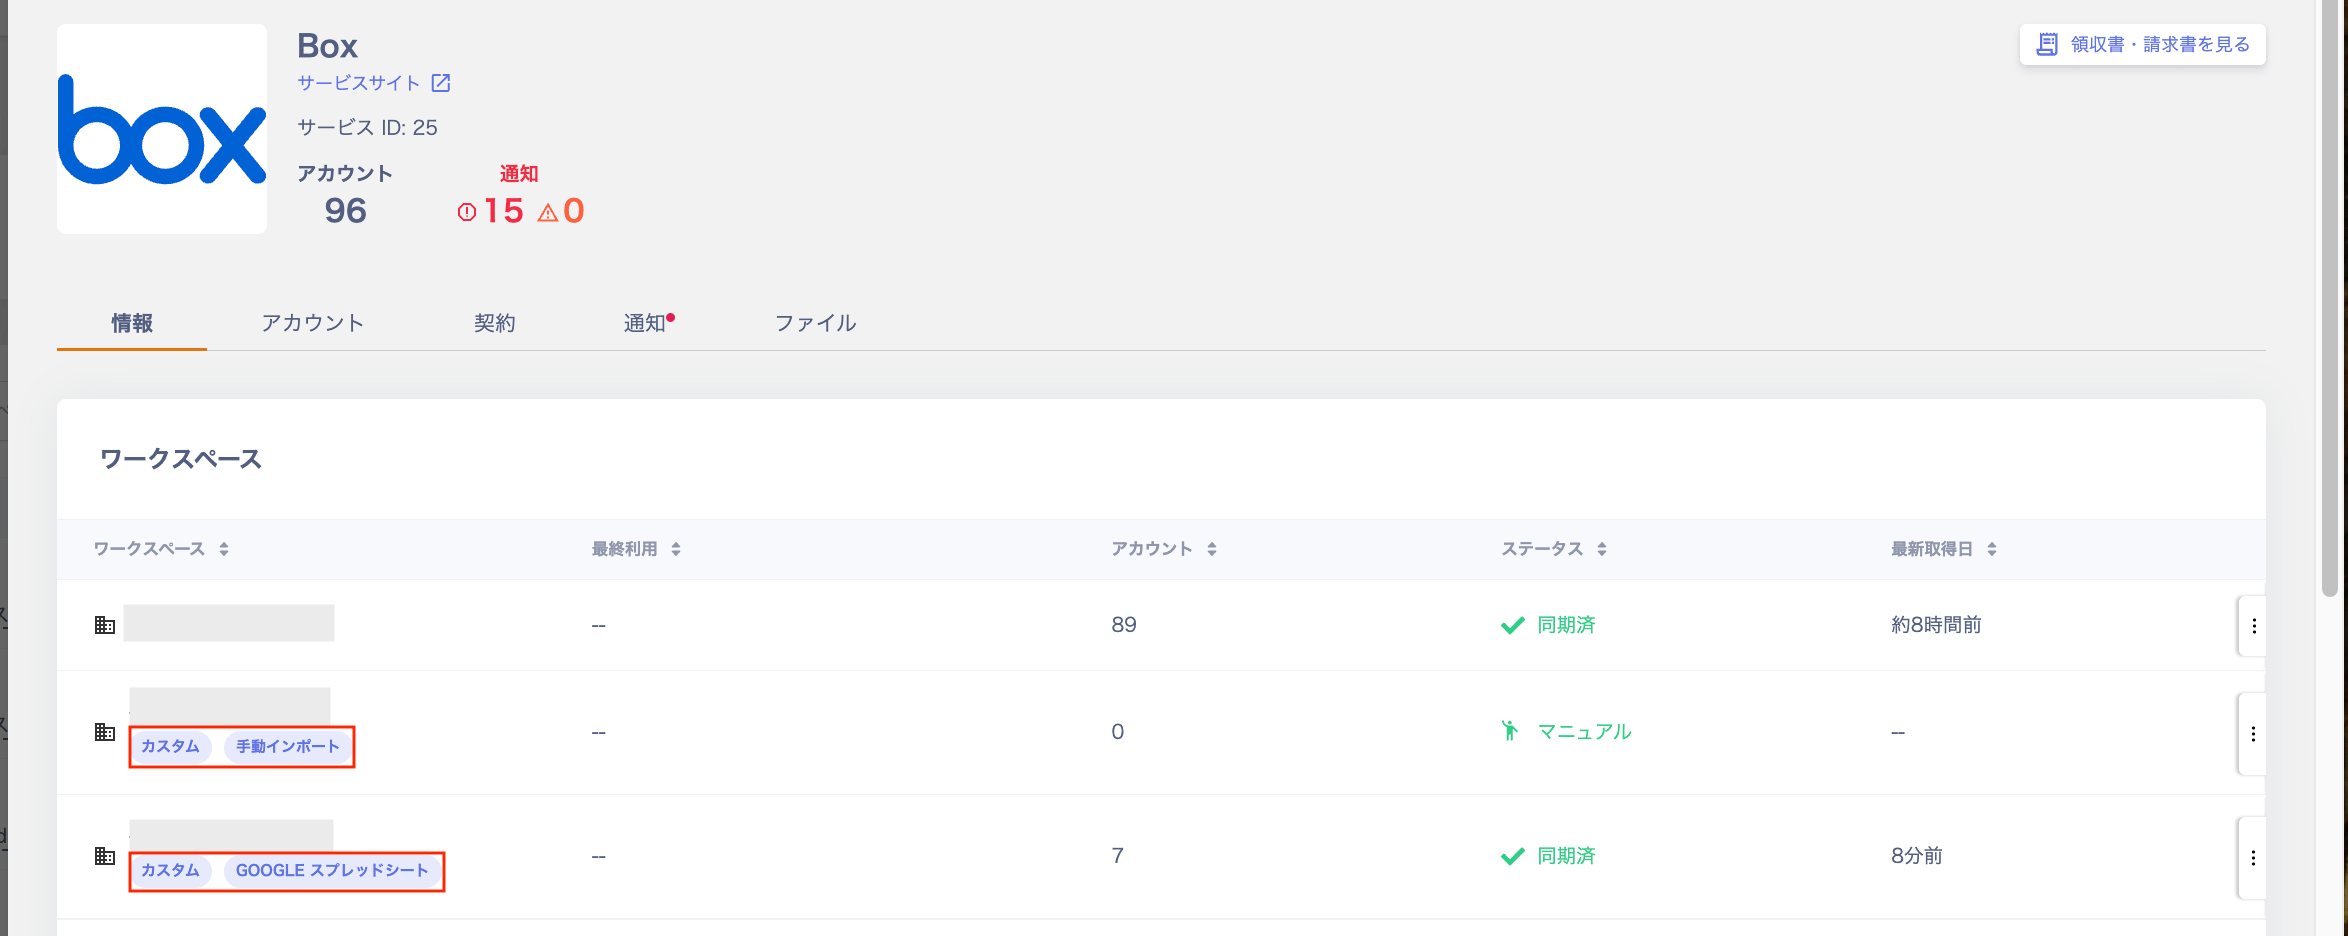
A. You can add a custom app within the same SaaS. Create it under Integration > Integration using the same SaaS name. Here is an example using BOX.-
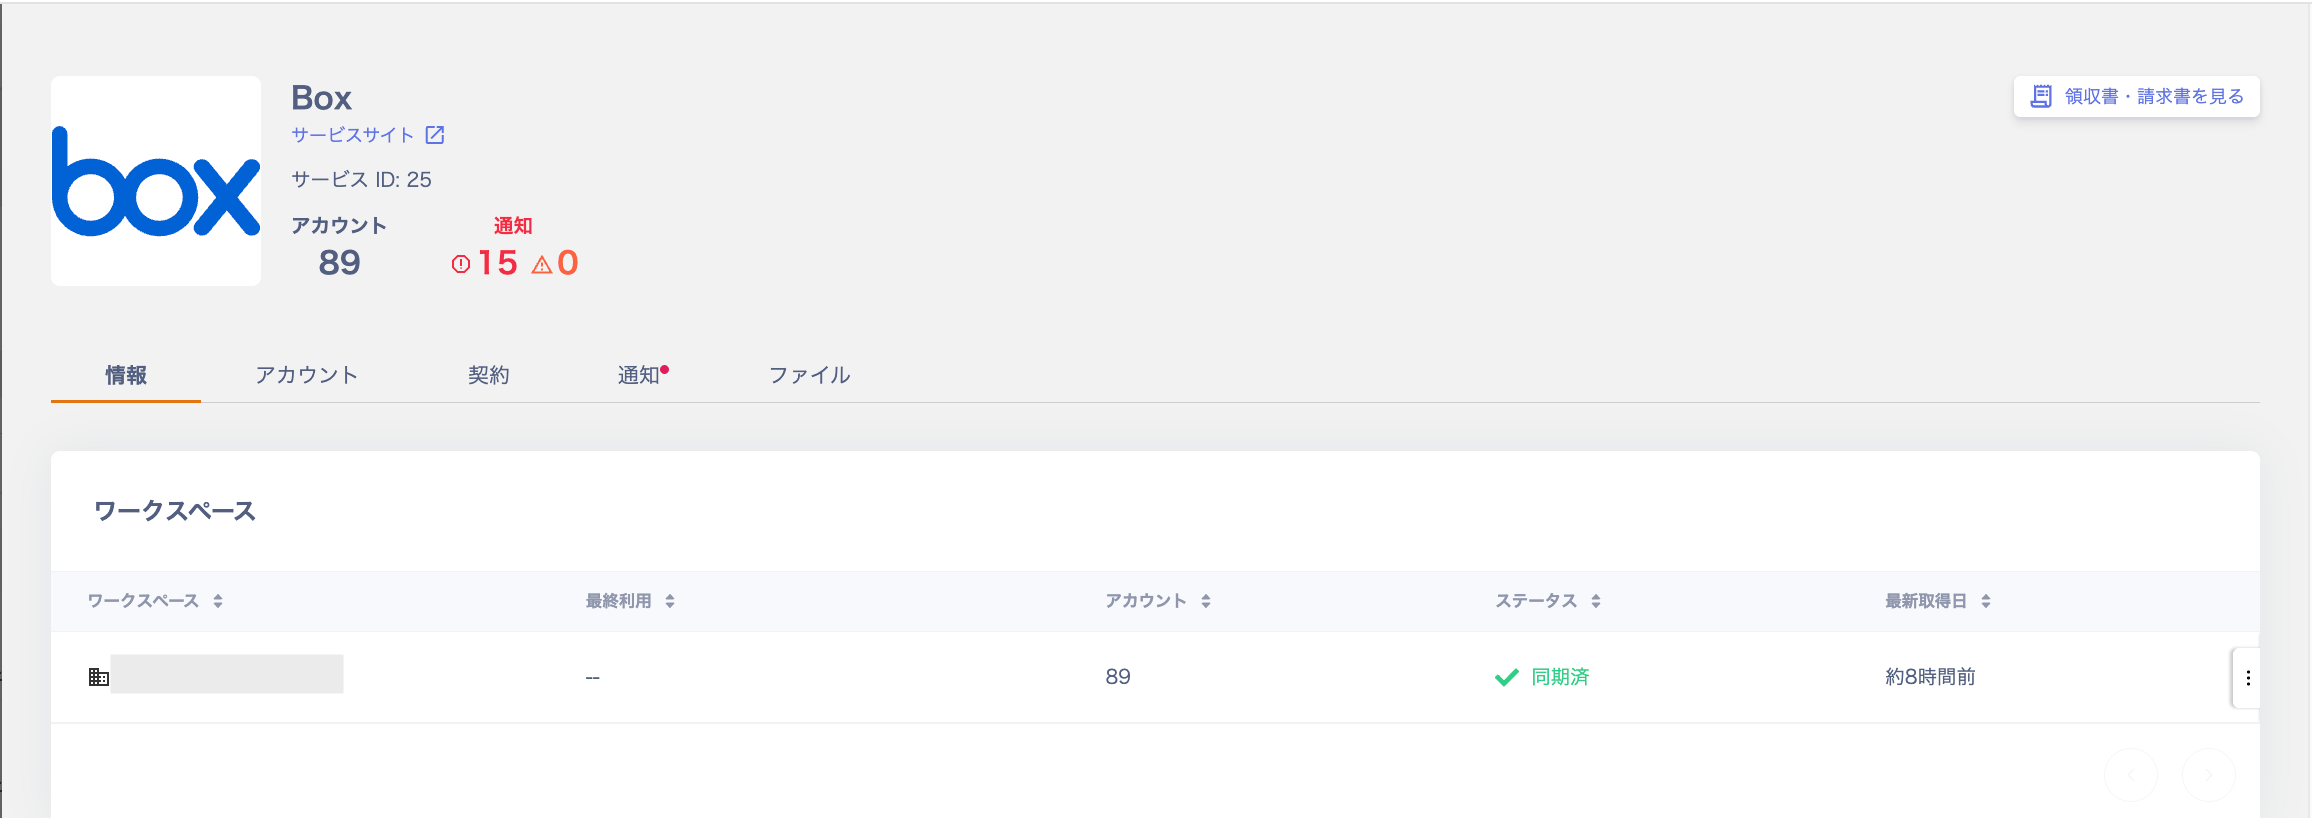
Check the registered SaaS. Go to Services > BOX > Info > Workspace to see the connected workspaces.
-
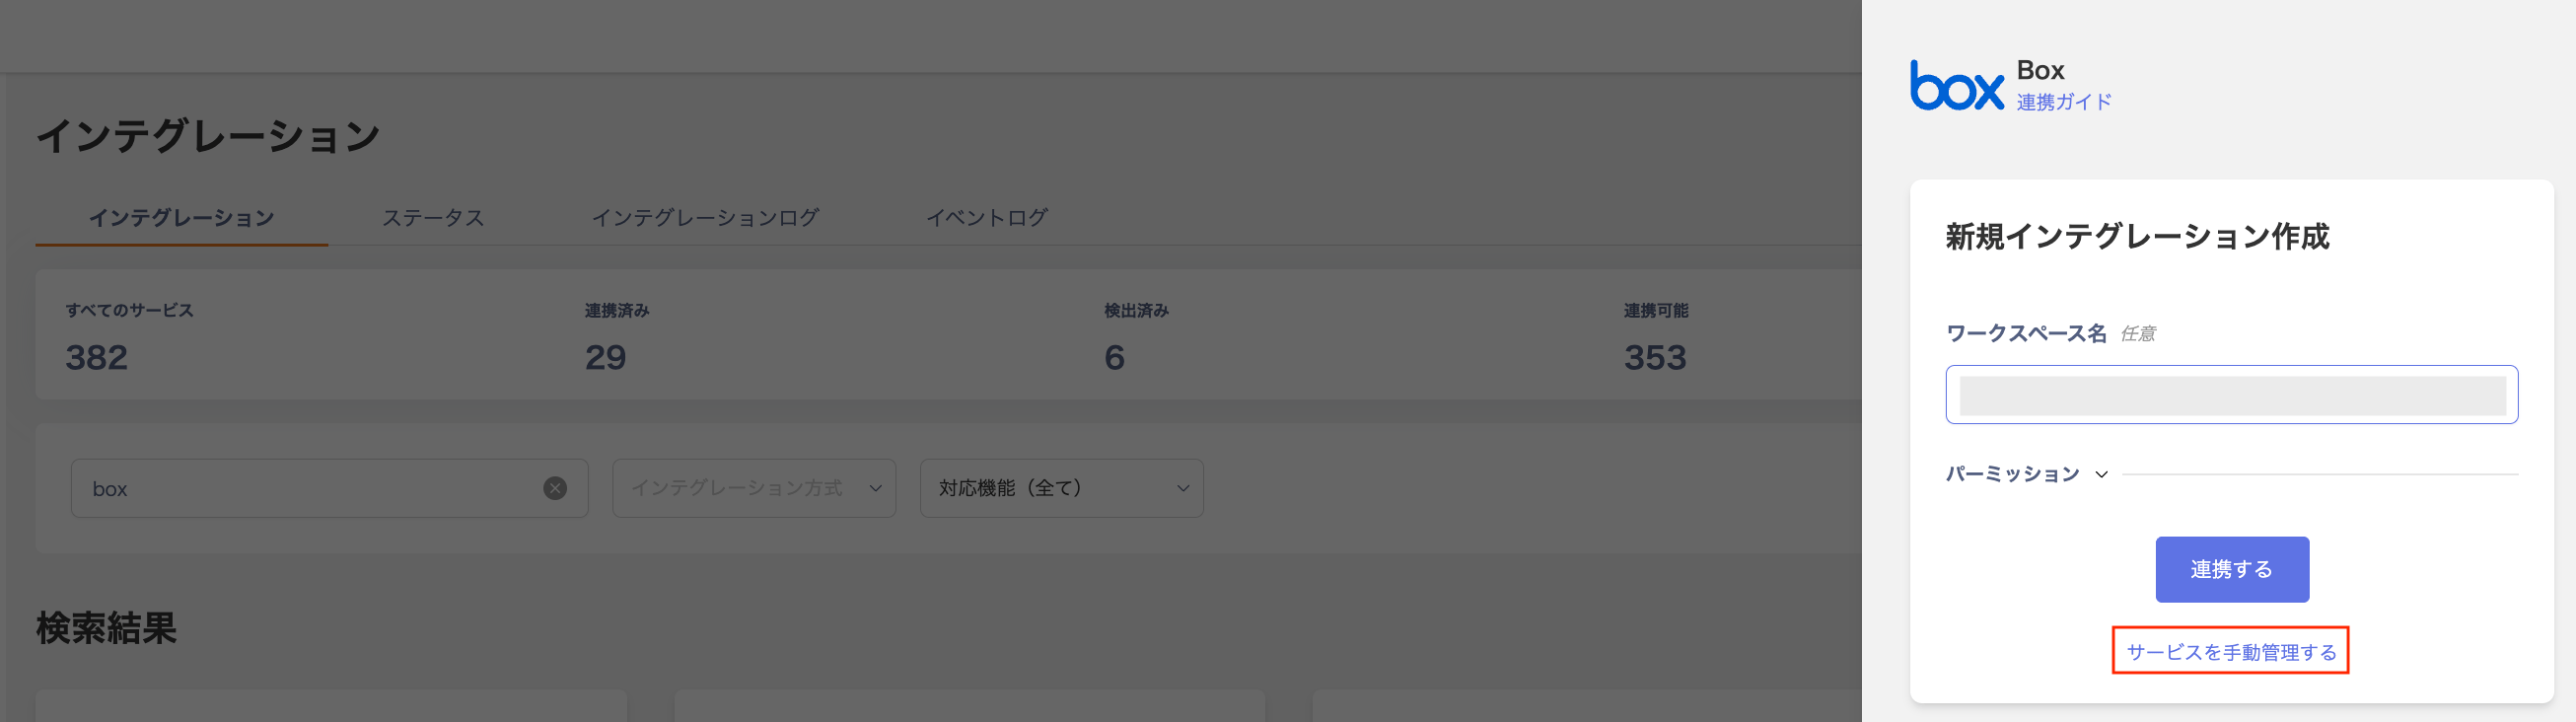
Next, search for “BOX” under Integration > Integration and click Manage service manually.
-
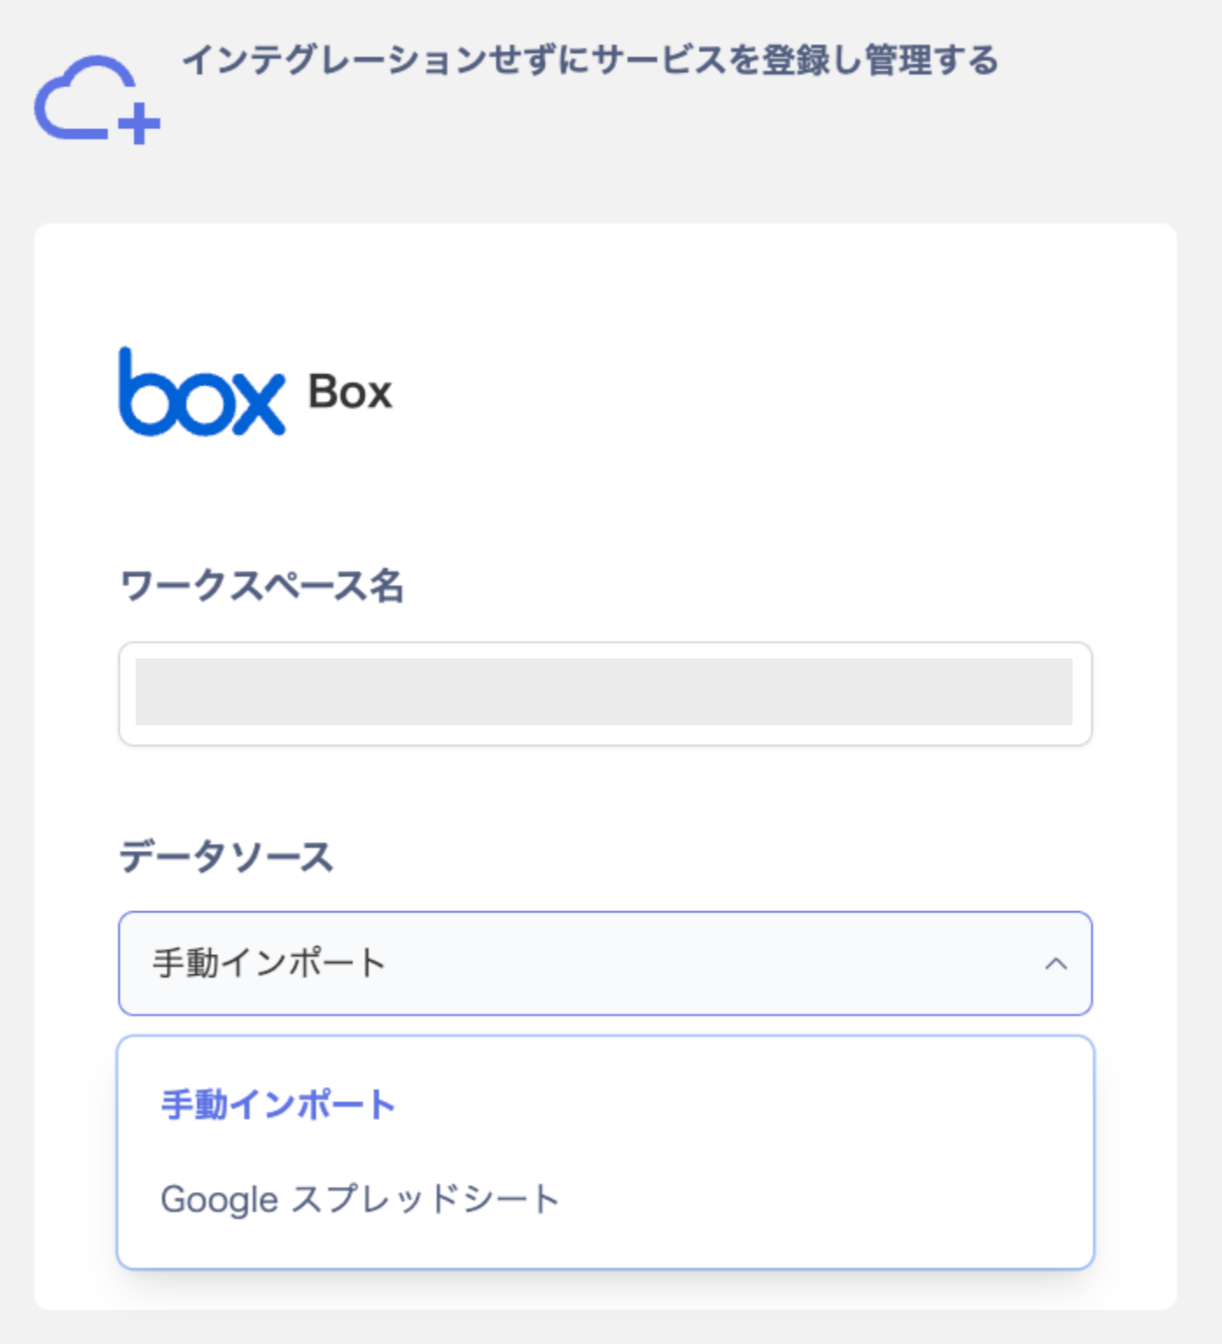
Enter the Workspace name, select a data source — Manual import / Google Sheets — and register.
For details on registering custom apps, see Register a service manually and Connect a SaaS via Google Sheets.
-
After registration, go to Services > BOX > Info > Workspace to see the newly added custom app.
Custom apps are labeled Custom.