

Connecting a SaaS
Follow these steps to connect a SaaS:- Go to Integrations > Integrations.
- Search for the SaaS by name, or click its icon.
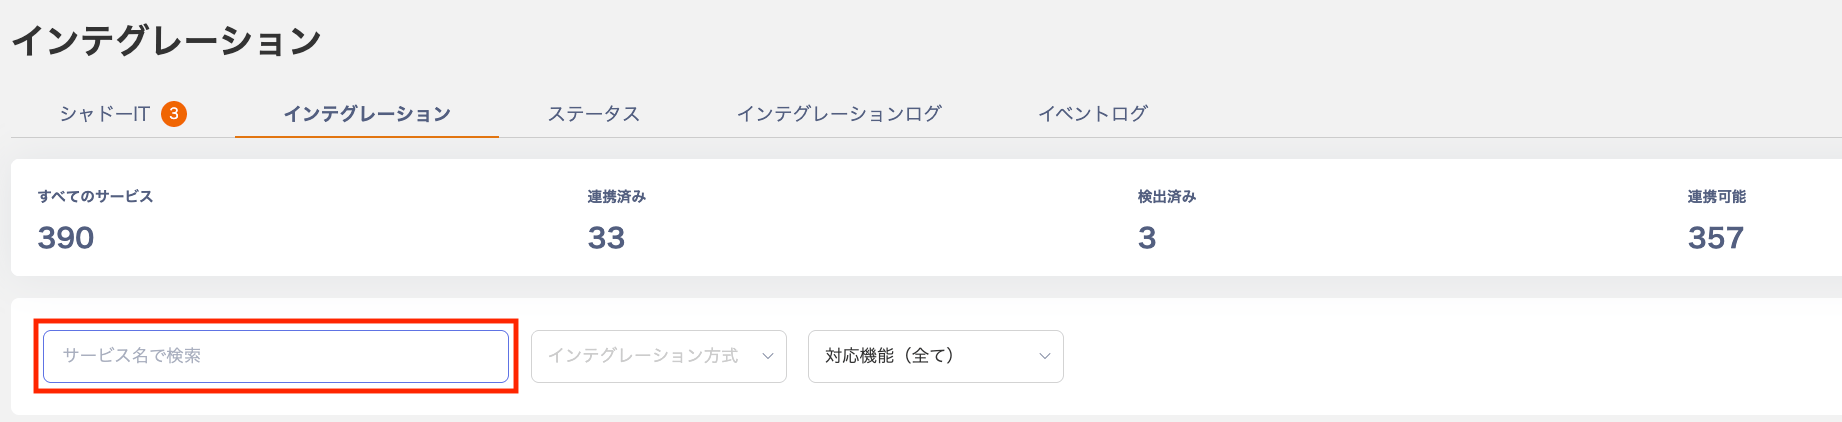
- A Create New Integration panel appears on the right. Fill in the required fields and click Connect. Refer to the Integration Guide for details on each field.
 The connection method varies by SaaS. Check the following for details: - SaaS Integration Guide - SaaS Connection Patterns
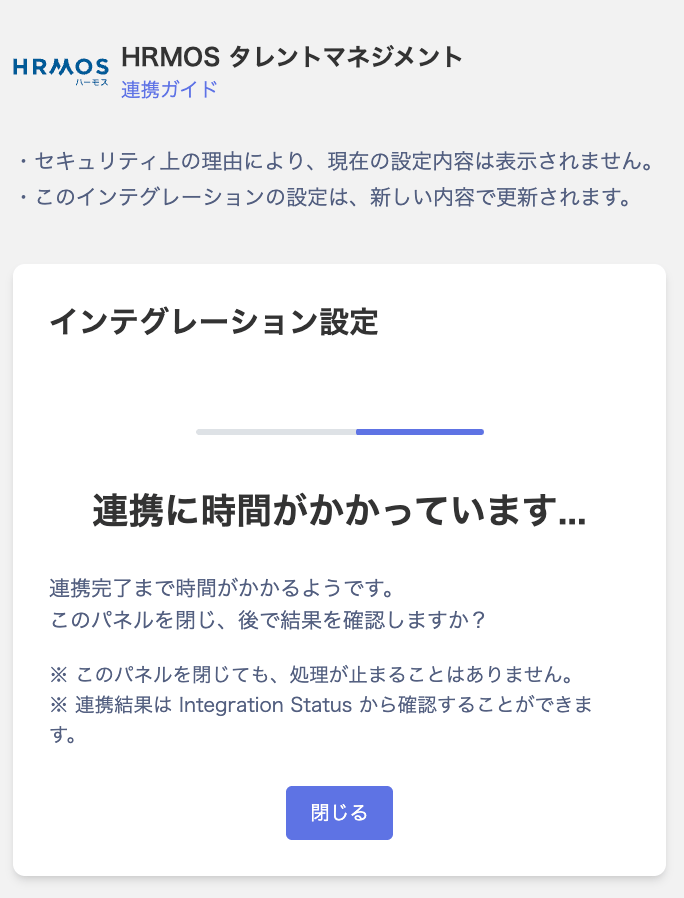
 - The time to complete the connection depends on the type: API and OAuth — a few seconds; ID/Password — 1 to 5 minutes.
- *For ID/Password integrations, connection is not possible in the following situations: when login via a third-party service (e.g., Google Login) or Single Sign-On (SSO) is enforced; or when connecting employee accounts is not permitted for security reasons. In these cases, create a dedicated system account on the SaaS side and use that for the integration.

Checking Connected SaaS and Accounts
After a successful connection, the connected SaaS and accounts appear in the Services and Directory sections in the left menu. Services: 1-1. Checking the Services Screen Select a connected SaaS from the service list, then check the accounts under Accounts. Directory: 2. Identifying Self-Managed IDs Filter by Service in the Directory to view accounts for a connected SaaS. * Connected SaaS data syncs automatically on a daily basis (overnight) to keep information up to date.