Required permission for this service: This feature requires Admin or Automation Manager permission.
SaaS status: The target SaaS must be connected and integrated with administrator privileges (including API access) required for account creation and deletion.
Configuration flow
After completing prerequisites, configure the workflow in three main steps:- Pre-configure automation (mapping): Configure the mapping with connected services.
- Create and publish the workflow: Set the workflow conditions and activate the workflow you created.
- Notification: Check the notification delivered via your chosen method (Slack or Email).
Steps to configure new employee onboarding
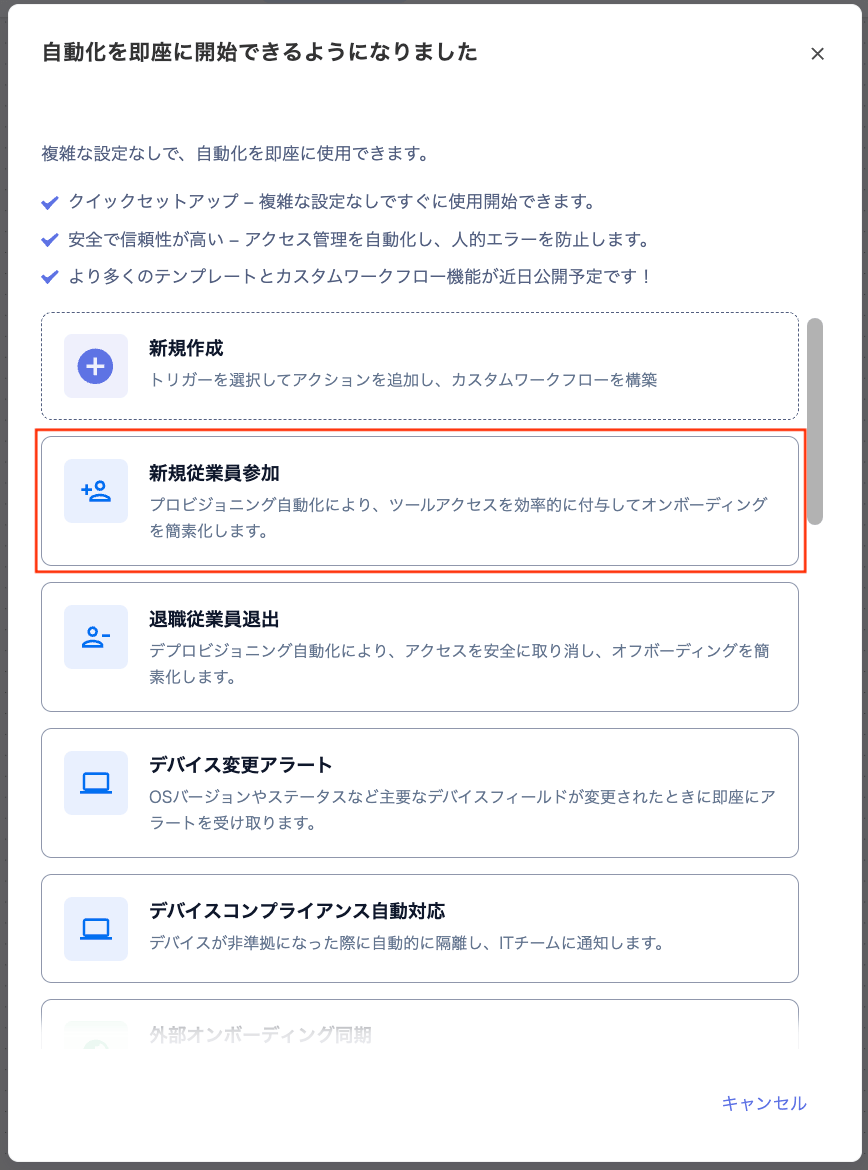
- Go to Automation > [Create automation]. A list of automation templates appears. Select “New employee onboarding” from the list.
-
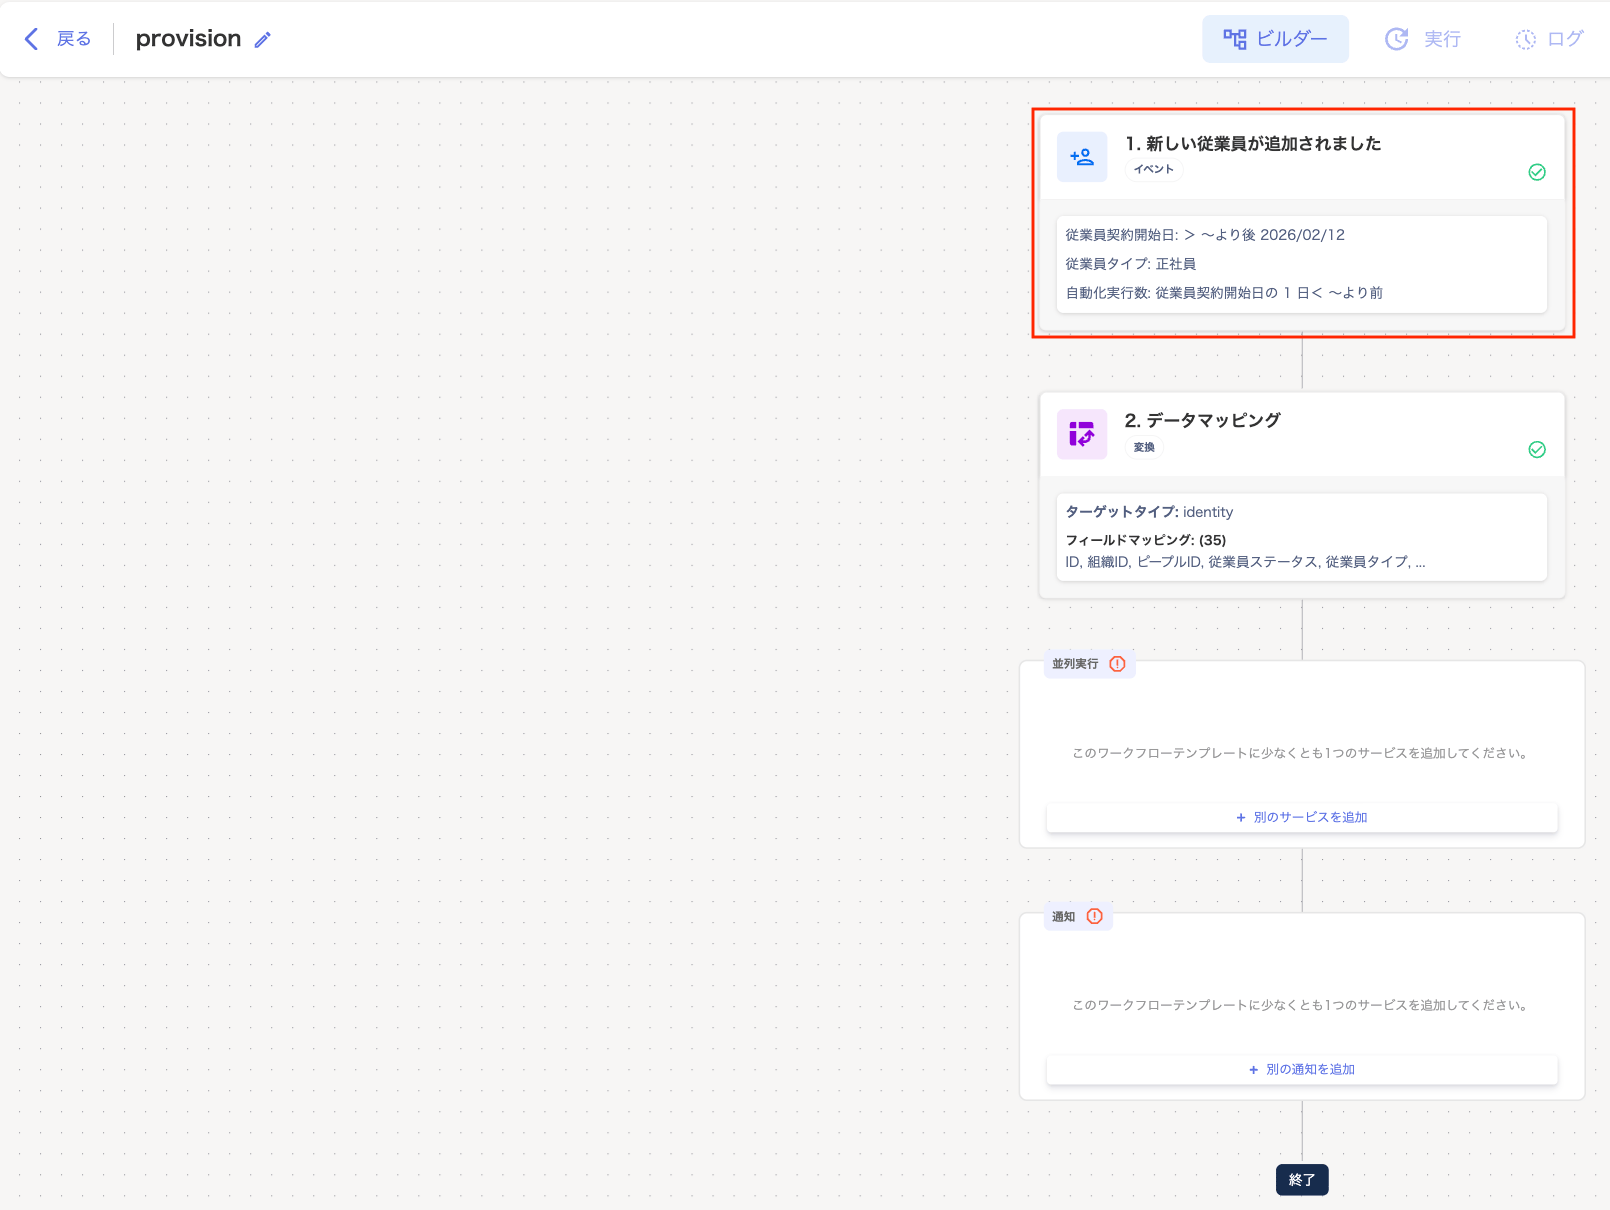
On the “provision” builder screen, click “1. A new employee was added”.
-
Set the workflow trigger conditions (contract start date, employee type) and the execution schedule.
Example: Target employees with a start date of February 1, 2026, who run indefinitely (employment type: full-time). Provisioning is issued 1 day before the start date.
Values:
Contract start date: > After, 2026/02/01 | Employment type: Full-time | Execution schedule: < Before, 1, Day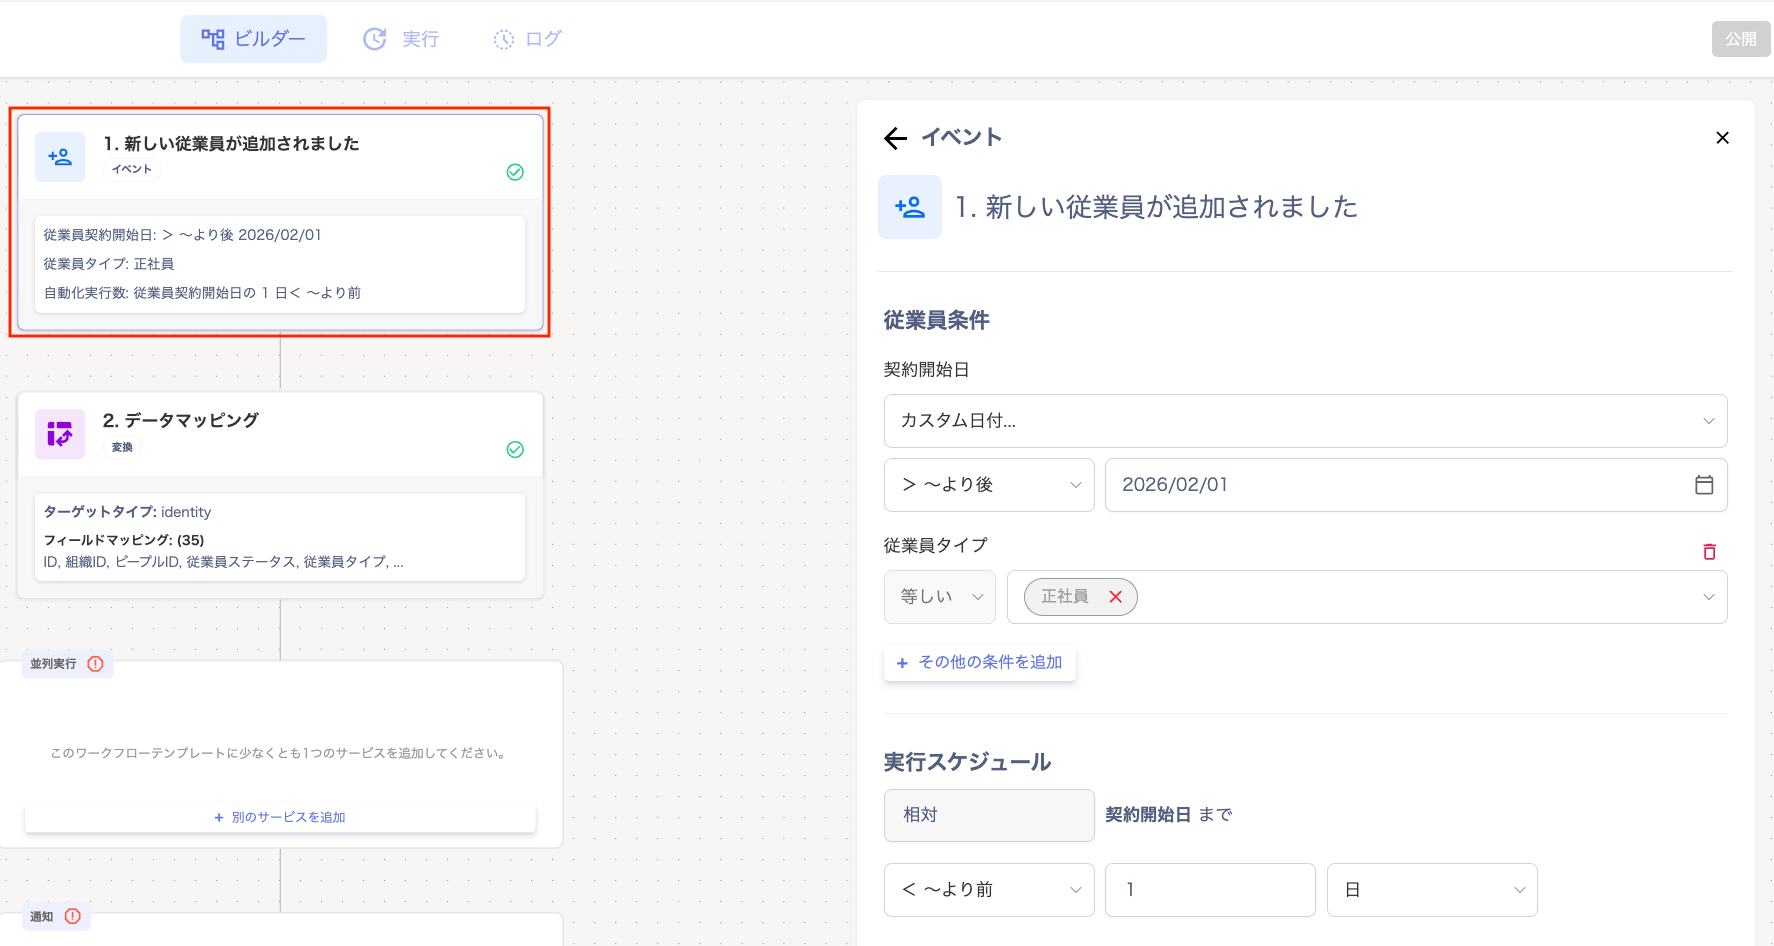
Item Description Contract start date Select [Any date / Custom date] and pick a date from the calendar. When you select a custom date, the specified date itself is excluded. Choose from the dropdown: Within / Before / After. “Within” specifies a date range.[+ Add another condition] You can add conditions for employee type / employee status / department. You can also add conditions for job title / work location / manager ID. You can also add conditions for company name / alternate email / display name / first name / last name. You can also add conditions for email address / employee number / notes / number of services / number of devices. You can also add conditions for custom fields.Execution schedule Select [number][day/week][After / Before / Date]from the dropdown. This sets when the workflow runs relative to the contract start date. -
Click “2. Data mapping”.
Configure where to retrieve data from and how to transform it.
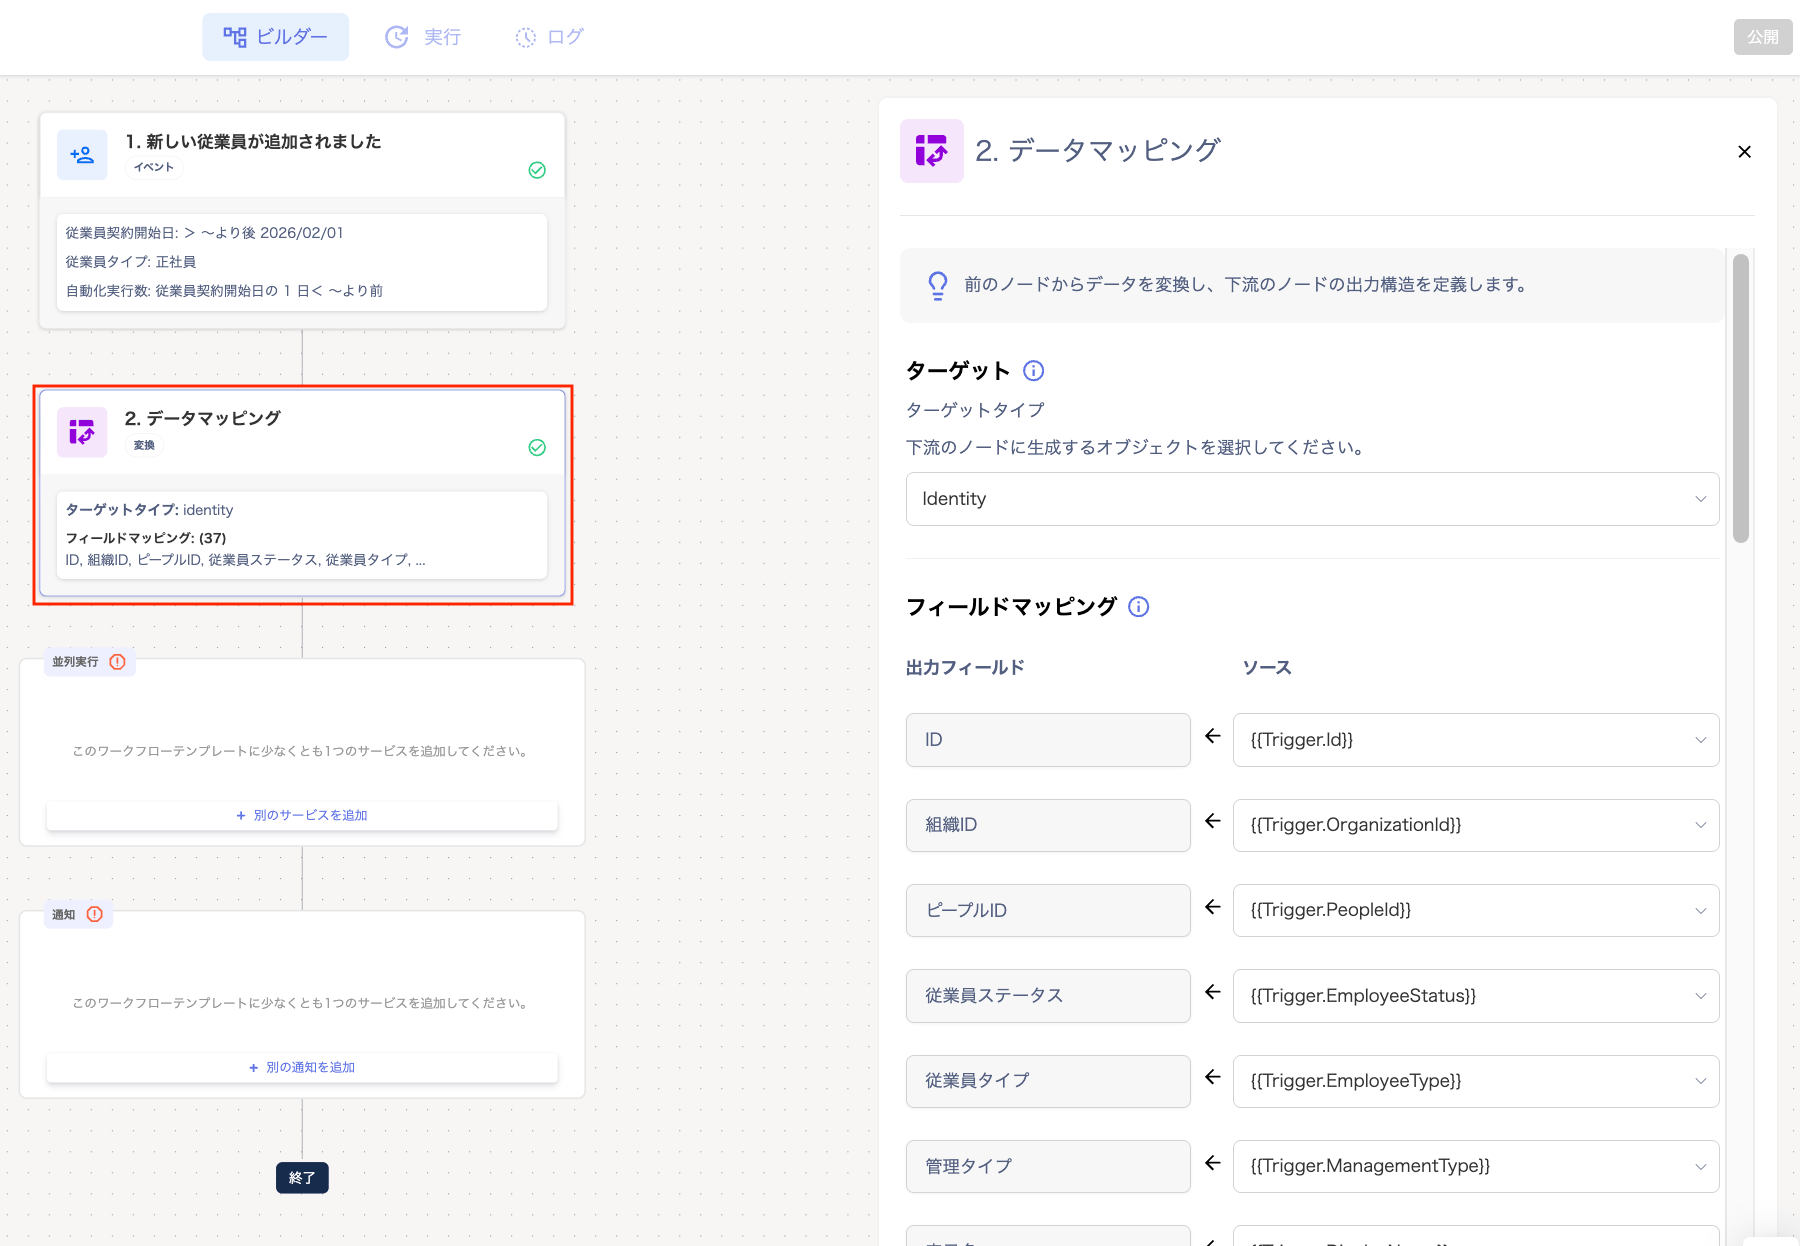
Item Description Target Currently, only “identity” is available. Field mapping Define transformation rules from the data source to the target fields. You can also configure custom fields. -
Click “Parallel execution” and add the services to include in the workflow.
-
Click [+ Add another service].
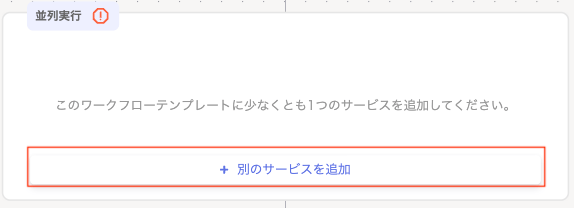
-
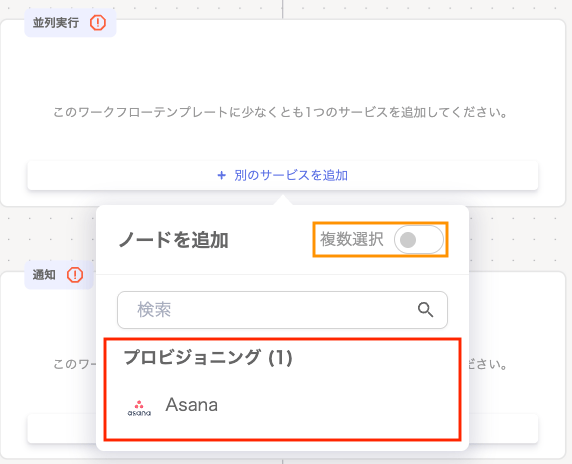
Select a service displayed under “Provisioning”.
The services shown under “Provisioning” are those you pre-configured (mapped).
To add multiple services to the workflow, turn on “Multiple selection”.
-
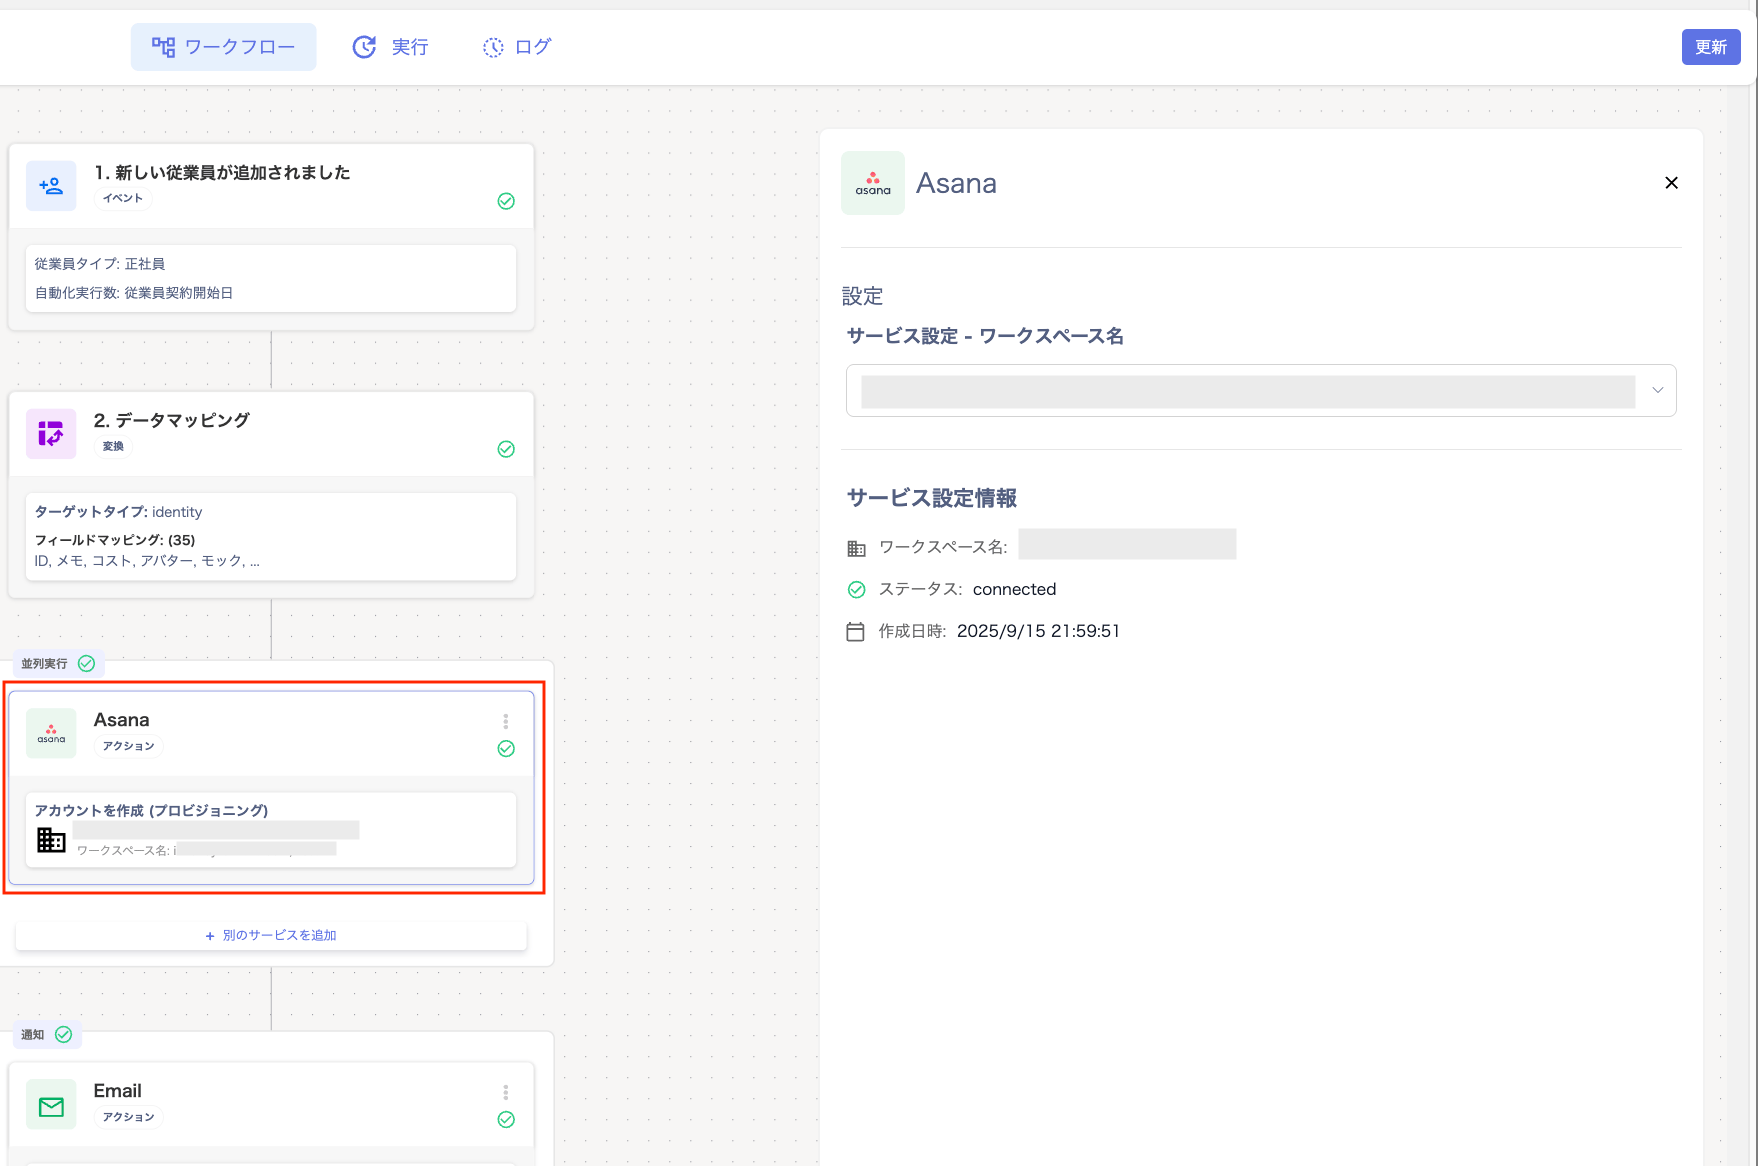
On the “Parallel execution” screen, click a selected service to open its “Settings” panel on the right.
Select the workspace name from the “Service settings - Workspace name” dropdown.
To configure multiple services, use [+ Add another service].
-
Click [+ Add another service].
-
Click “Notification”.
-
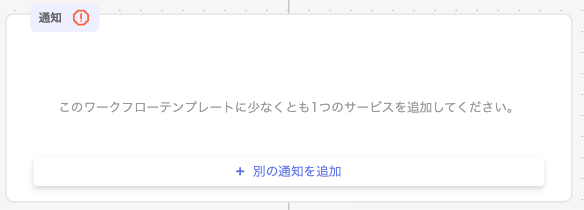
Click [+ Add another notification].
-
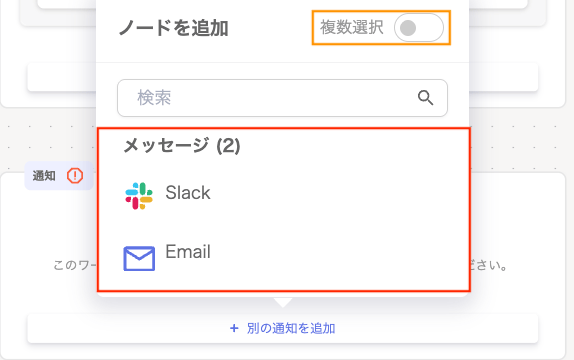
On the “Message” screen, select the notification method: Slack or Email.
To configure multiple notifications, turn on “Multiple selection”.
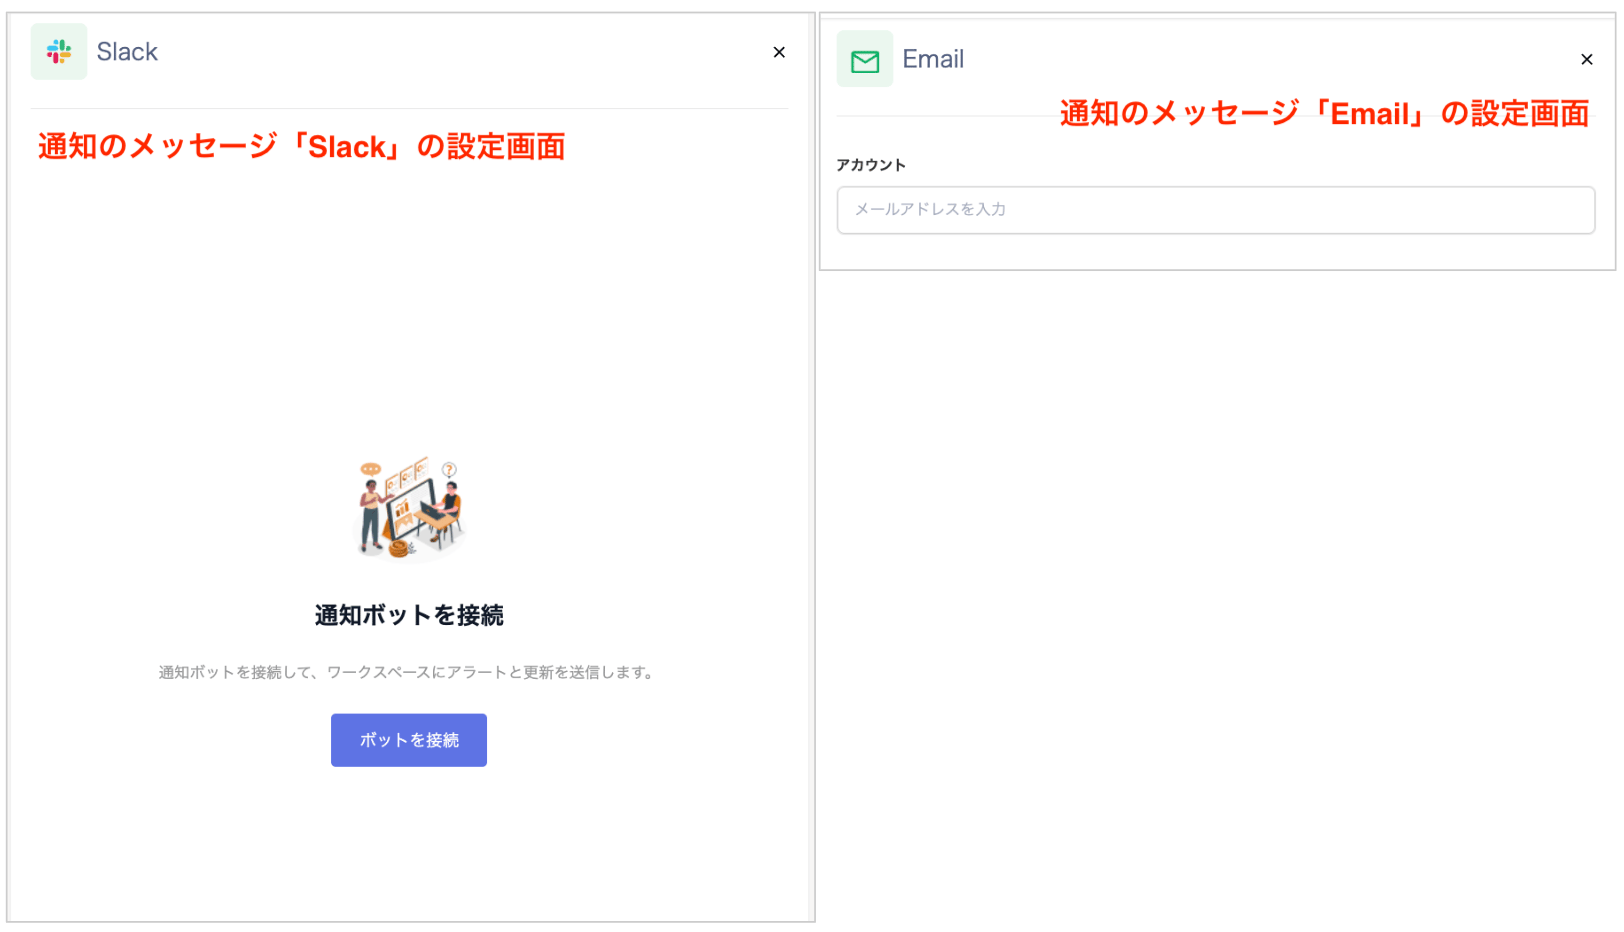
For Slack setup steps, see Steps to configure Slack notifications.
-
On the “Notification” screen, click a selected message to open its “Settings” panel on the right.
-
Click [+ Add another notification].
-
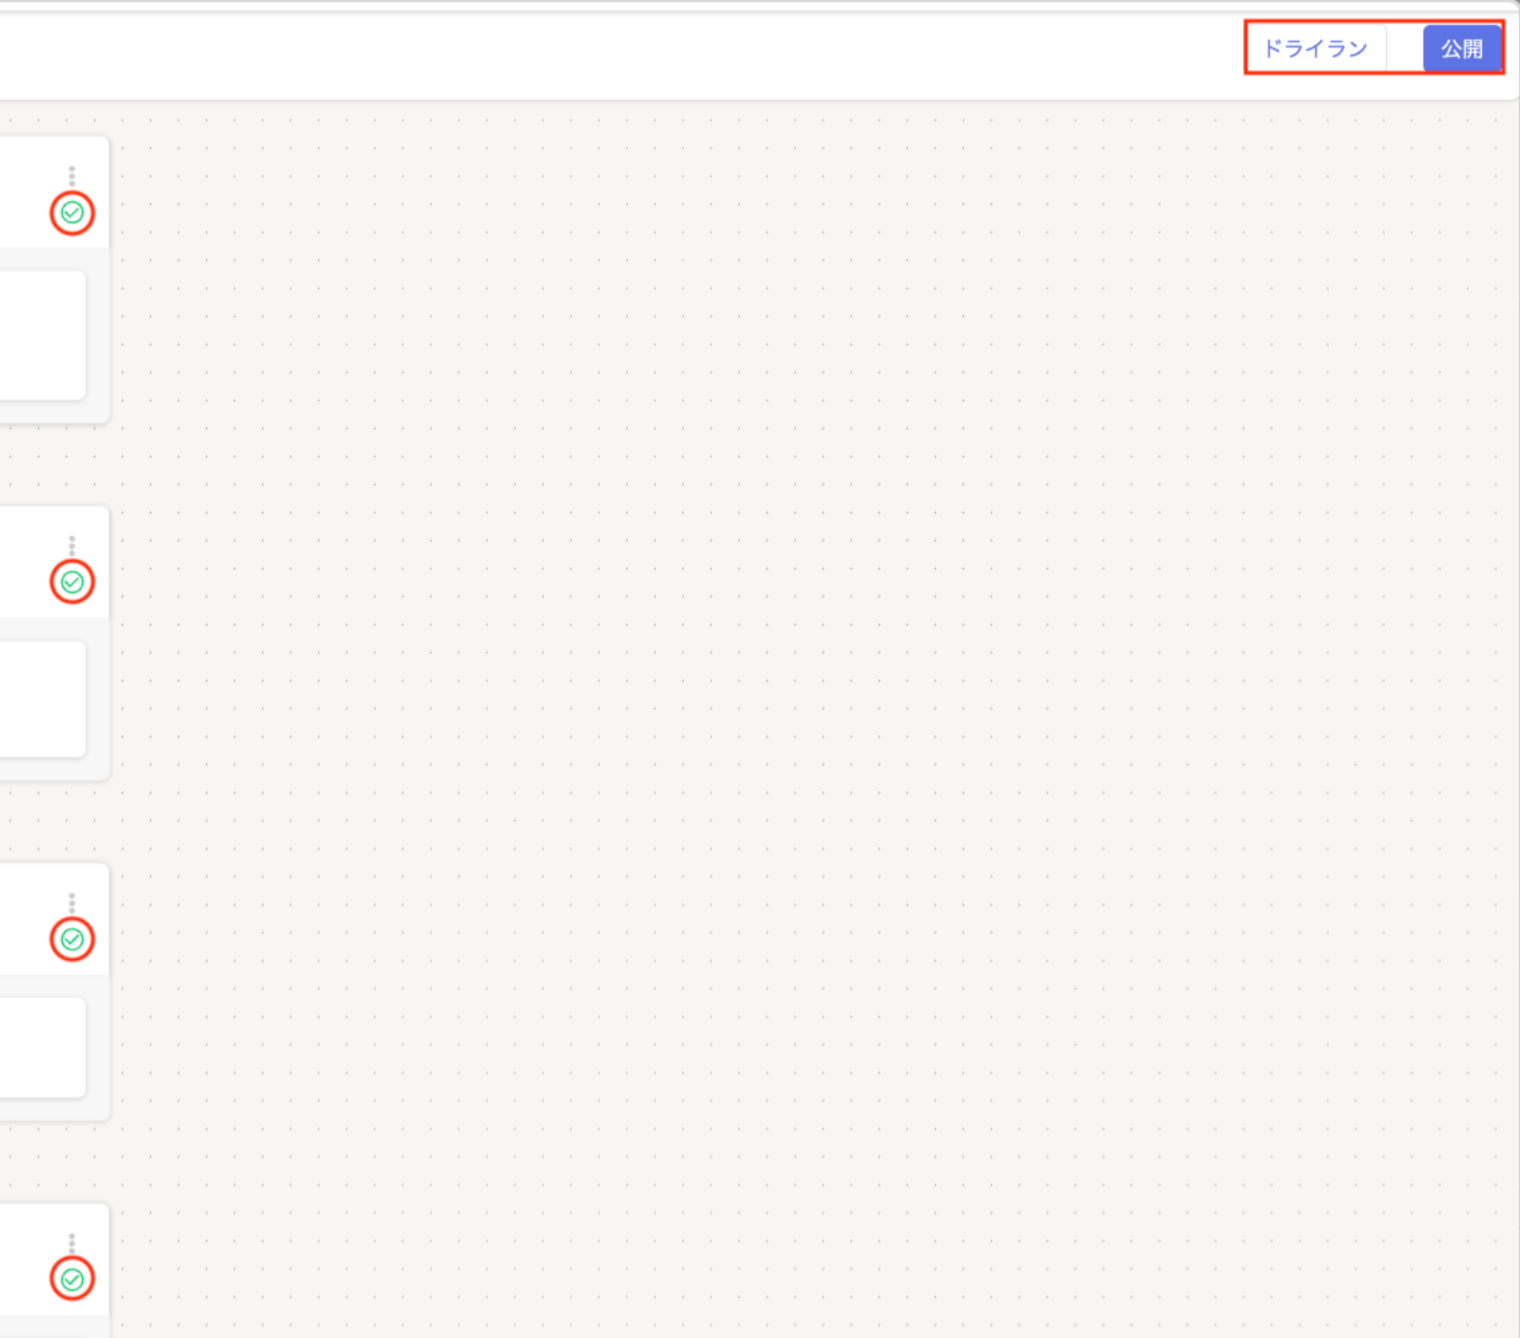
After all settings are complete, all checks in the builder turn green. Click [Publish] or [Dry Run].
-
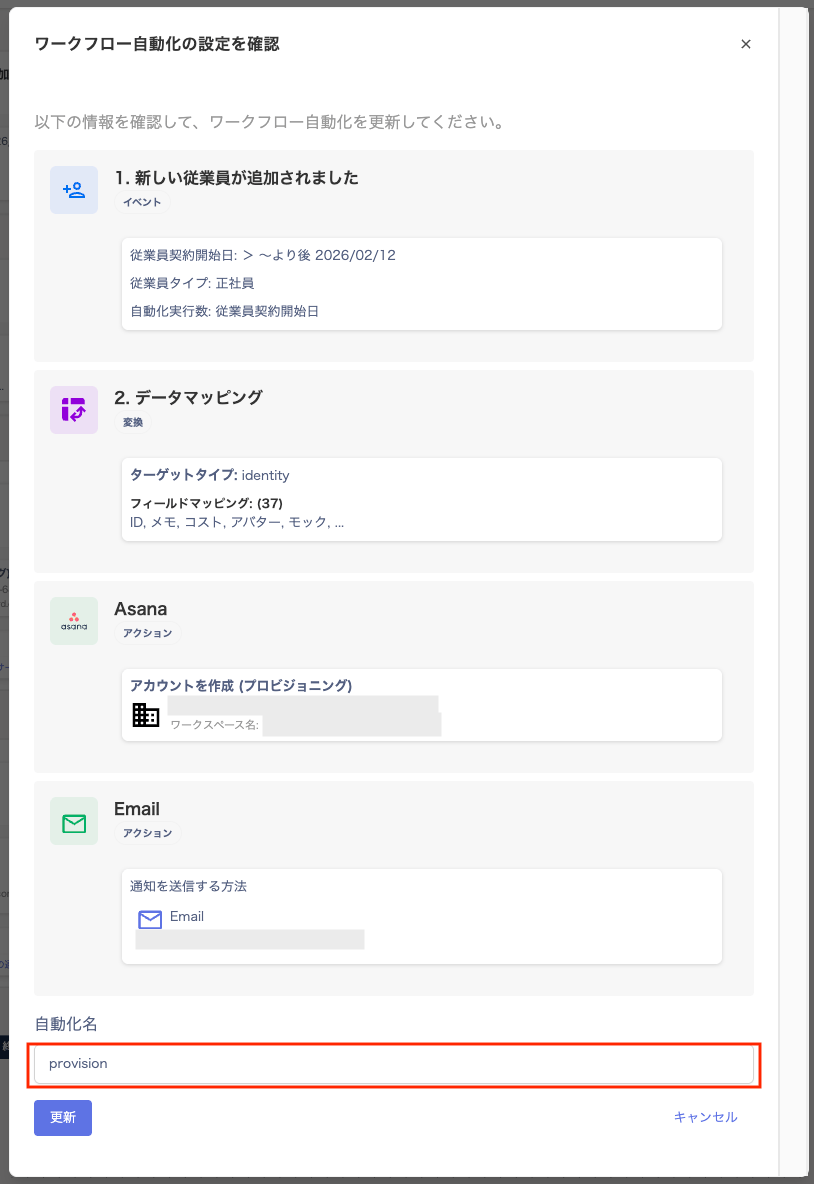
The “Confirm workflow automation settings” screen appears. Enter the automation name and click [Publish].
Note: You cannot use a name that is already registered.
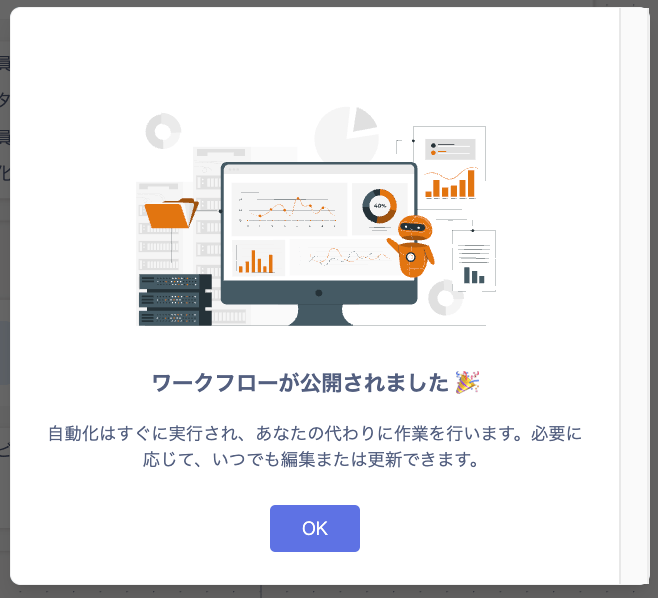
- When “Workflow has been published” appears, click [OK].
Steps to configure Slack notifications
-
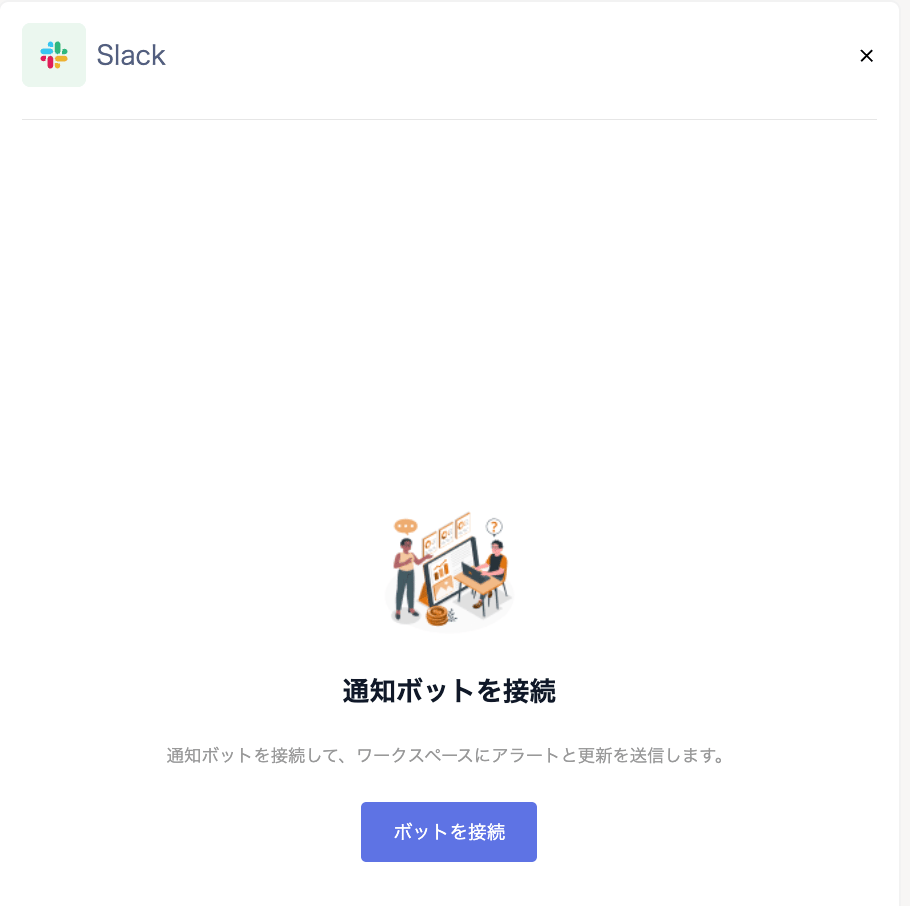
From screen ⑤-(C) in the new employee onboarding steps, the “Connect notification bot” screen appears. Click [Connect bot].
-
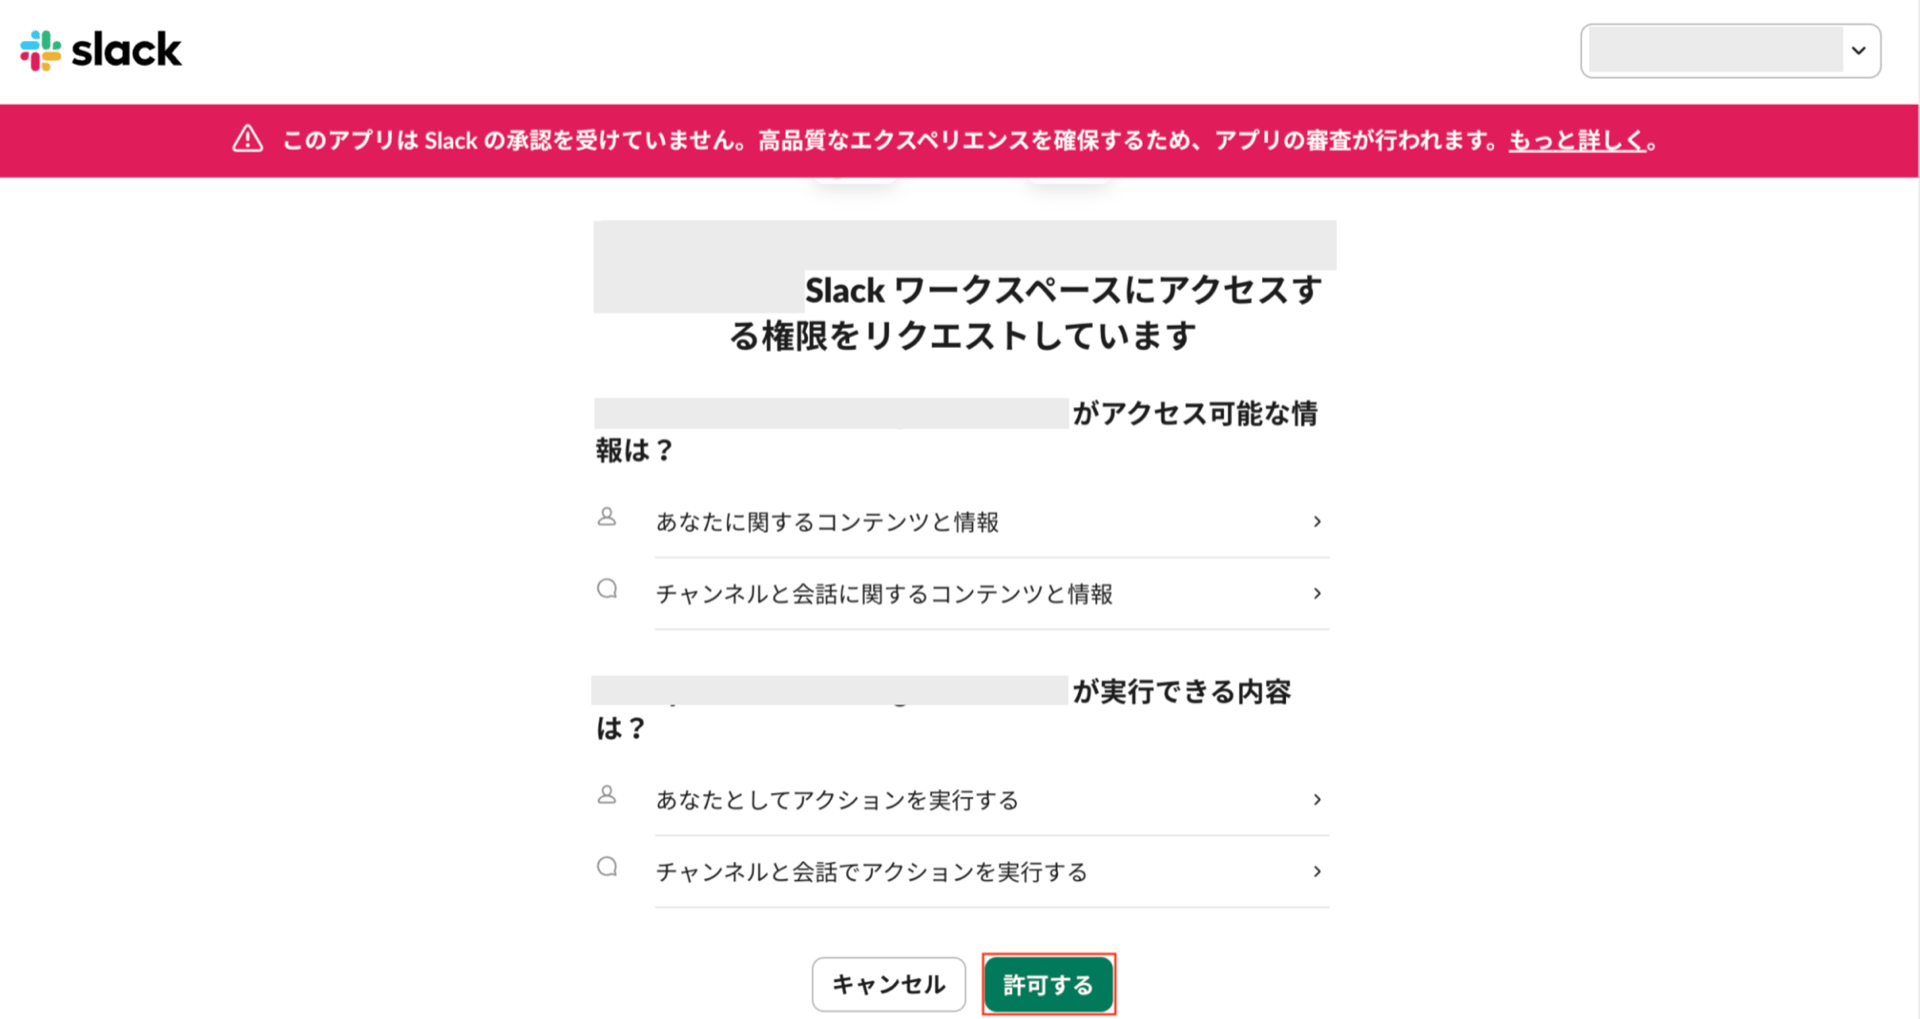
The “Requesting permission to access the Slack workspace” screen appears. Review the details and click [Allow].
-
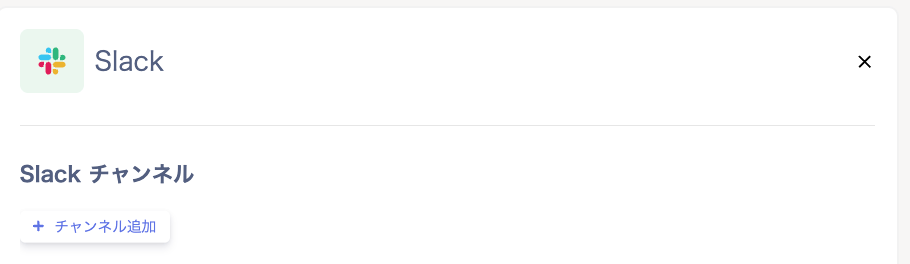
The “Notification channels” screen appears. Click [+ Add channel].
-
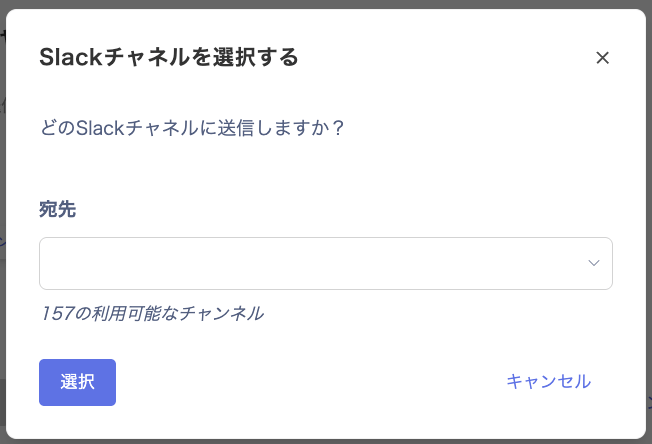
On the “Select a Slack channel” screen, specify the destination and click [Select].
-
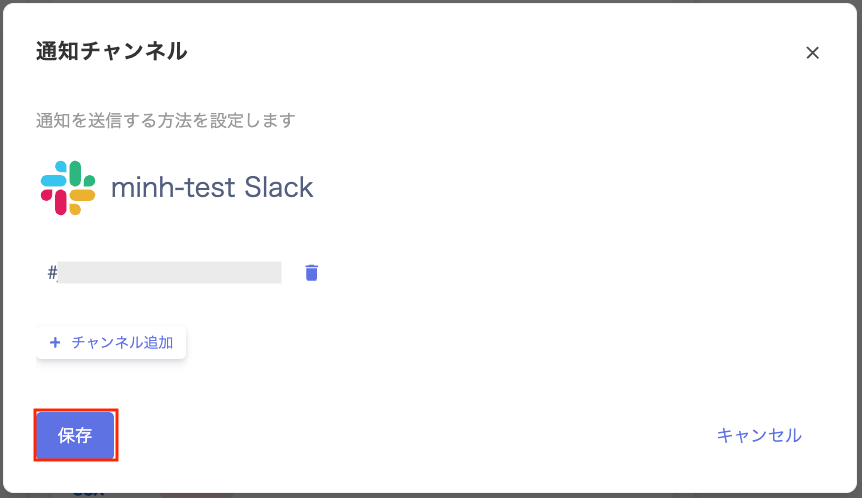
Review the “Notification channels” screen and click [Save].
Notification content
After configuration, the workflow runs on the scheduled date and sends a notification. For details on when workflows execute, see Workflow execution timing.Slack notifications
- First-time connection notification: A channel-added notification is sent to the specified Slack channel.

- Execution result notification: On the configured execution schedule date, a notification is sent. The notification goes to the specified Slack channel.