

All operations on this page require Admin permission or the Survey Manager role. Viewing requires Member permission or the Survey Viewer role. See Basic Roles for details.
The “Device” target type requires the separate “Device” feature add-on.
How to use
- Create a survey Create a new survey
- Manage a created survey
Create a new survey
Follow these steps to create a new survey.-
Go to Survey > “Survey” and click [+] in the top right of the screen.

-
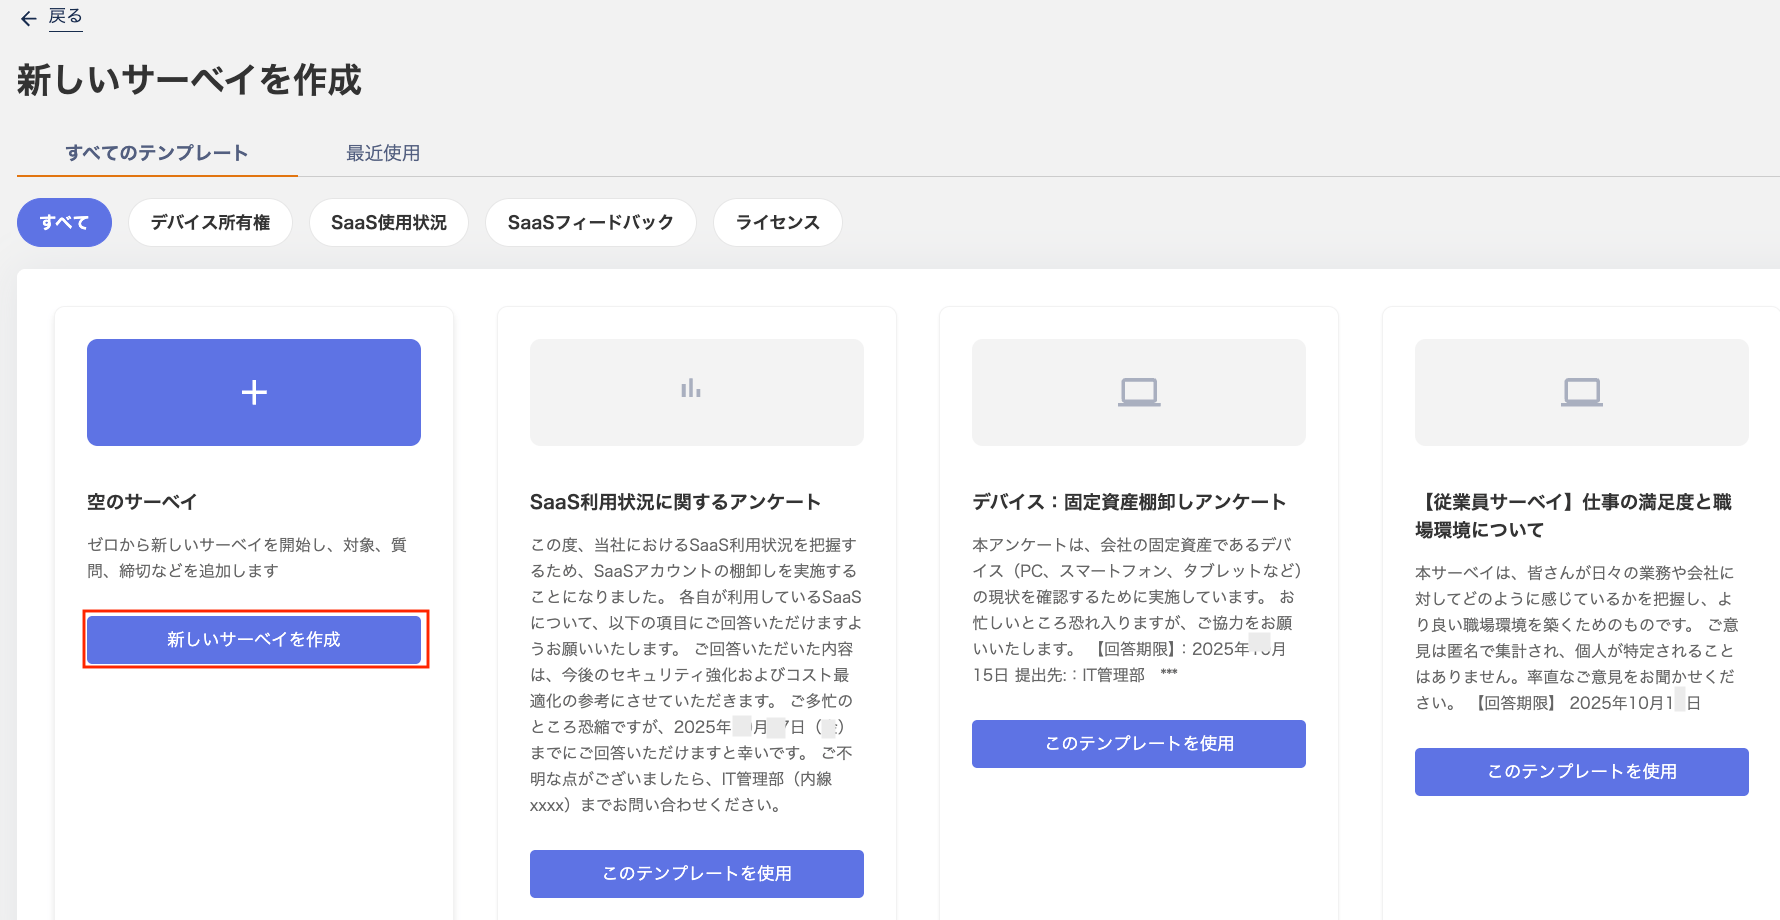
Click [Create new survey].
To create a survey from a registered template, click [Use this template].
Switch between “All templates / Recently used” at the top of the screen to access templates you have used before.
To import a template (JSON), refer to Import a template.
-
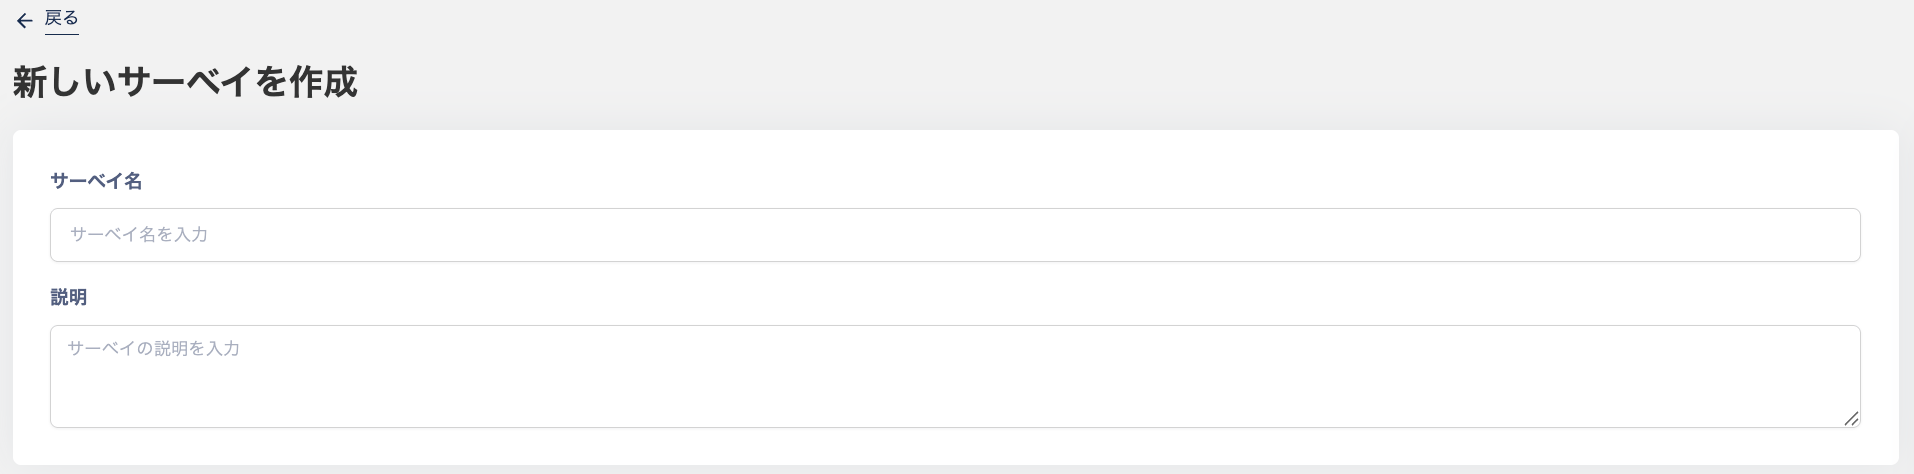
Enter a “Survey name” and “Description”.
-
The “Question 1” screen appears. Enter the question. Select a “Data type” from the dropdown on the right.
Use the “Required” checkbox to mark the question as optional or required.
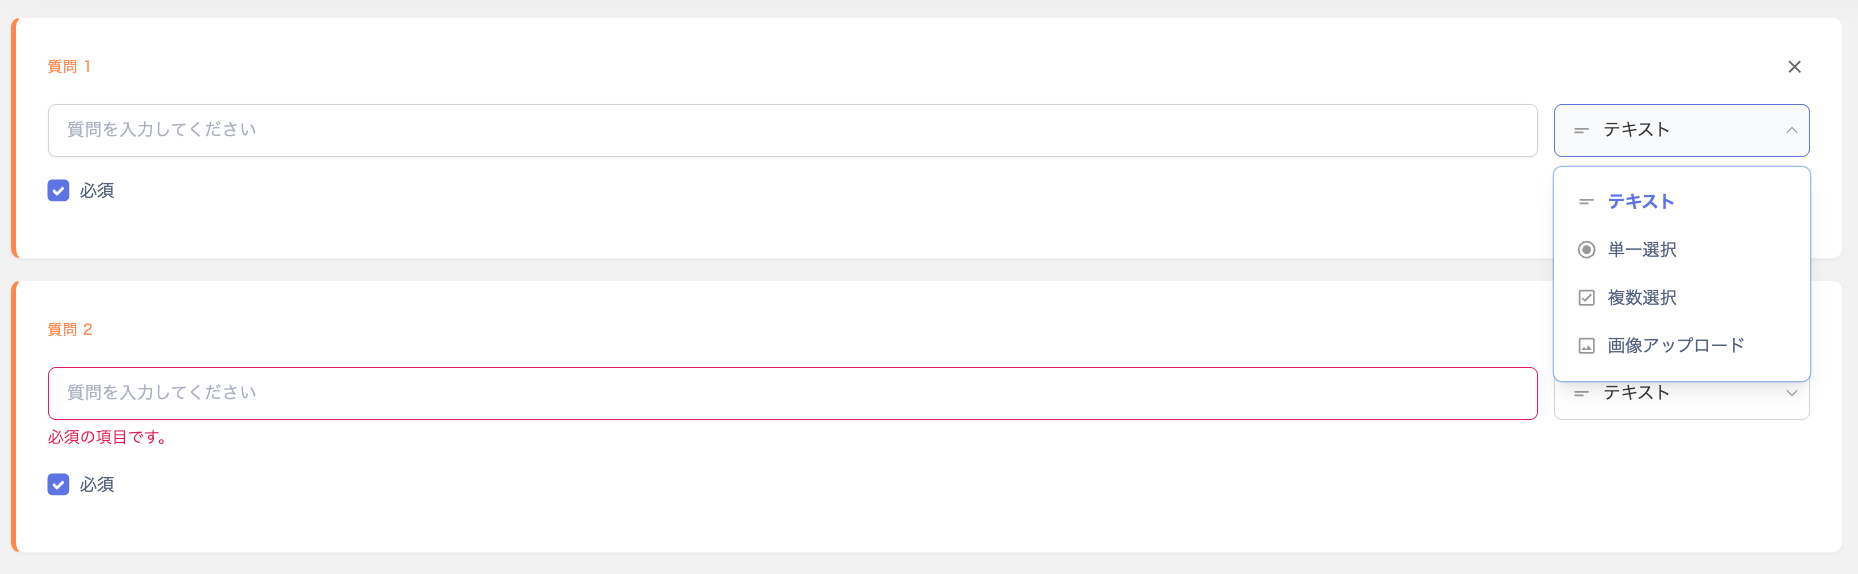
Data type Description Text Respondents answer in free-form text. Single select Respondents choose one option from multiple choices. Multi-select Respondents choose multiple options from multiple choices. Image upload Respondents upload an image as their answer. - To add more questions, click [+ Add question] for each additional question.
-
Next, select the “Target type” from the “Target settings” dropdown on the right.
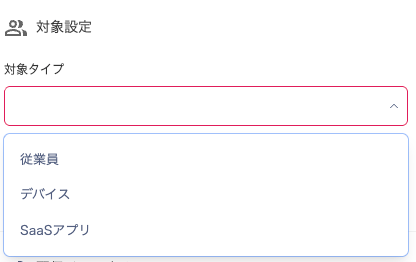
Target type Description Employee Select this to create an employee survey. Device Select this to create a device inventory survey (e.g., to confirm owned devices). SaaS app Select this to create a SaaS inventory survey (e.g., to confirm apps in use). -
Select the recipient type — “Target / Target’s manager” — from the dropdown.
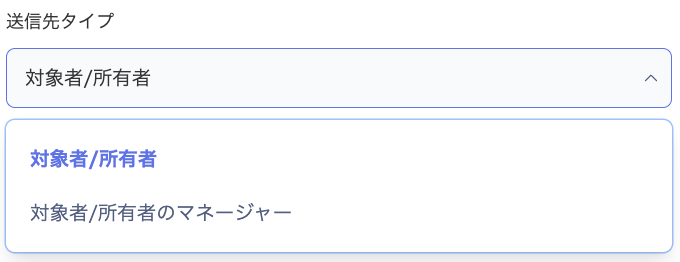
Recipient type Description Target Send the survey to the target recipients directly. Target’s manager Send the survey to the managers of the target recipients. Set managers under Directory > User info > Manager. -
On the “Select targets” screen, click [Add target], select the targets, and click [Apply].
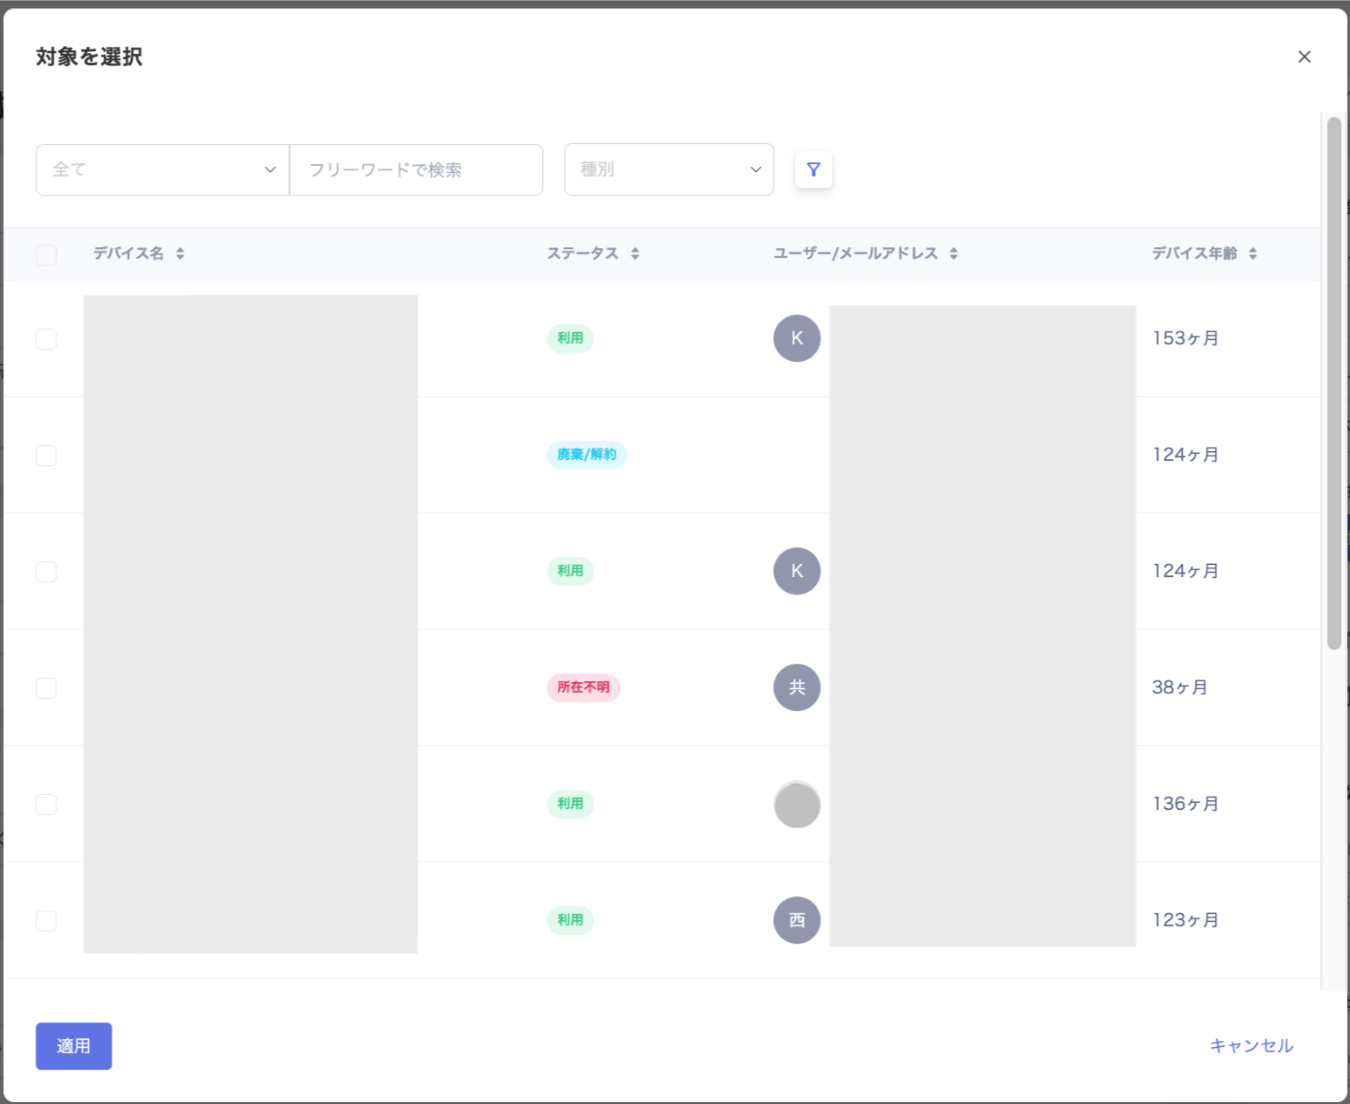
Target type Description Employee Shows targets registered in Directory. Device Shows targets registered on the Devices screen. If a person owns multiple devices, the same question set appears once per device. SaaS app Shows targets registered on the Services screen. Use “Search by name or email” or filters (Status / Period / Other) when selecting targets. See Target settings by “Target type” for configuration examples. -
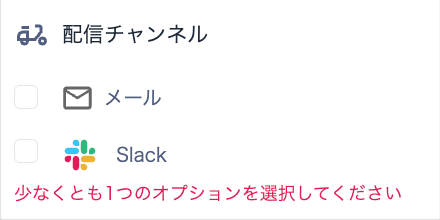
Check the “Delivery channel” screen. Select “Email” or “Slack” as the delivery channel.
To configure Slack as a delivery channel, refer to Set up delivery channel “Slack”.
-
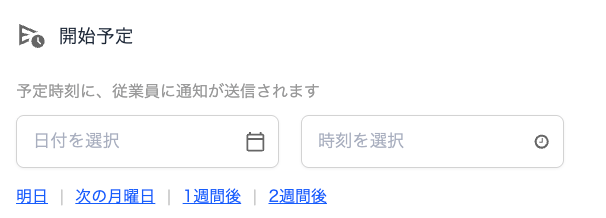
On the “Scheduled start” screen, set the survey start date and time by selecting a date and time.
Time can be selected in 30-minute increments, but you can also send immediately from the delivery screen.
-
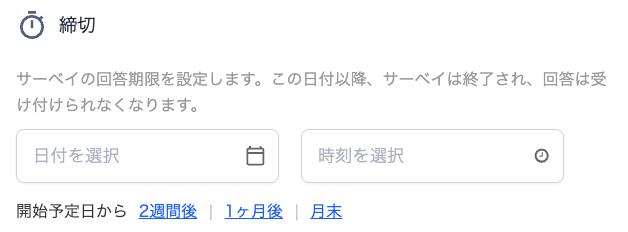
On the “Deadline” screen, set the response deadline for the survey.
Respondents cannot answer the survey after the deadline.
-
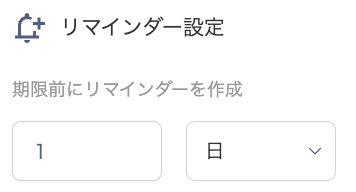
On the “Reminder settings” screen, configure a reminder to send before the response deadline.
Enter a number and select “Hours / Days / Weeks” from the dropdown.
Item When the reminder date arrives, respondents receive an email with the following details. (The service name below refers to this service.) Subject: [service name] Survey Reminder: titleFrom: service@[domain] -
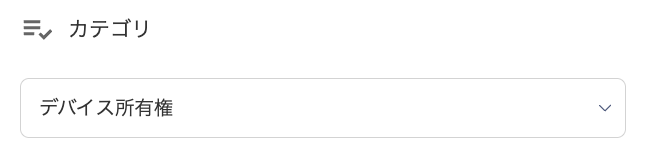
On the “Category” screen, set the survey category. Select from the dropdown: “Device ownership / SaaS usage / SaaS feedback / License”.
If none of these categories apply, set a custom category.
-
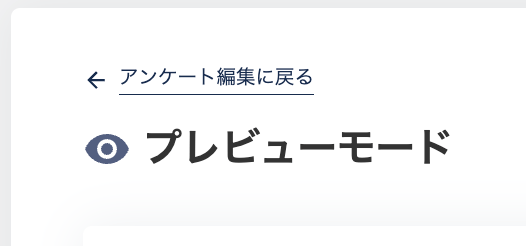
Click [Preview] to review the survey. After reviewing, click “Back to survey edit” in the top left.
-
Edit the survey if needed. To send it as-is, click [Deliver].
To save for later, click [Save as draft].

-
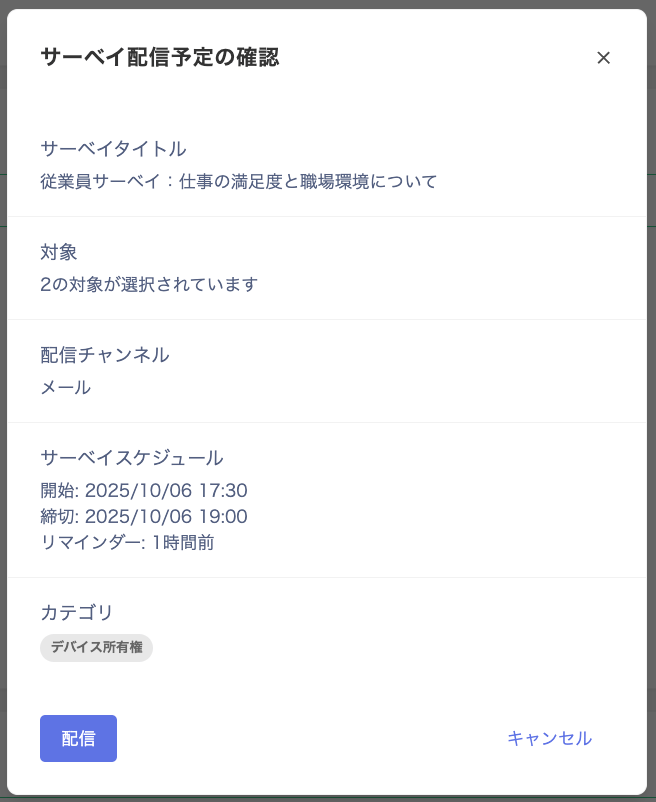
The “Confirm survey delivery schedule” screen appears. Review the details and click [Deliver].
-
“Survey successfully scheduled for delivery” appears, and the survey will be sent at the specified time.
You can also click [Start now] to send immediately, or [Cancel] to cancel the scheduled delivery.

Manage created surveys
Edit a draft
Follow these steps to edit a survey saved as a draft.-
On the survey list screen, select the survey to edit and click [Edit], or click [Edit] from the three-dot menu.
Drafts appear with the status “Draft”. You can also access drafts via “Draft” at the top of the screen.

-
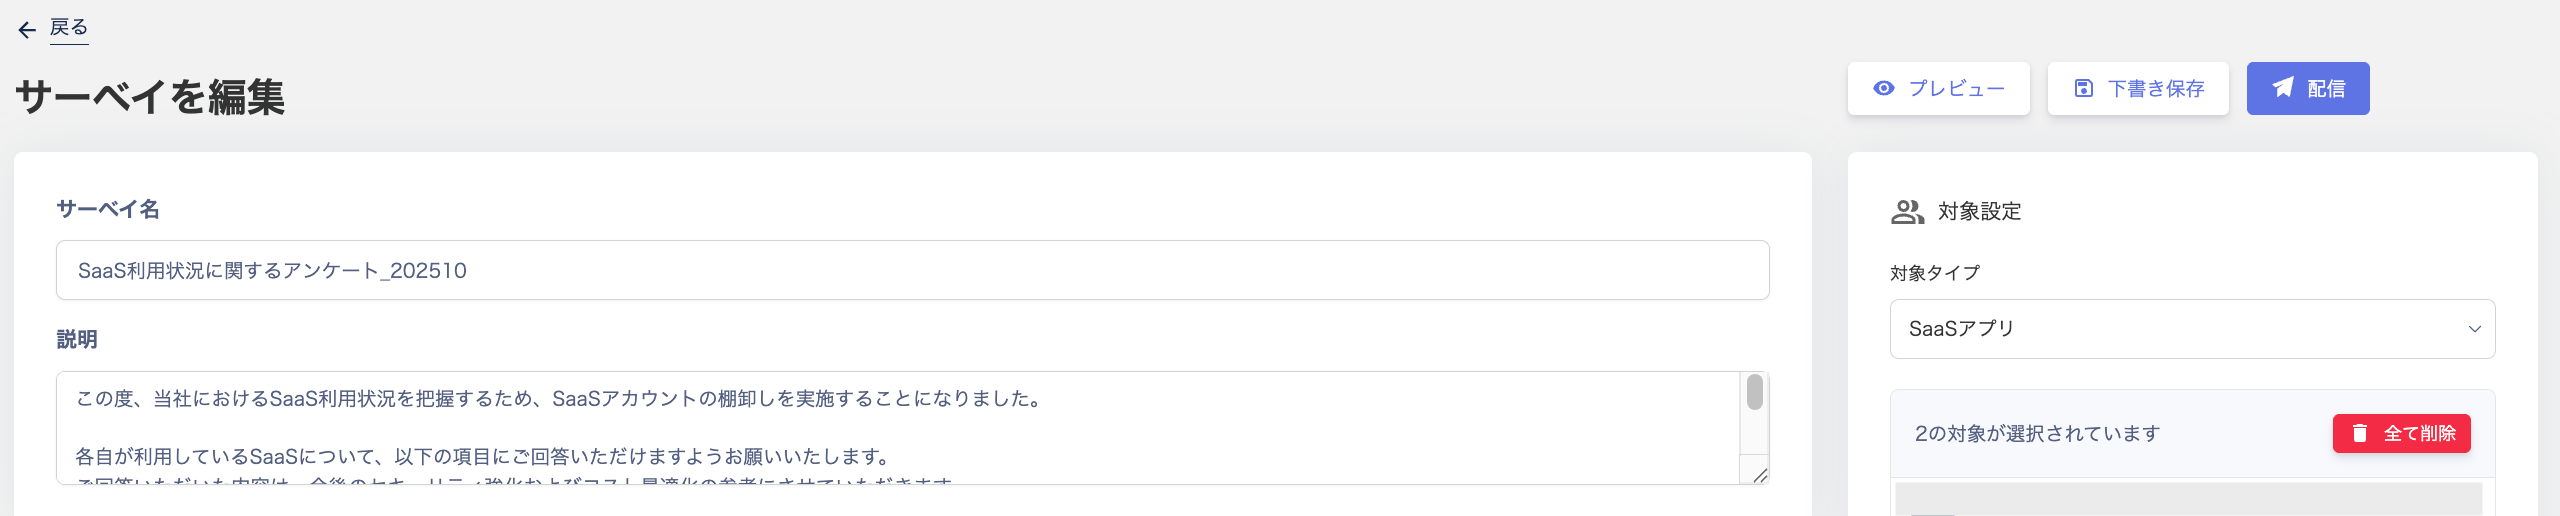
The “Edit survey” screen appears. Edit the survey as needed. To deliver the survey, click [Deliver].
Start a scheduled survey immediately
Follow these steps to send a scheduled survey immediately.-
On the survey list screen, select the survey to deliver and click [Deliver] in the top right.
You can also select [Deliver] from the three-dot menu [︙] on the survey list screen.
Scheduled surveys appear with the status “Scheduled for delivery”.


- After clicking [Deliver], follow the steps from step (14) onward in Create a new survey.
Stop a running survey
Follow these steps to stop a survey currently being delivered.-
On the survey list screen, select the survey to stop and click [Cancel] in the top right.
You can also select [Cancel] from the three-dot menu [︙] on the survey list screen.
Running surveys appear with the status “Delivering”.

-
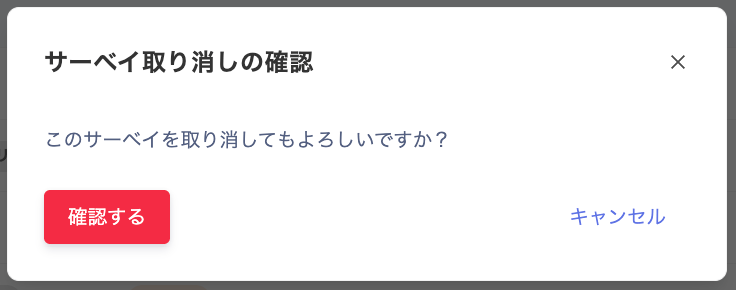
On the “Confirm survey cancellation” screen, click [Confirm].
-
“Survey successfully cancelled” appears.
