

Overview
This page explains how to distribute the Chrome extension using the Google Workspace Admin Console. For details on what the extension does, see Distribute the Browser Extension to Collect SaaS Activity. This page also describes its full specifications.Prerequisites (Chrome)
- You must have a Google Workspace subscription (business plans only; personal accounts are not supported).
- Chrome browser management must be enabled in Google Workspace.
- Users must be signed into Google Chrome in the browser with sync turned on.
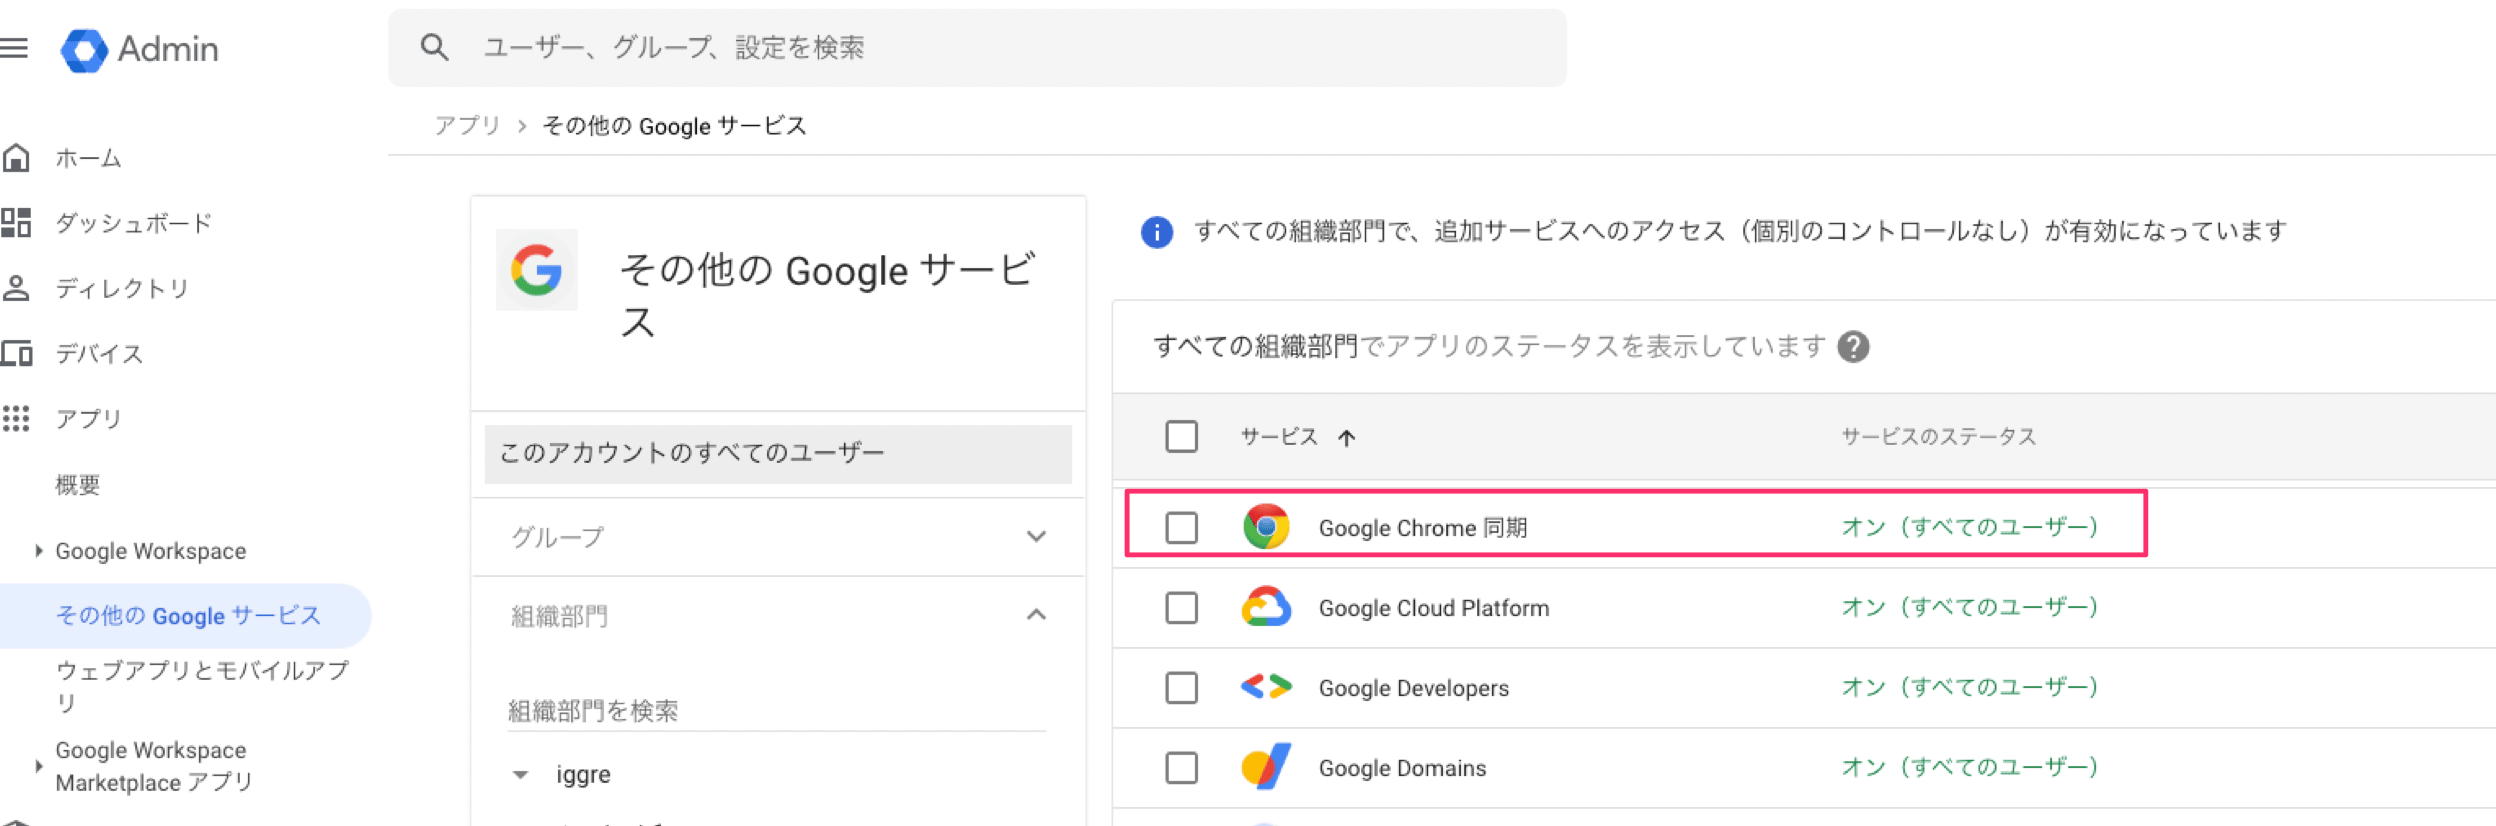
Apps > Google Workspace > Additional Google Services > Google Chrome Sync
On
If a browser extension is forcibly installed by Skysea Client View, Lanscope Cat, or other security software, Chrome policies may conflict and prevent installation from the Admin Console. In that case, distribute the extension using a method that does not rely on the Admin Console, such as Windows Group Policy. For details, see Browser extension setup guide (Windows).
Distributing to Devices
Configuration and Installation in the Google Admin Console
- Sign in to Google Admin.
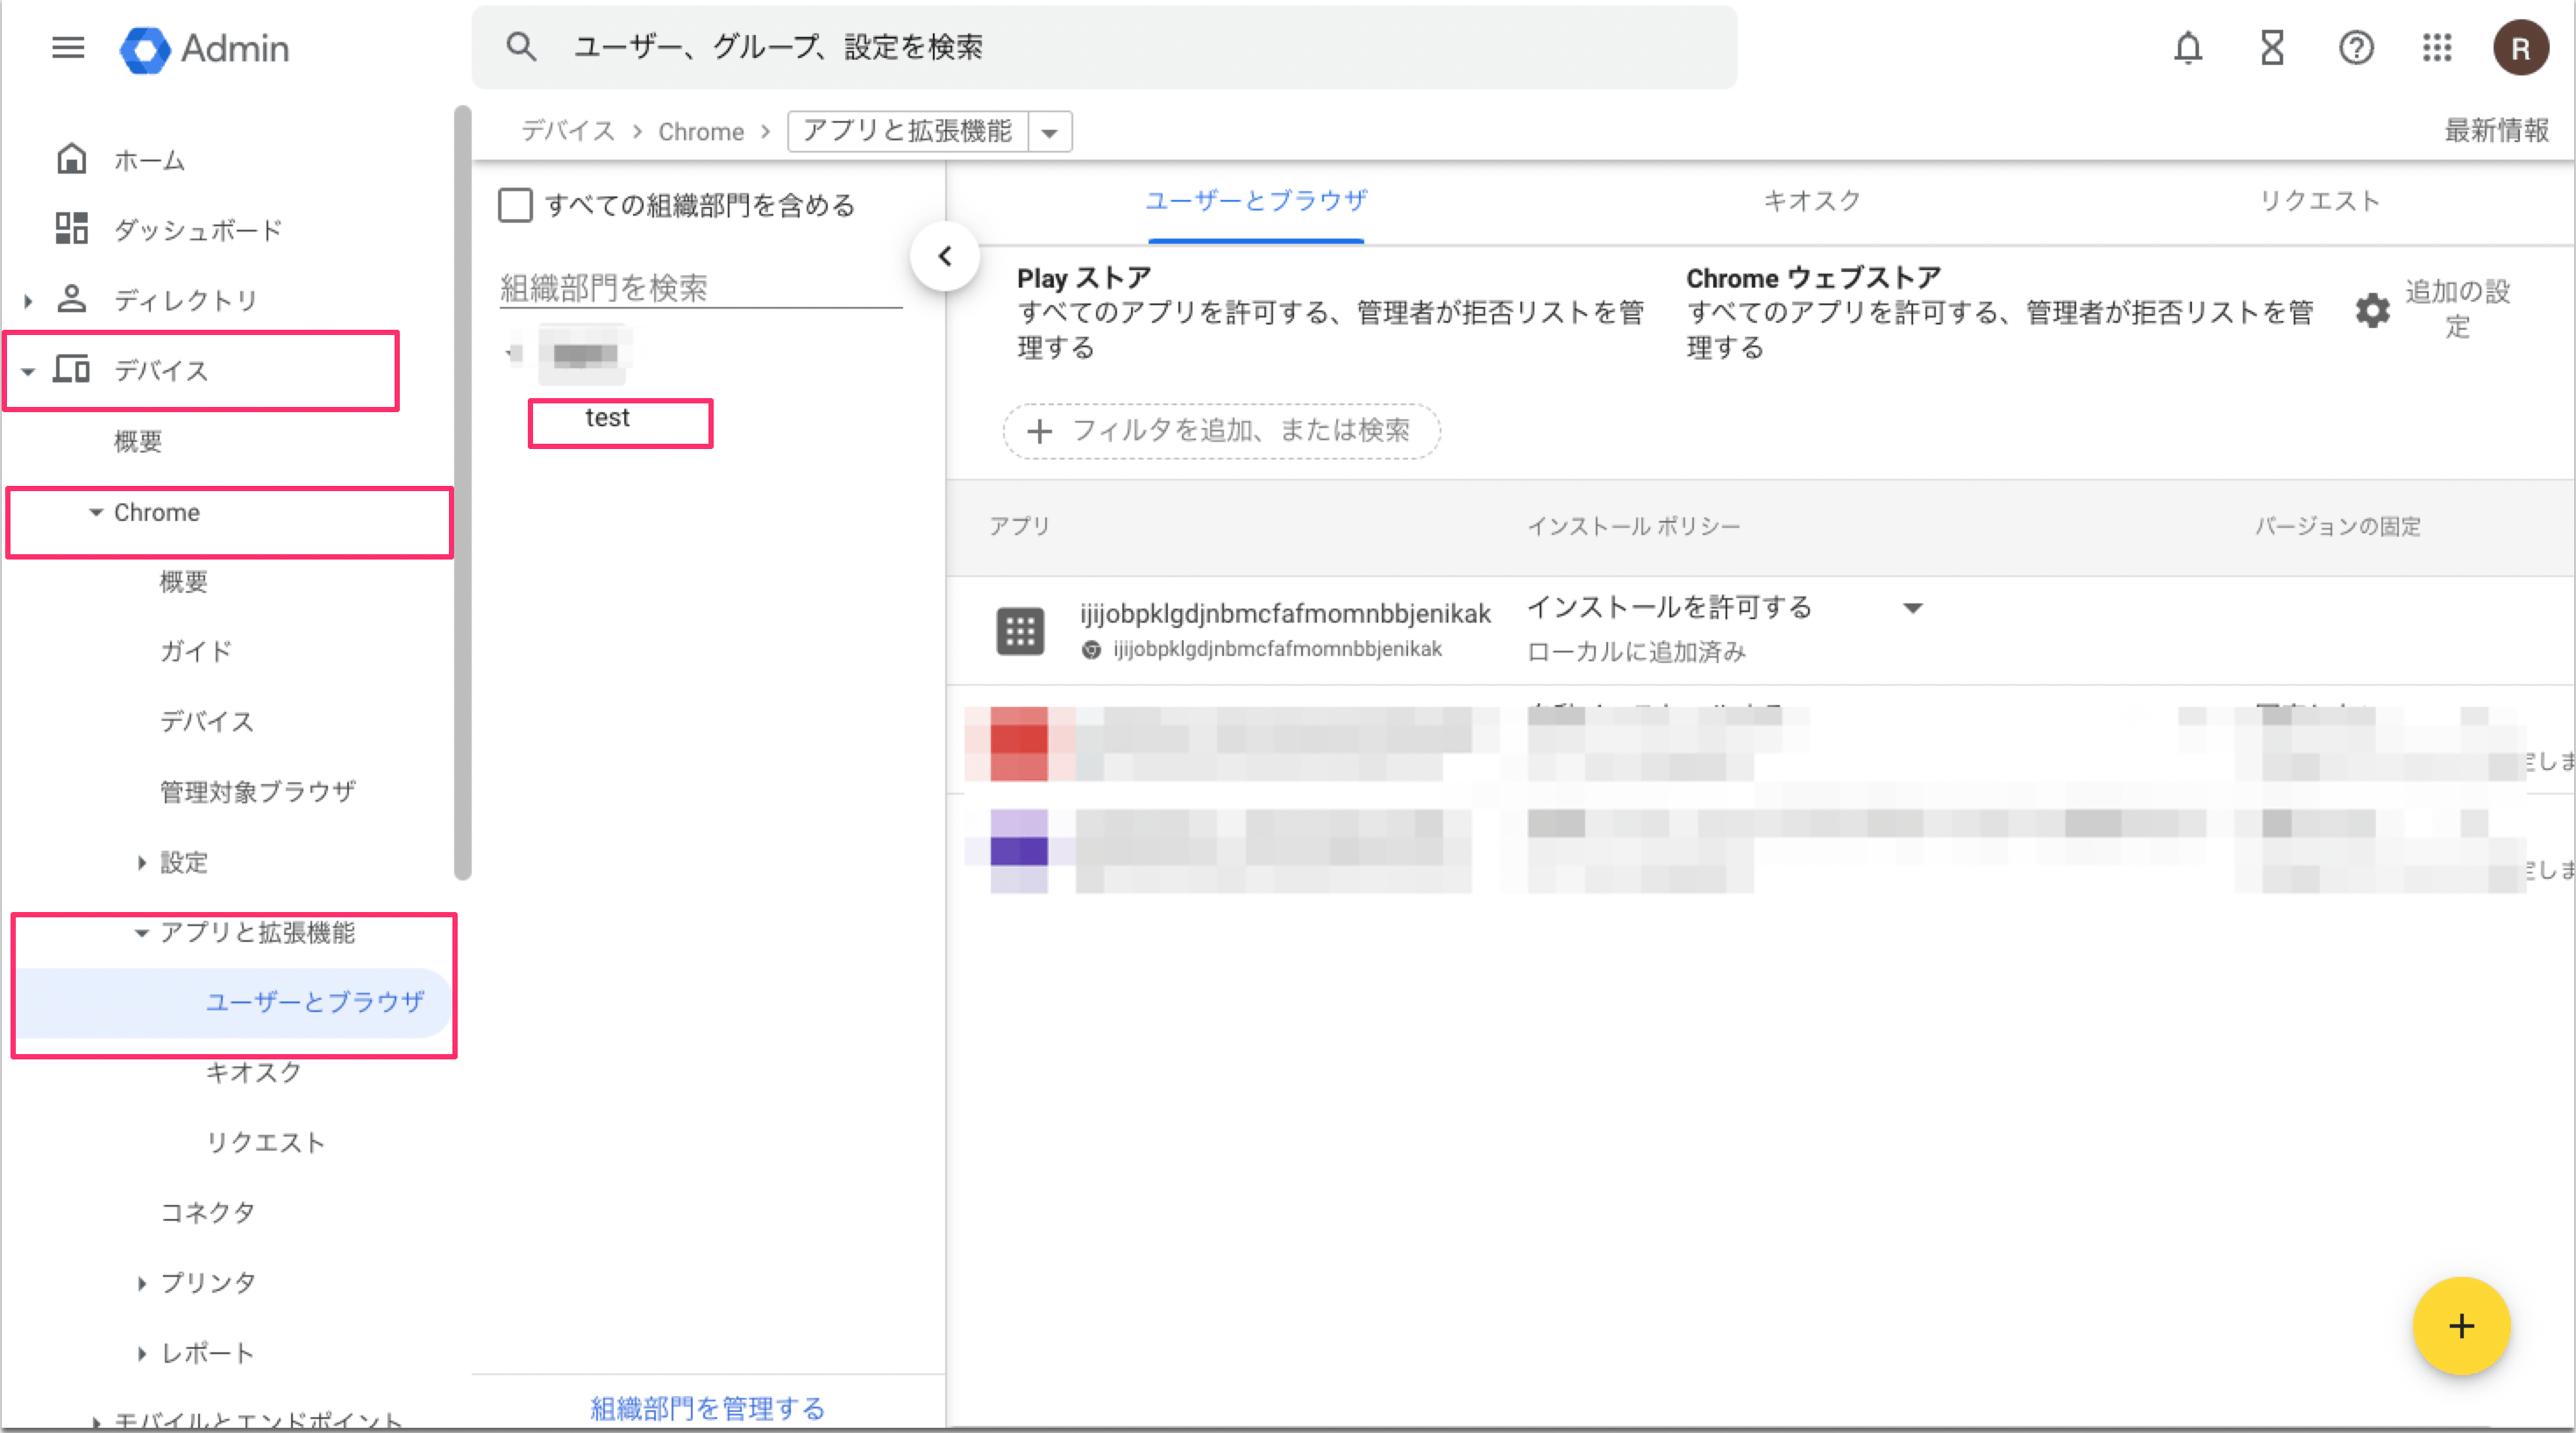
- Navigate to Devices > Chrome > Apps & extensions > Users and browsers.
- Select the group or organizational unit you want to distribute the extension to.
To distribute to a specific department only, select a specific group or a child organizational unit.
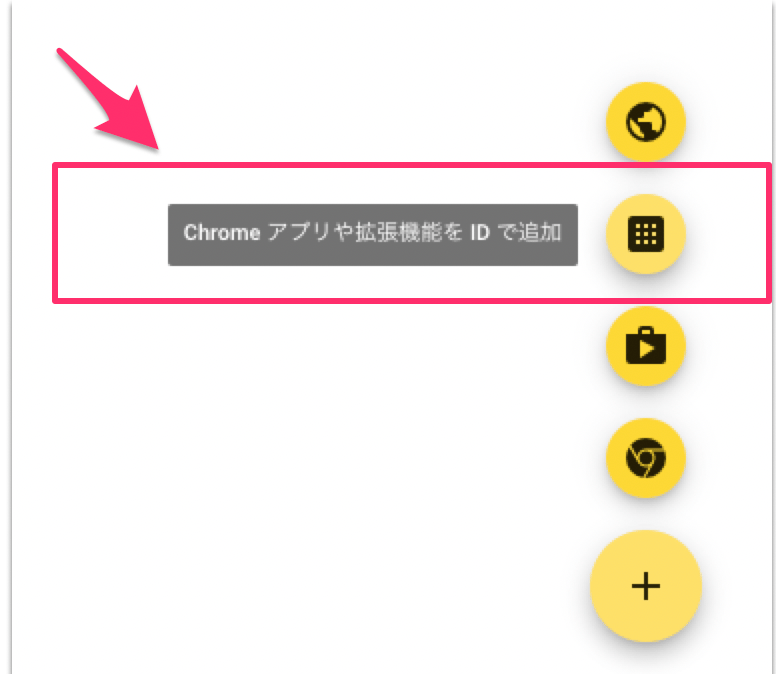
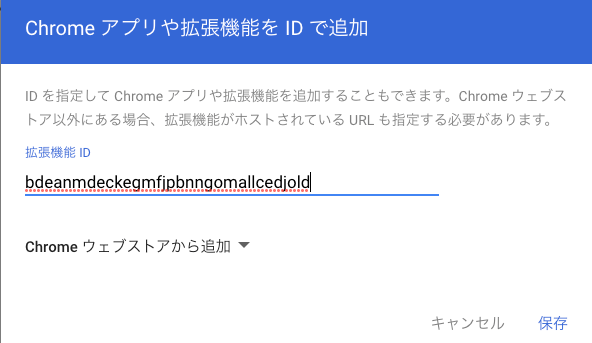
- Click the + button in the lower right, then click [Add Chrome app or extension by ID].
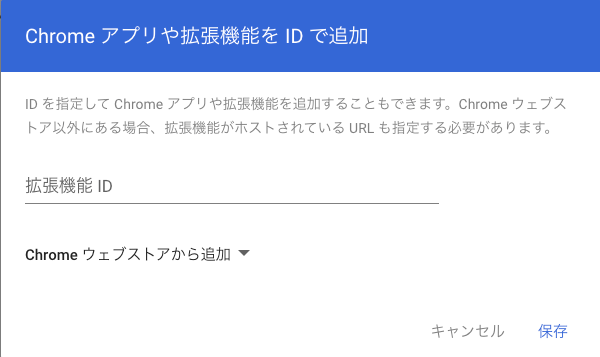
- Select Add from Chrome Web Store.
- Sign in and go to Settings > Browser Extension.
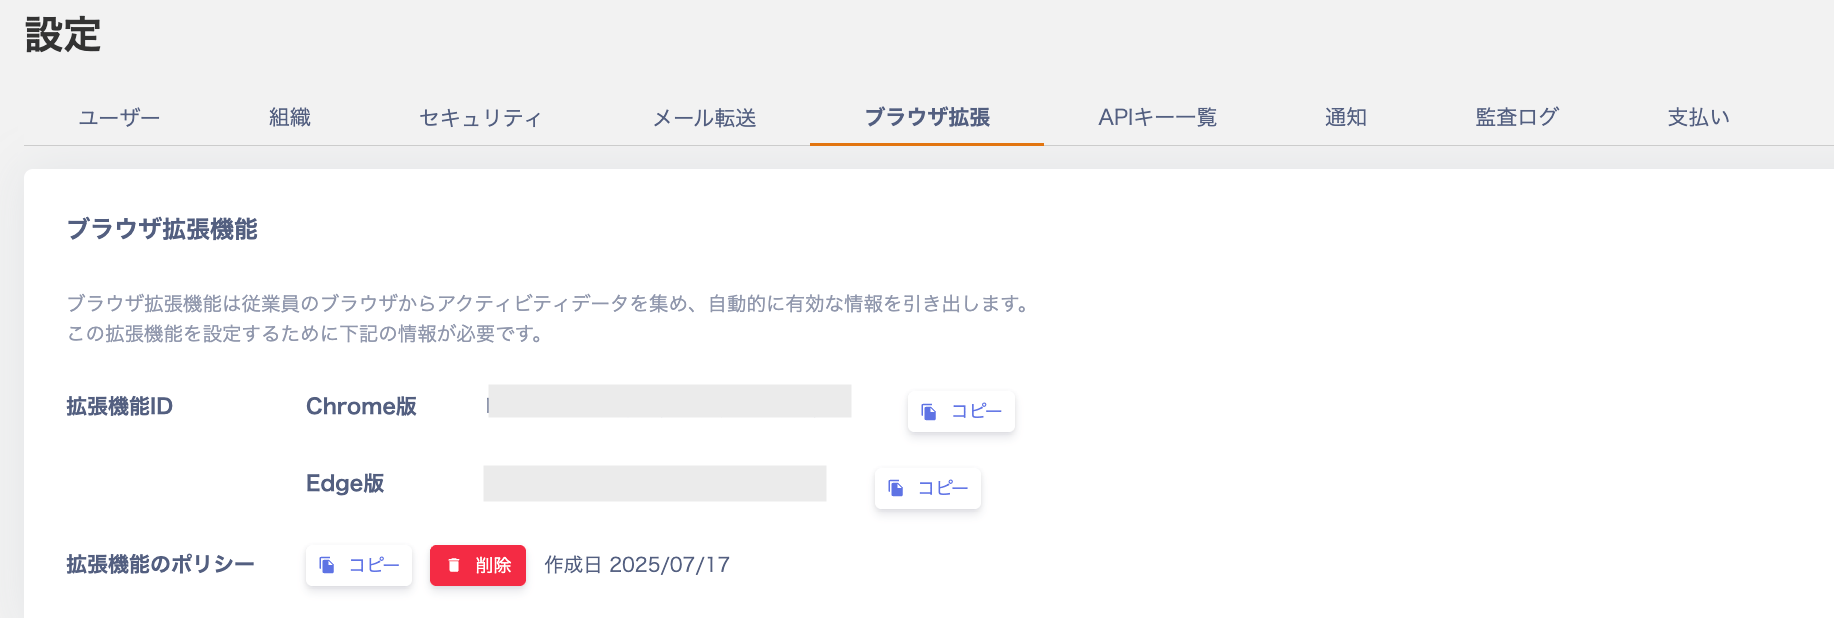
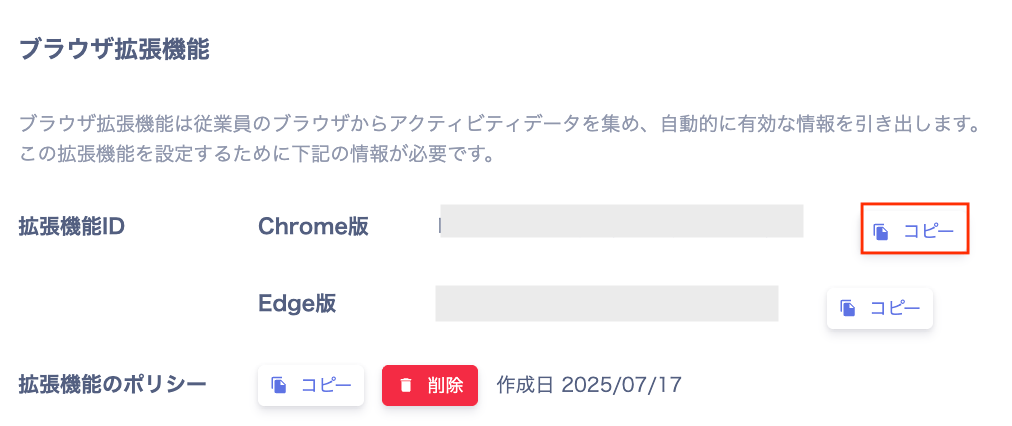
- Copy the Extension ID, paste it into the
Extension IDfield in Google Chrome, and click Save.
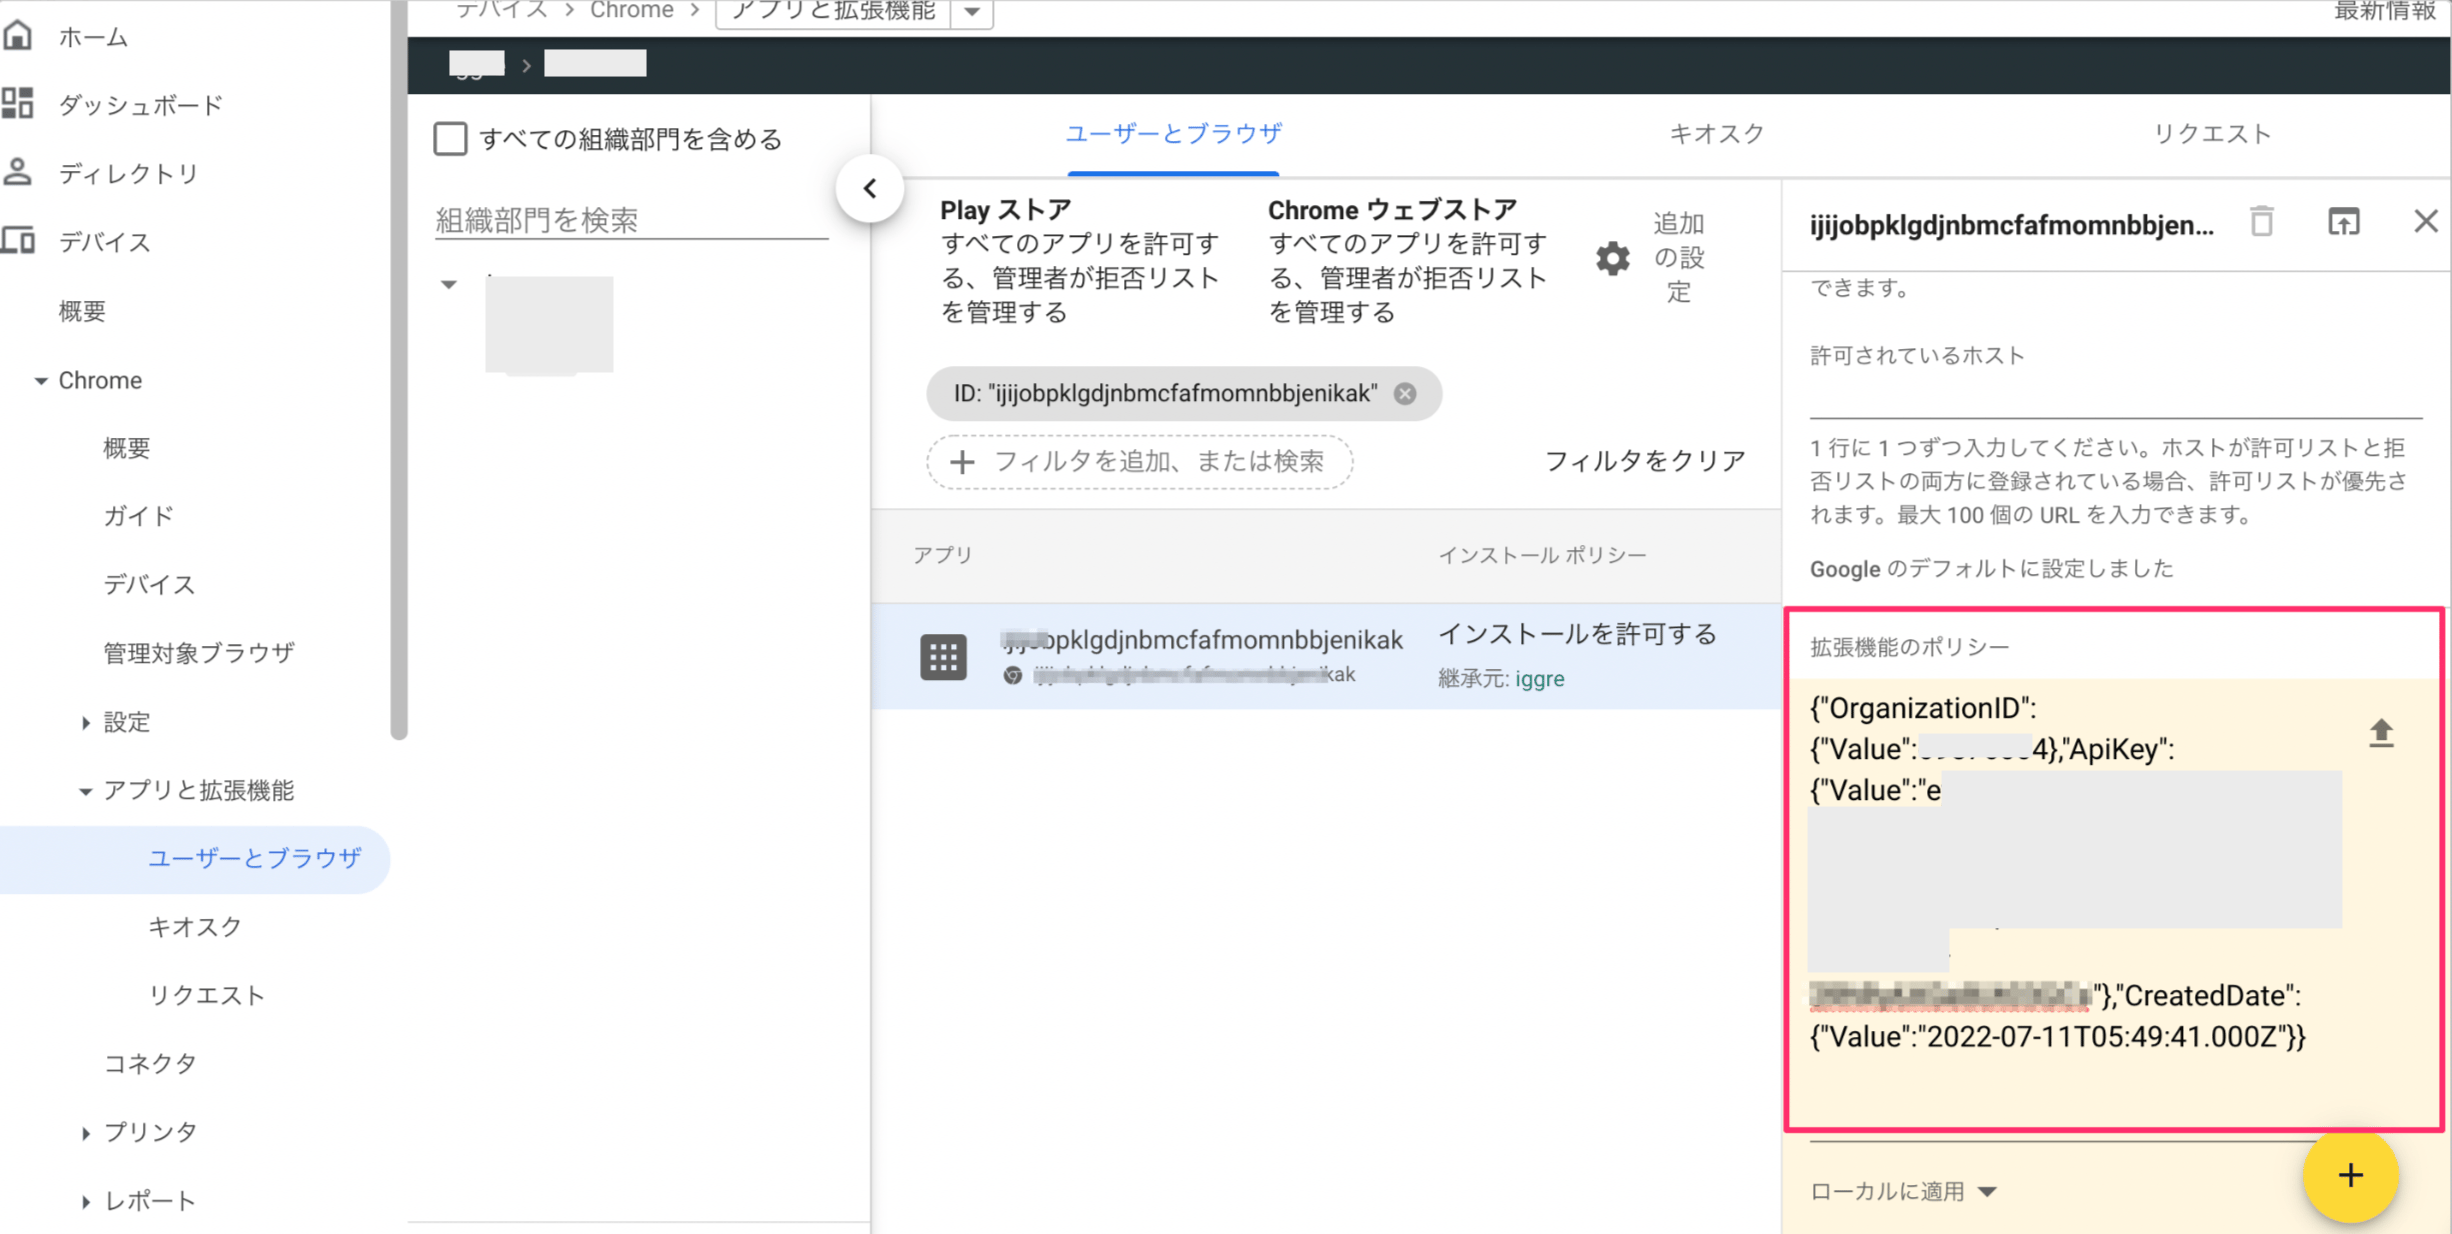
- Sign in and go to Settings > Browser Extension, then click [Copy] in the extension policy section.

- Paste the copied policy value into the [Extension policy] field for the extension created in the Google Admin Console.
- Set the installation policy to [Force install] or [Force install + pin].
- Force install: Installs the extension automatically so users cannot remove it.
- Force install + pin: Same as Force install, and also pins the extension icon to the taskbar.
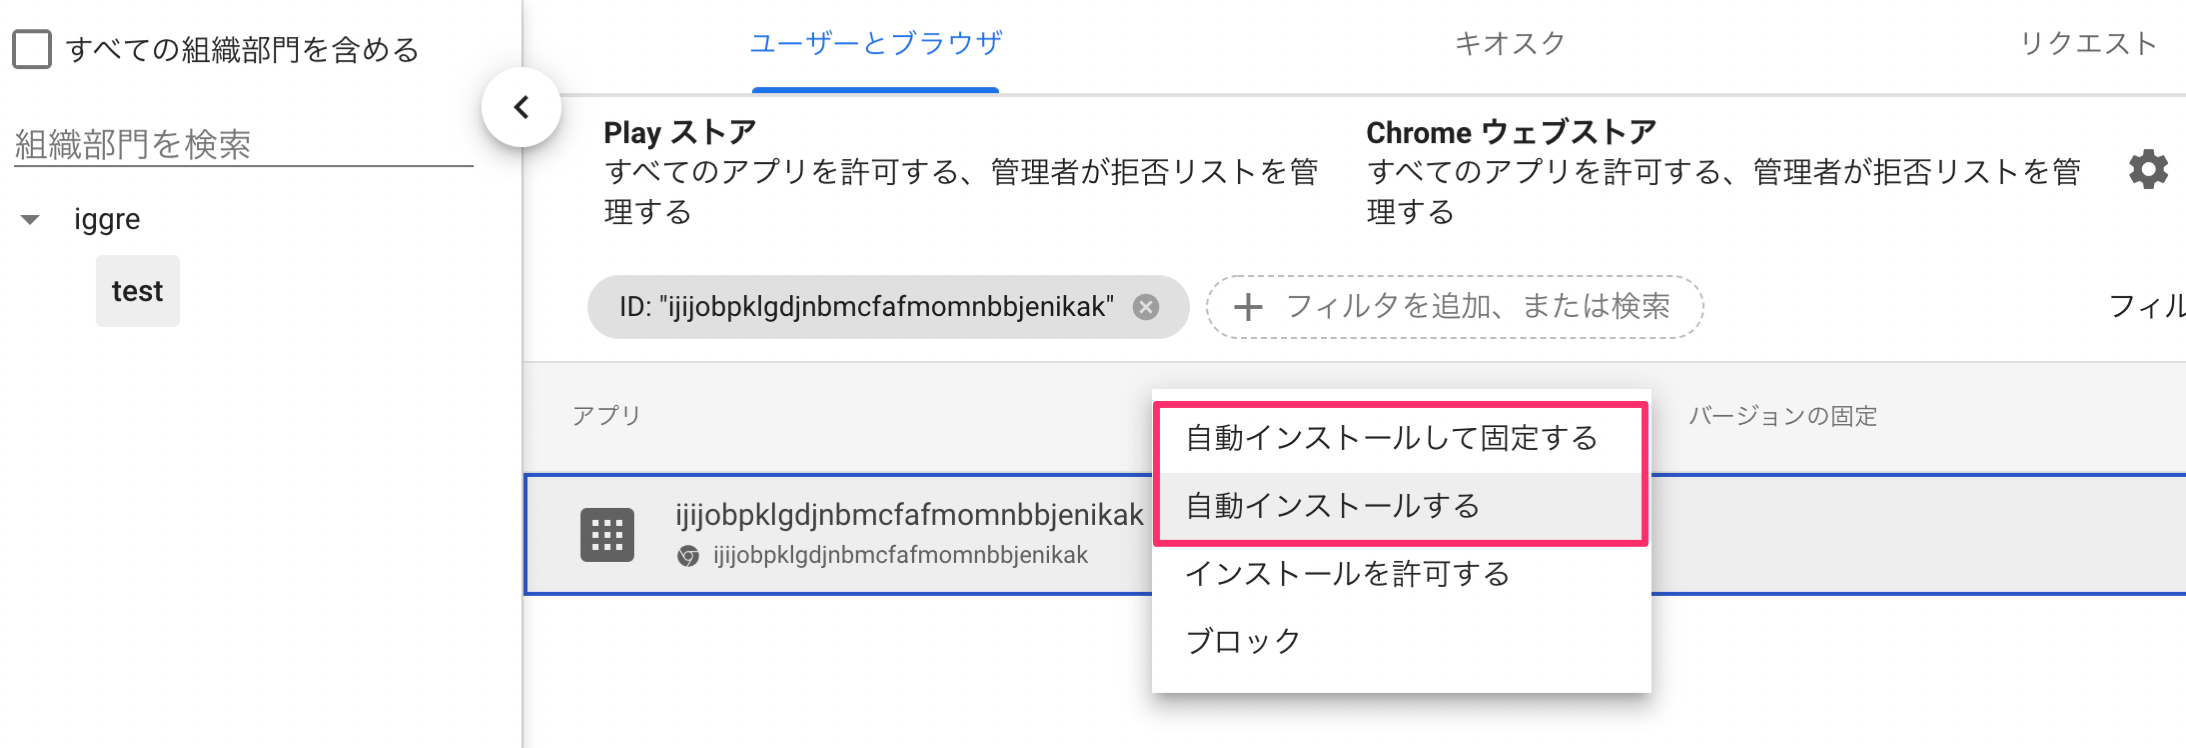
- After completing all settings, click the Save button in the upper right. The distribution setup is now complete.

Verifying Installation on Devices (Browser)
Installation happens automatically. When the extension is force-installed and pinned, the icon appears as shown below.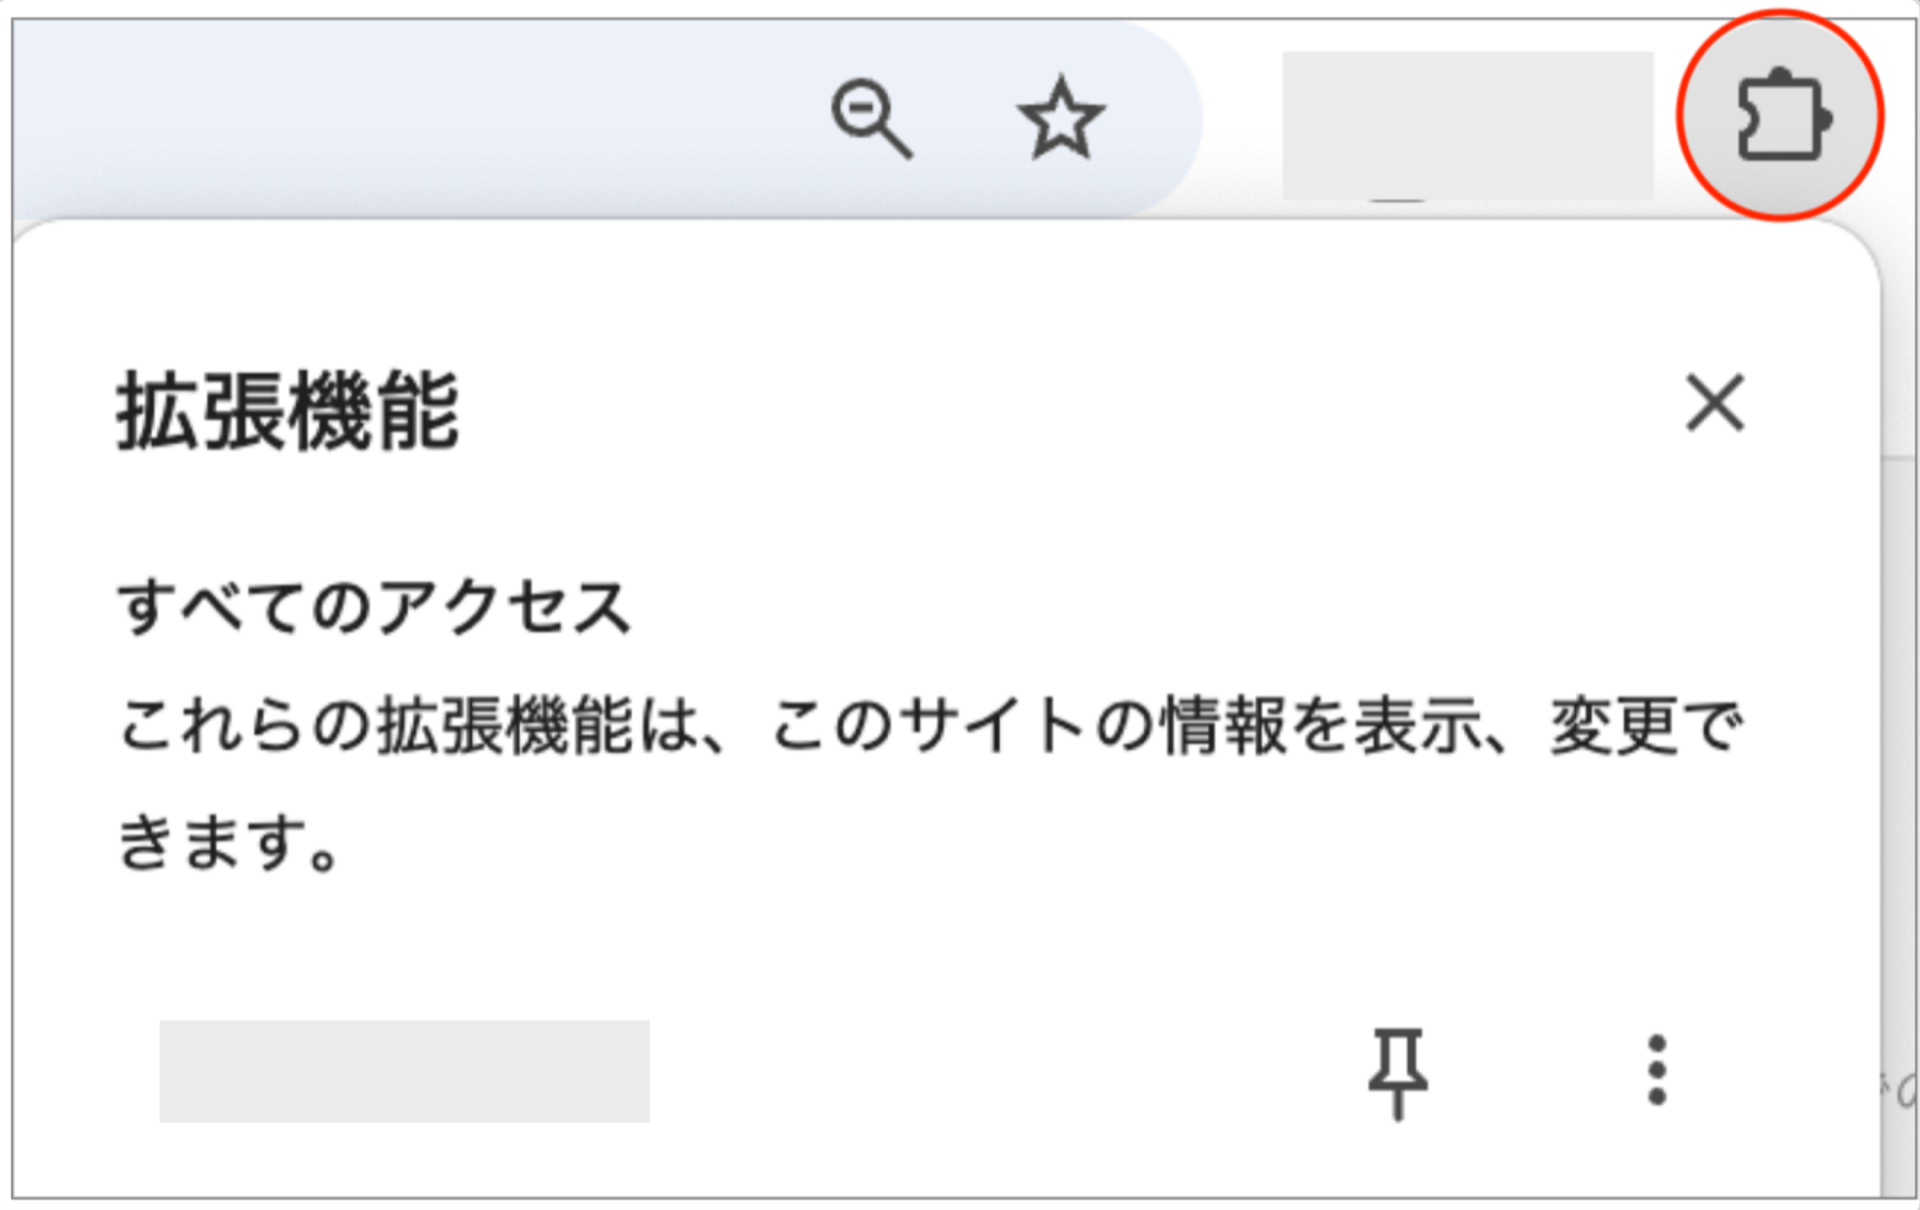

If the Extension Does Not Install
- Confirm that the user is signed into Google on Chrome and that Sync is turned on.
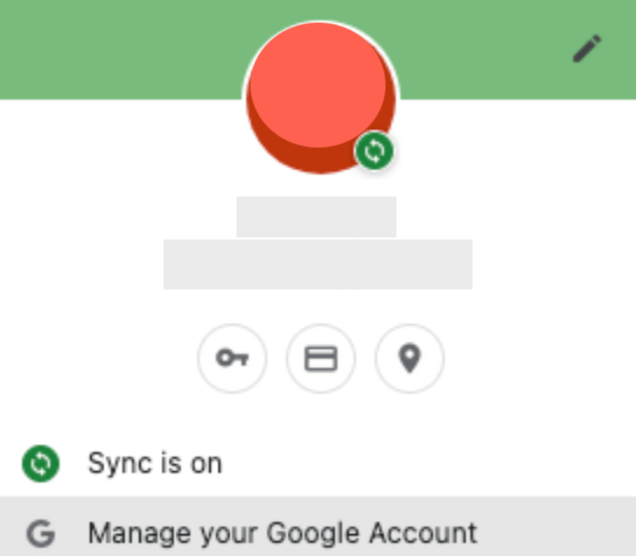
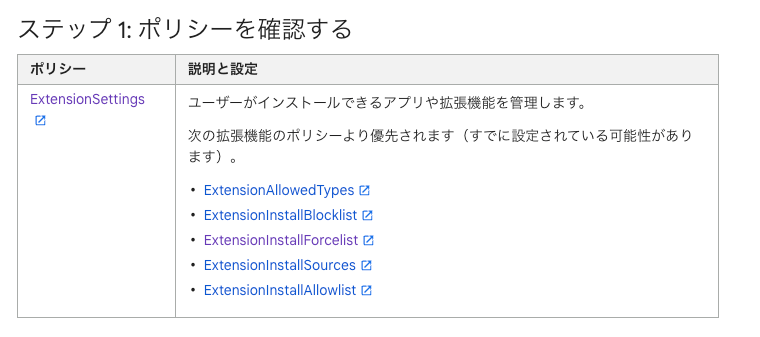
- If sync is enabled but the extension still does not install, check the following settings as well.
- Check existing policies
chrome://policy and check whether the policy is being overridden.
Reference: Check whether policies are applied to managed Chrome devices
Verifying Activity
Data is collected approximately every 30 minutes and displayed in the event log.- Check the event log
Chrome Extention history appears.
Chrome (Edge) Extention history does not appear under “Show unmatched data.” For details on the event log, see 3. Checking SaaS Usage in the Event Log.

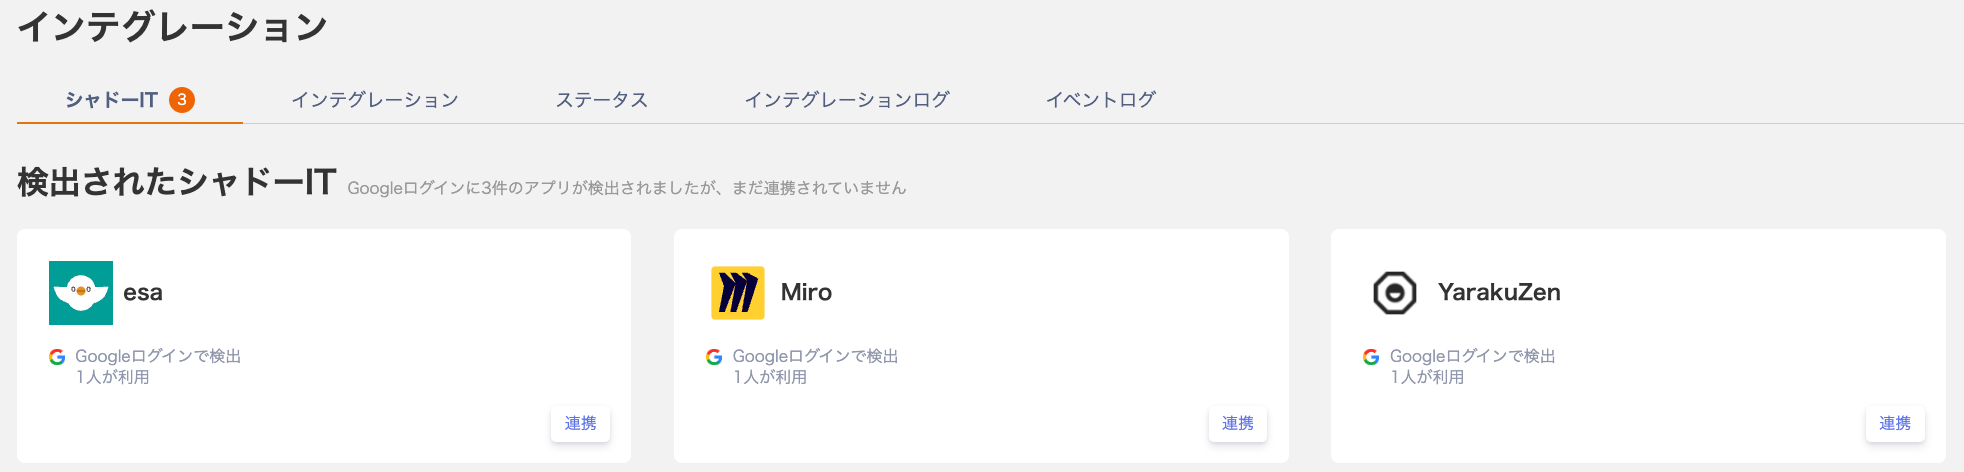
- Check the Shadow IT tab
The system syncs overnight, so detections appear the following day or later.
- Check the last used date for SaaS
Last Used date is populated for each SaaS. Custom apps (manually registered services) can also have their last used date recorded.
The conditions for recording the last used date for custom apps are:
- The extension must be installed correctly and access logs must be recorded in Integrations > Event Log.
- The URL of the accessed service must match the service domain. This causes the custom app service name to be recorded in the event log.
- The custom app must be registered by searching the service list and selecting a service name. (Custom apps registered with a free-form name will not have their last used date recorded.)
Uninstall Steps
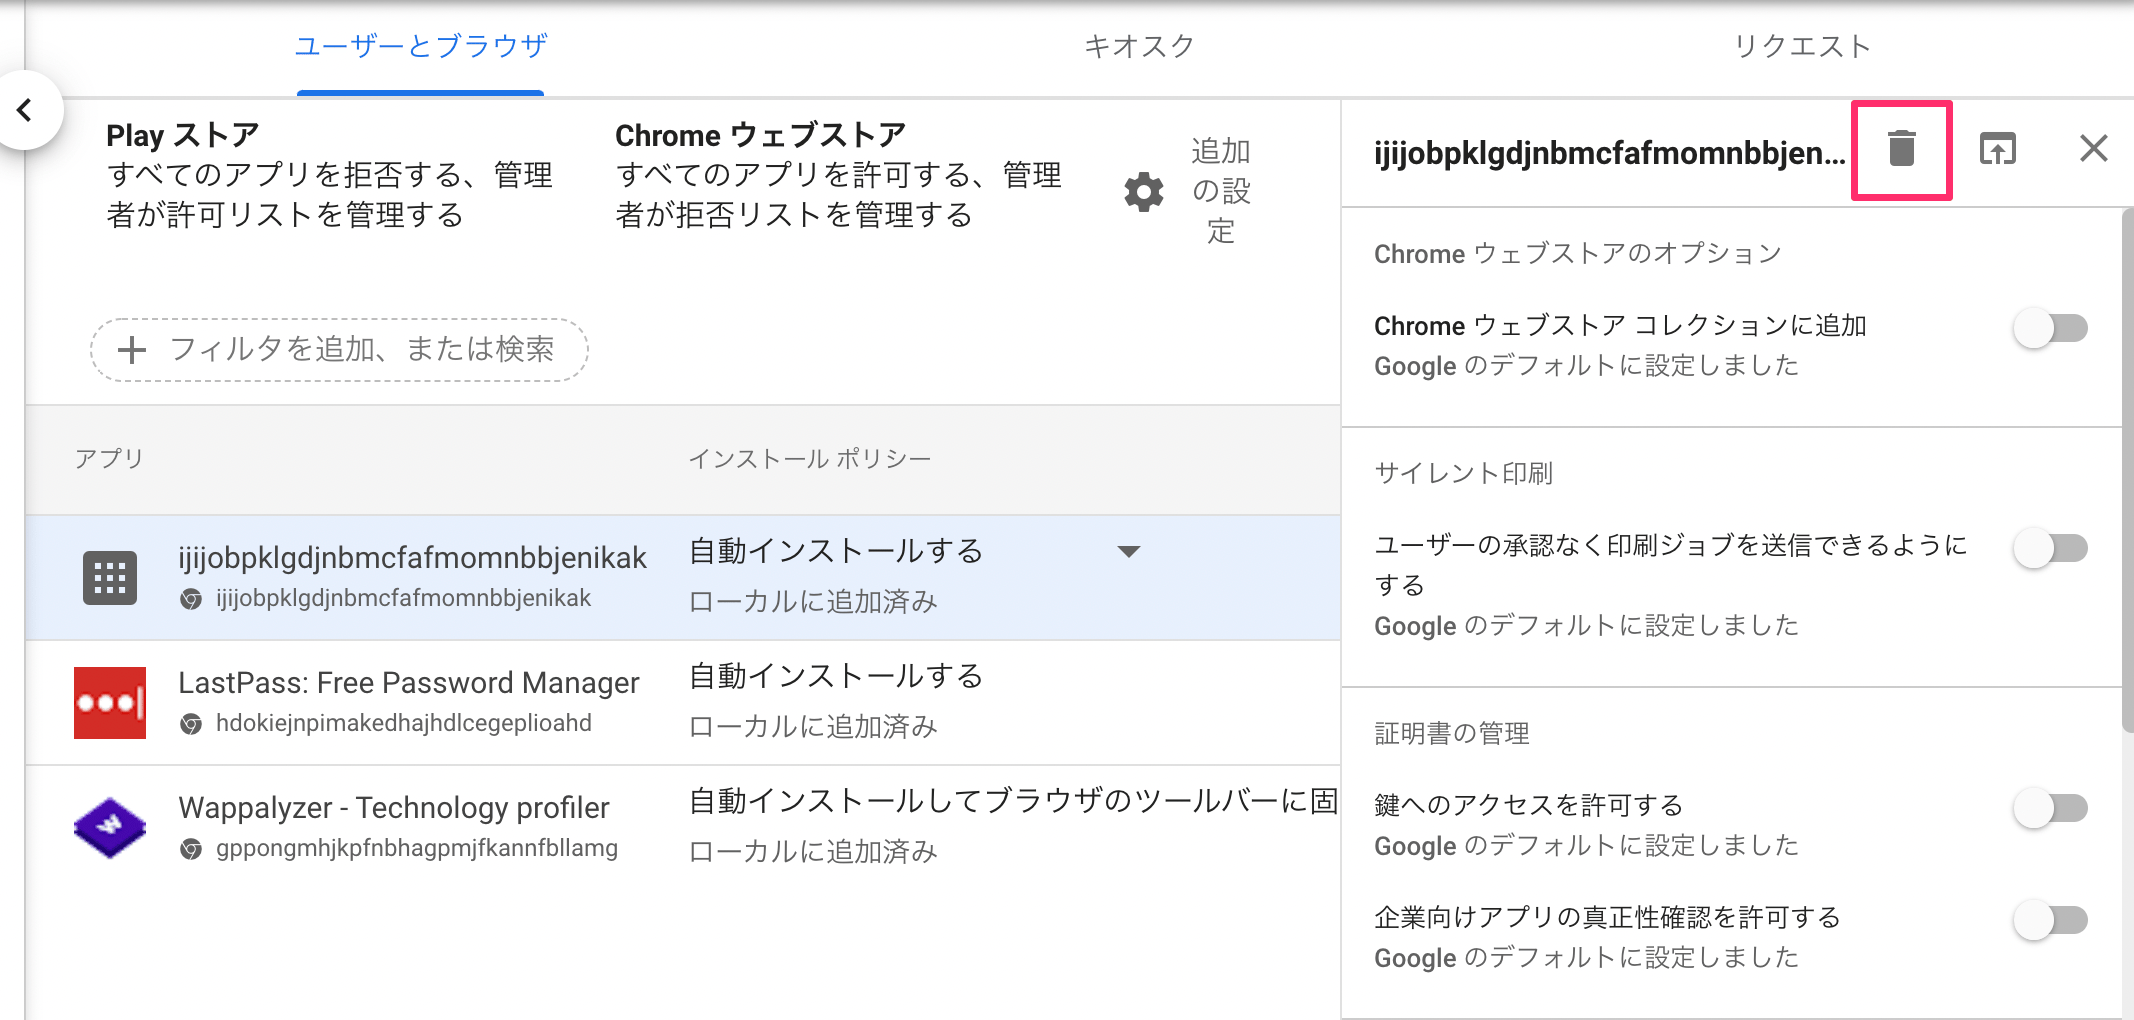
- In Google Admin, delete the application you added by clicking the trash icon.
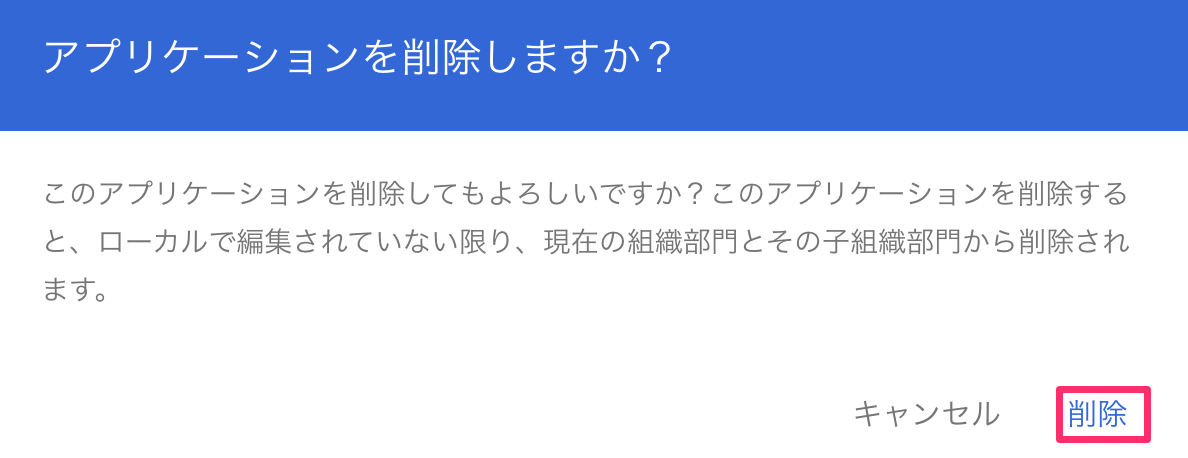
- A confirmation message appears. Click Delete.
- Confirm the extension has been removed from Chrome Extensions.